With Plan7Architect, you can easily design a detailed off-grid house floor plan that fits your vision for self-sufficient living. The software allows you to freely draw walls, define room layouts, and include important off-grid elements like solar panels, battery storage areas, water tanks, and composting toilets. All planning can be done in both metric (m²) and imperial (sq ft) units, and you can switch units at any time depending on your location or personal preference. Whether you plan a small cabin or a fully independent family home, Plan7Architect offers all the necessary tools to design a professional, permit-ready layout tailored for off-grid life.
What Makes a House Truly Off-Grid?
Key Characteristics of an Off-Grid Home
An off-grid house is completely independent from public utilities. That includes electricity, water, wastewater, and sometimes even heating and internet. Designing such a home requires consideration of both technical infrastructure and architectural layout. Essential features include:
-
Solar panels, wind turbines, or other renewable energy sources
-
Battery storage and inverters for power management
-
Water tanks, wells, or rainwater harvesting systems
-
Composting toilets or septic systems for wastewater
-
Efficient insulation and passive design for heating and cooling
-
A compact and logical floor plan to minimize energy and water usage
Floor Plan Requirements for Off-Grid Homes
The floor plan must support technical equipment and optimize natural resources. That means:
-
A dedicated utility room for batteries, inverters, and water equipment
-
Roof or garden space reserved for solar panel placement
-
Strategic room layout for natural light and cross ventilation
-
Proper space for storing food, tools, and firewood
-
Areas designed for multi-functional use to reduce total square footage
Planning Off-Grid in Plan7Architect – Step by Step
Step 1 – Define the Property and Orientation
Begin by drawing or importing the outline of your property. You can manually enter dimensions or import official site plans in DWG or DXF format. Once the property boundaries are set, place the building with consideration for sun orientation. In the northern hemisphere, this means maximizing south-facing windows. In the southern hemisphere, north-facing is ideal. Use Plan7Architect’s shadow simulation to preview how the sun interacts with your design during different times of the day and year.
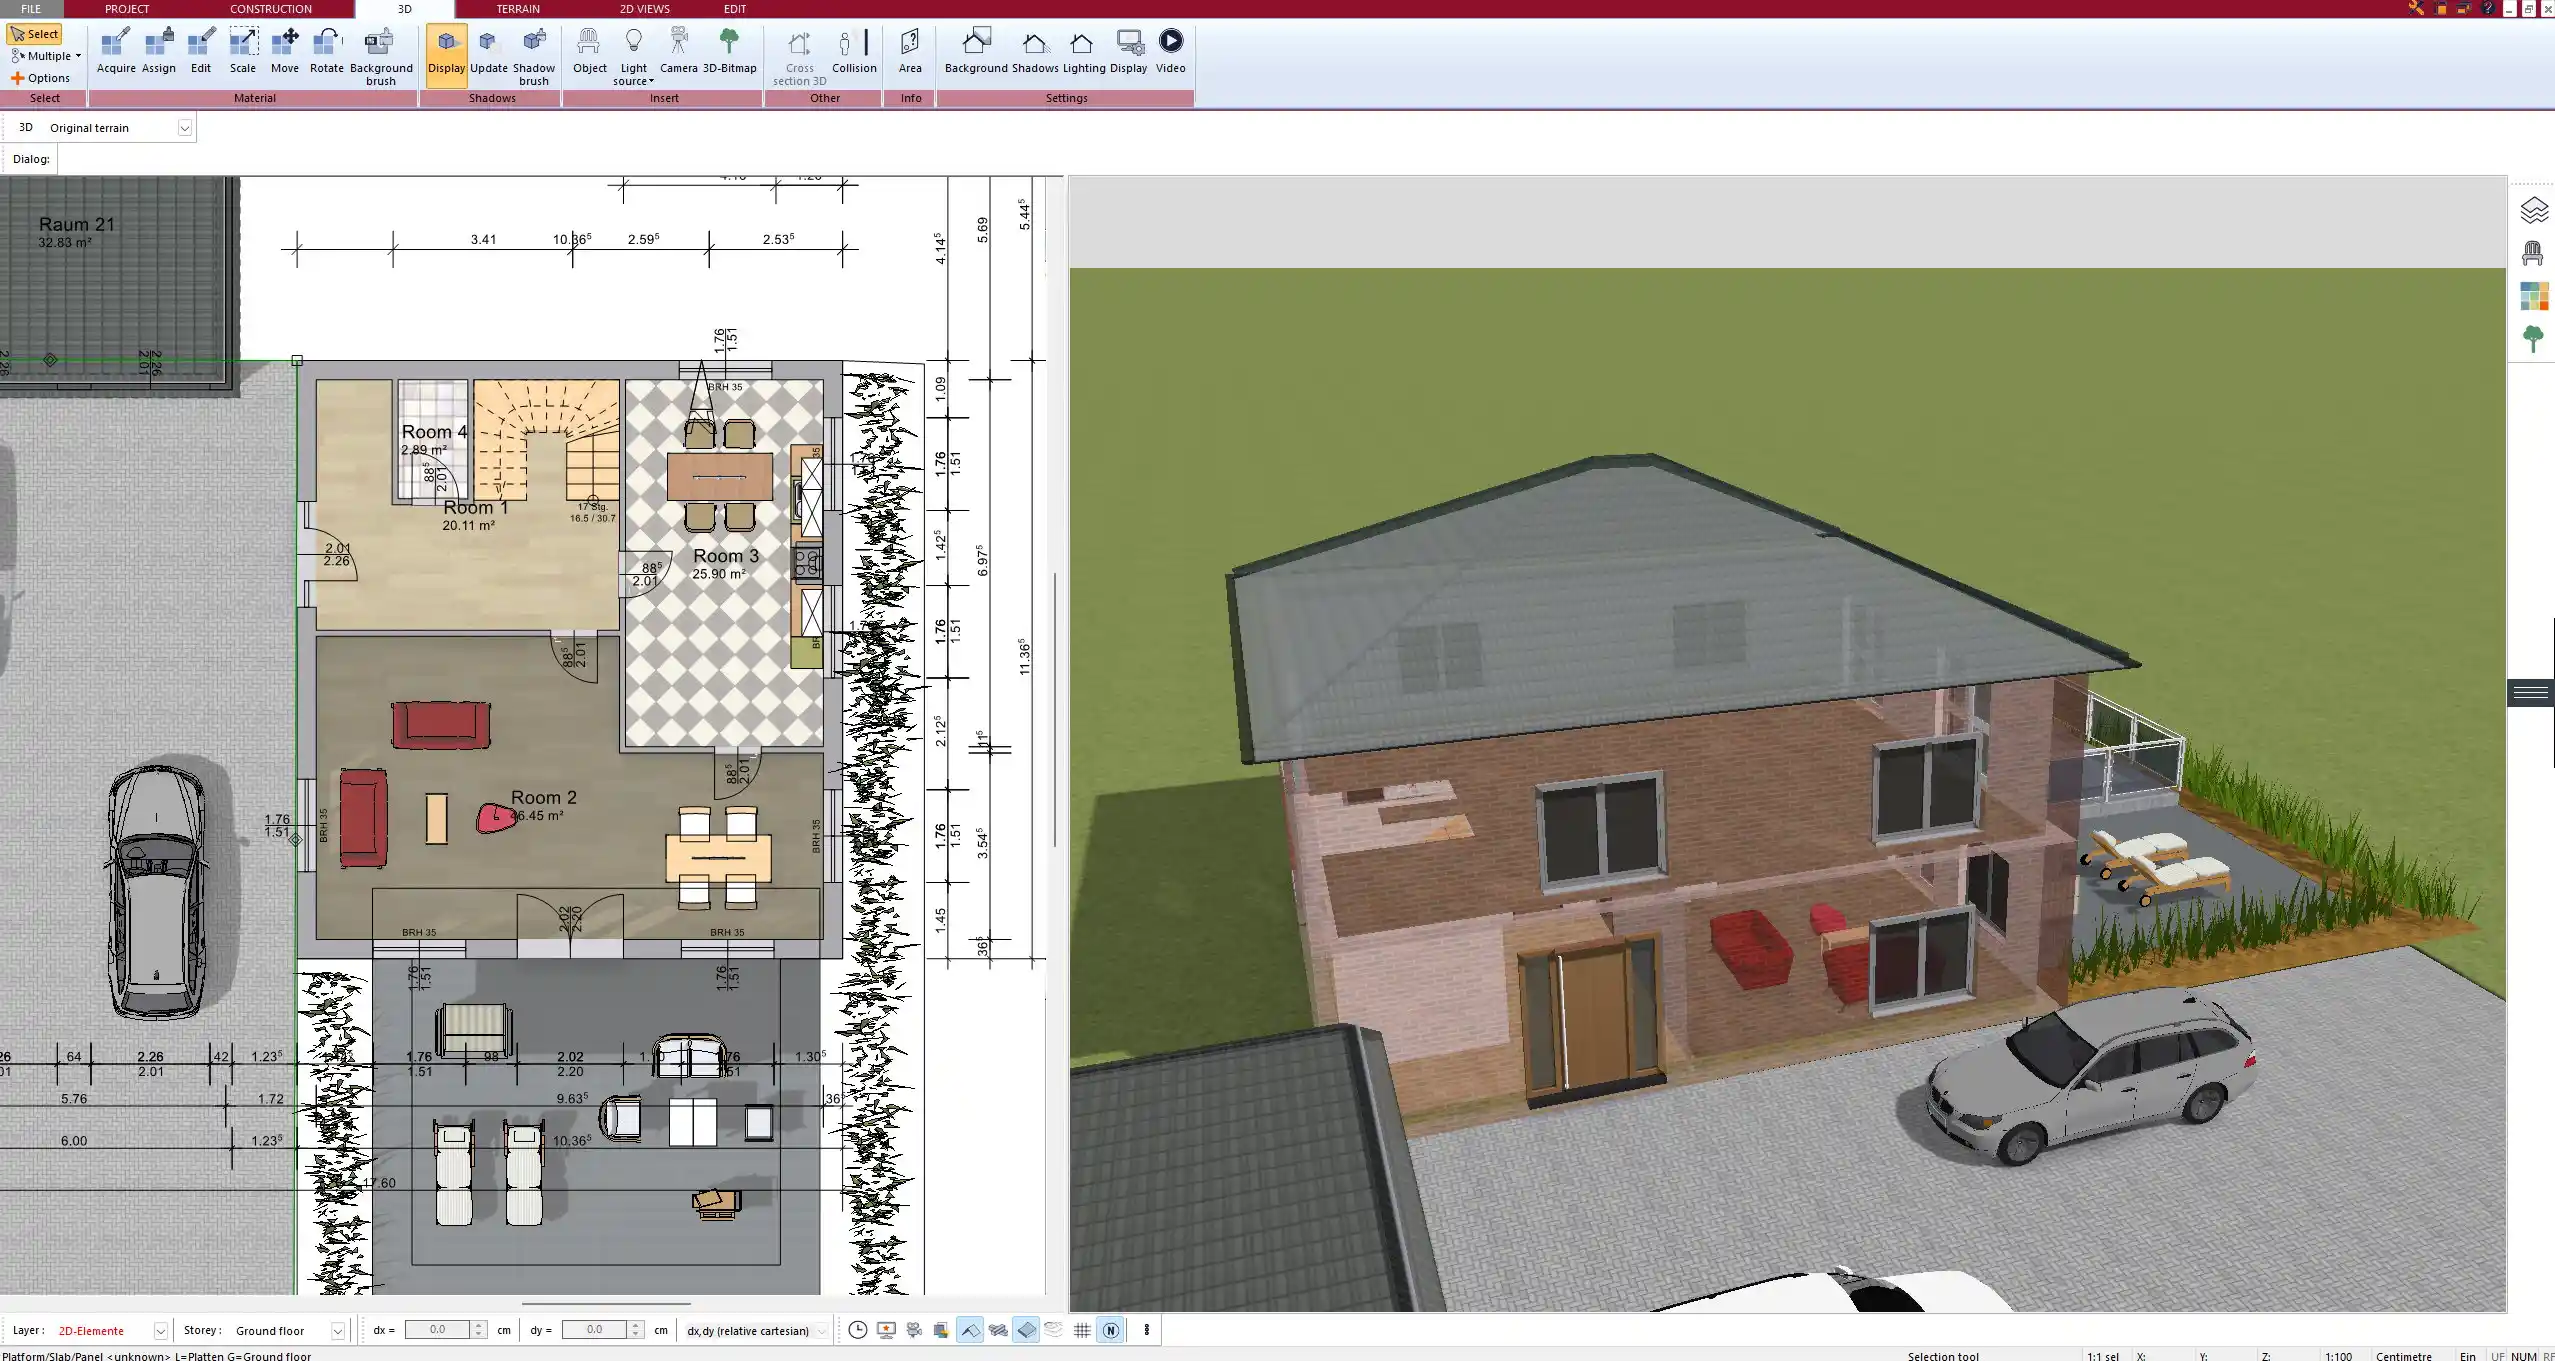
Step 2 – Draw the Floor Plan
Use the 2D tools to draw the walls and define your room layout. Plan7Architect gives you full control over wall thickness, material type, and insulation values. Consider using compact shapes, such as rectangles or squares, which are easier to insulate and heat. Layout suggestions include:
-
Open-plan kitchen and living area facing the sun
-
Bedrooms in the quieter, cooler parts of the house
-
Grouped wet rooms (bathroom, kitchen, utility) for efficient plumbing
-
Technical room with outdoor access if needed
All measurements can be entered and adjusted in either meters or feet, depending on your preference. Simply change the unit system within the software settings.
Step 3 – Add Off-Grid Features
Plan7Architect allows you to customize your design with off-grid features. You can:
-
Place solar panels on roof surfaces or in the garden
-
Draw tanks, wood stoves, and battery systems using custom symbols or 3D objects
-
Use the surface measurement tool to calculate roof or panel areas
-
Import SketchUp objects for wind turbines, greenhouses, or special furniture
If a feature is not available in the default library, you can import it and save it in your personal catalog.
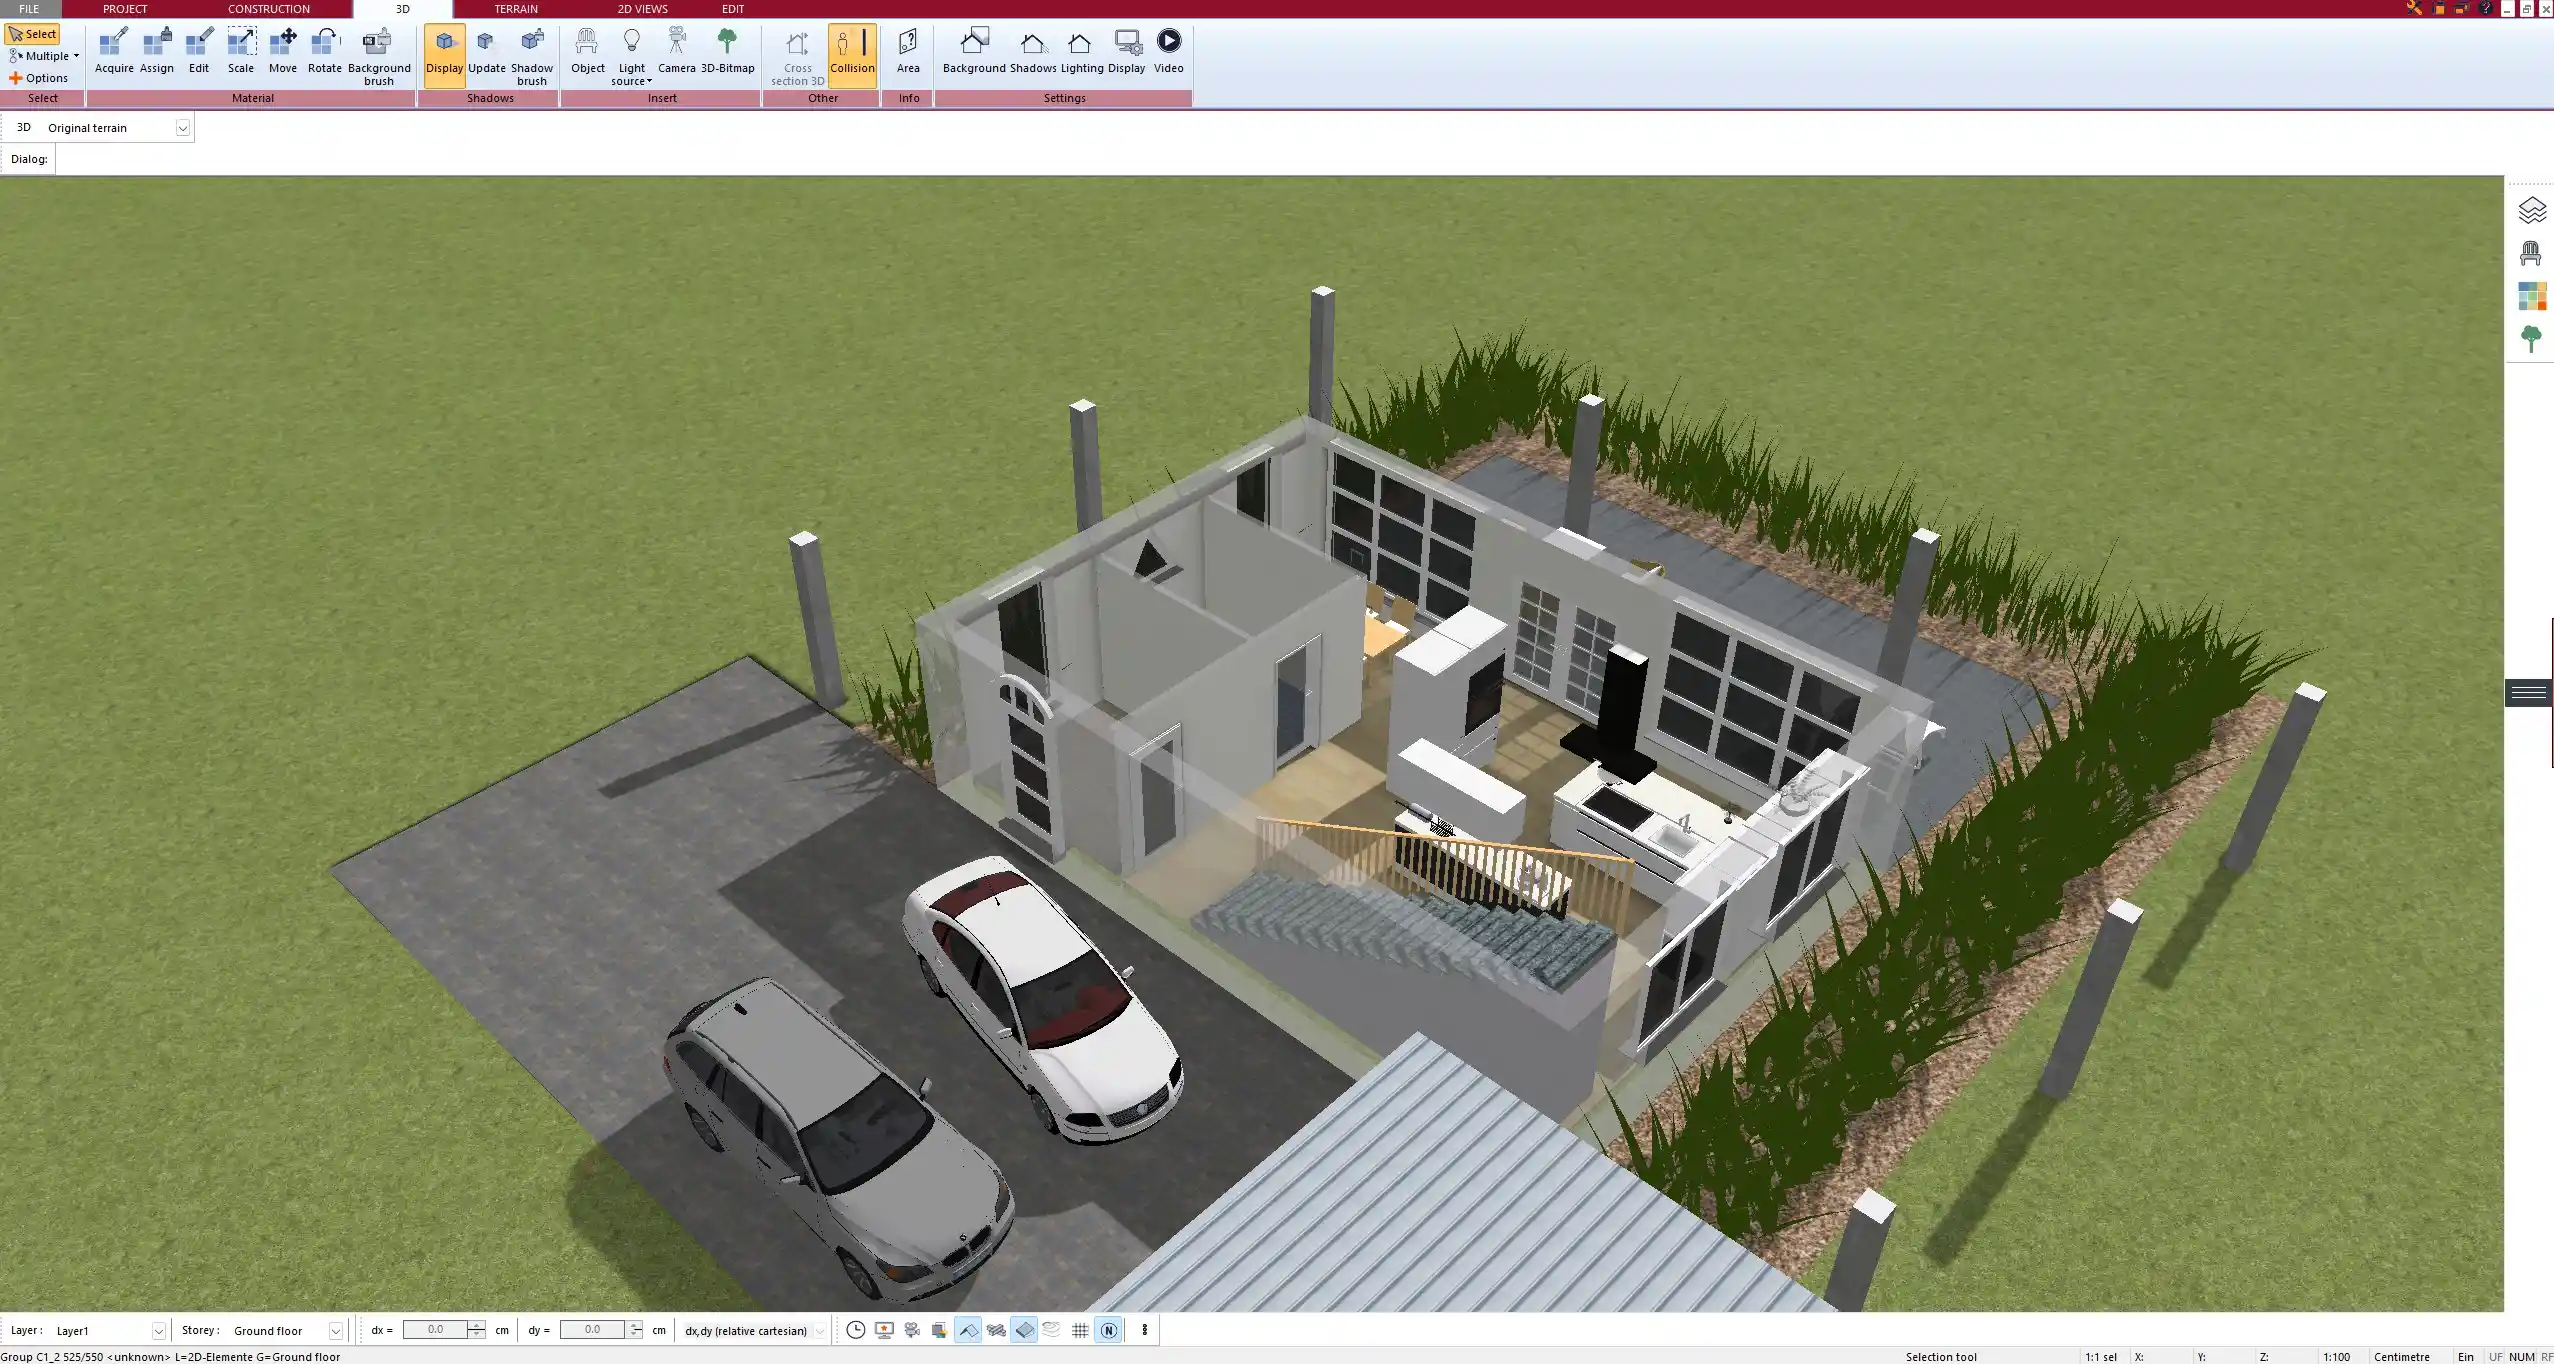
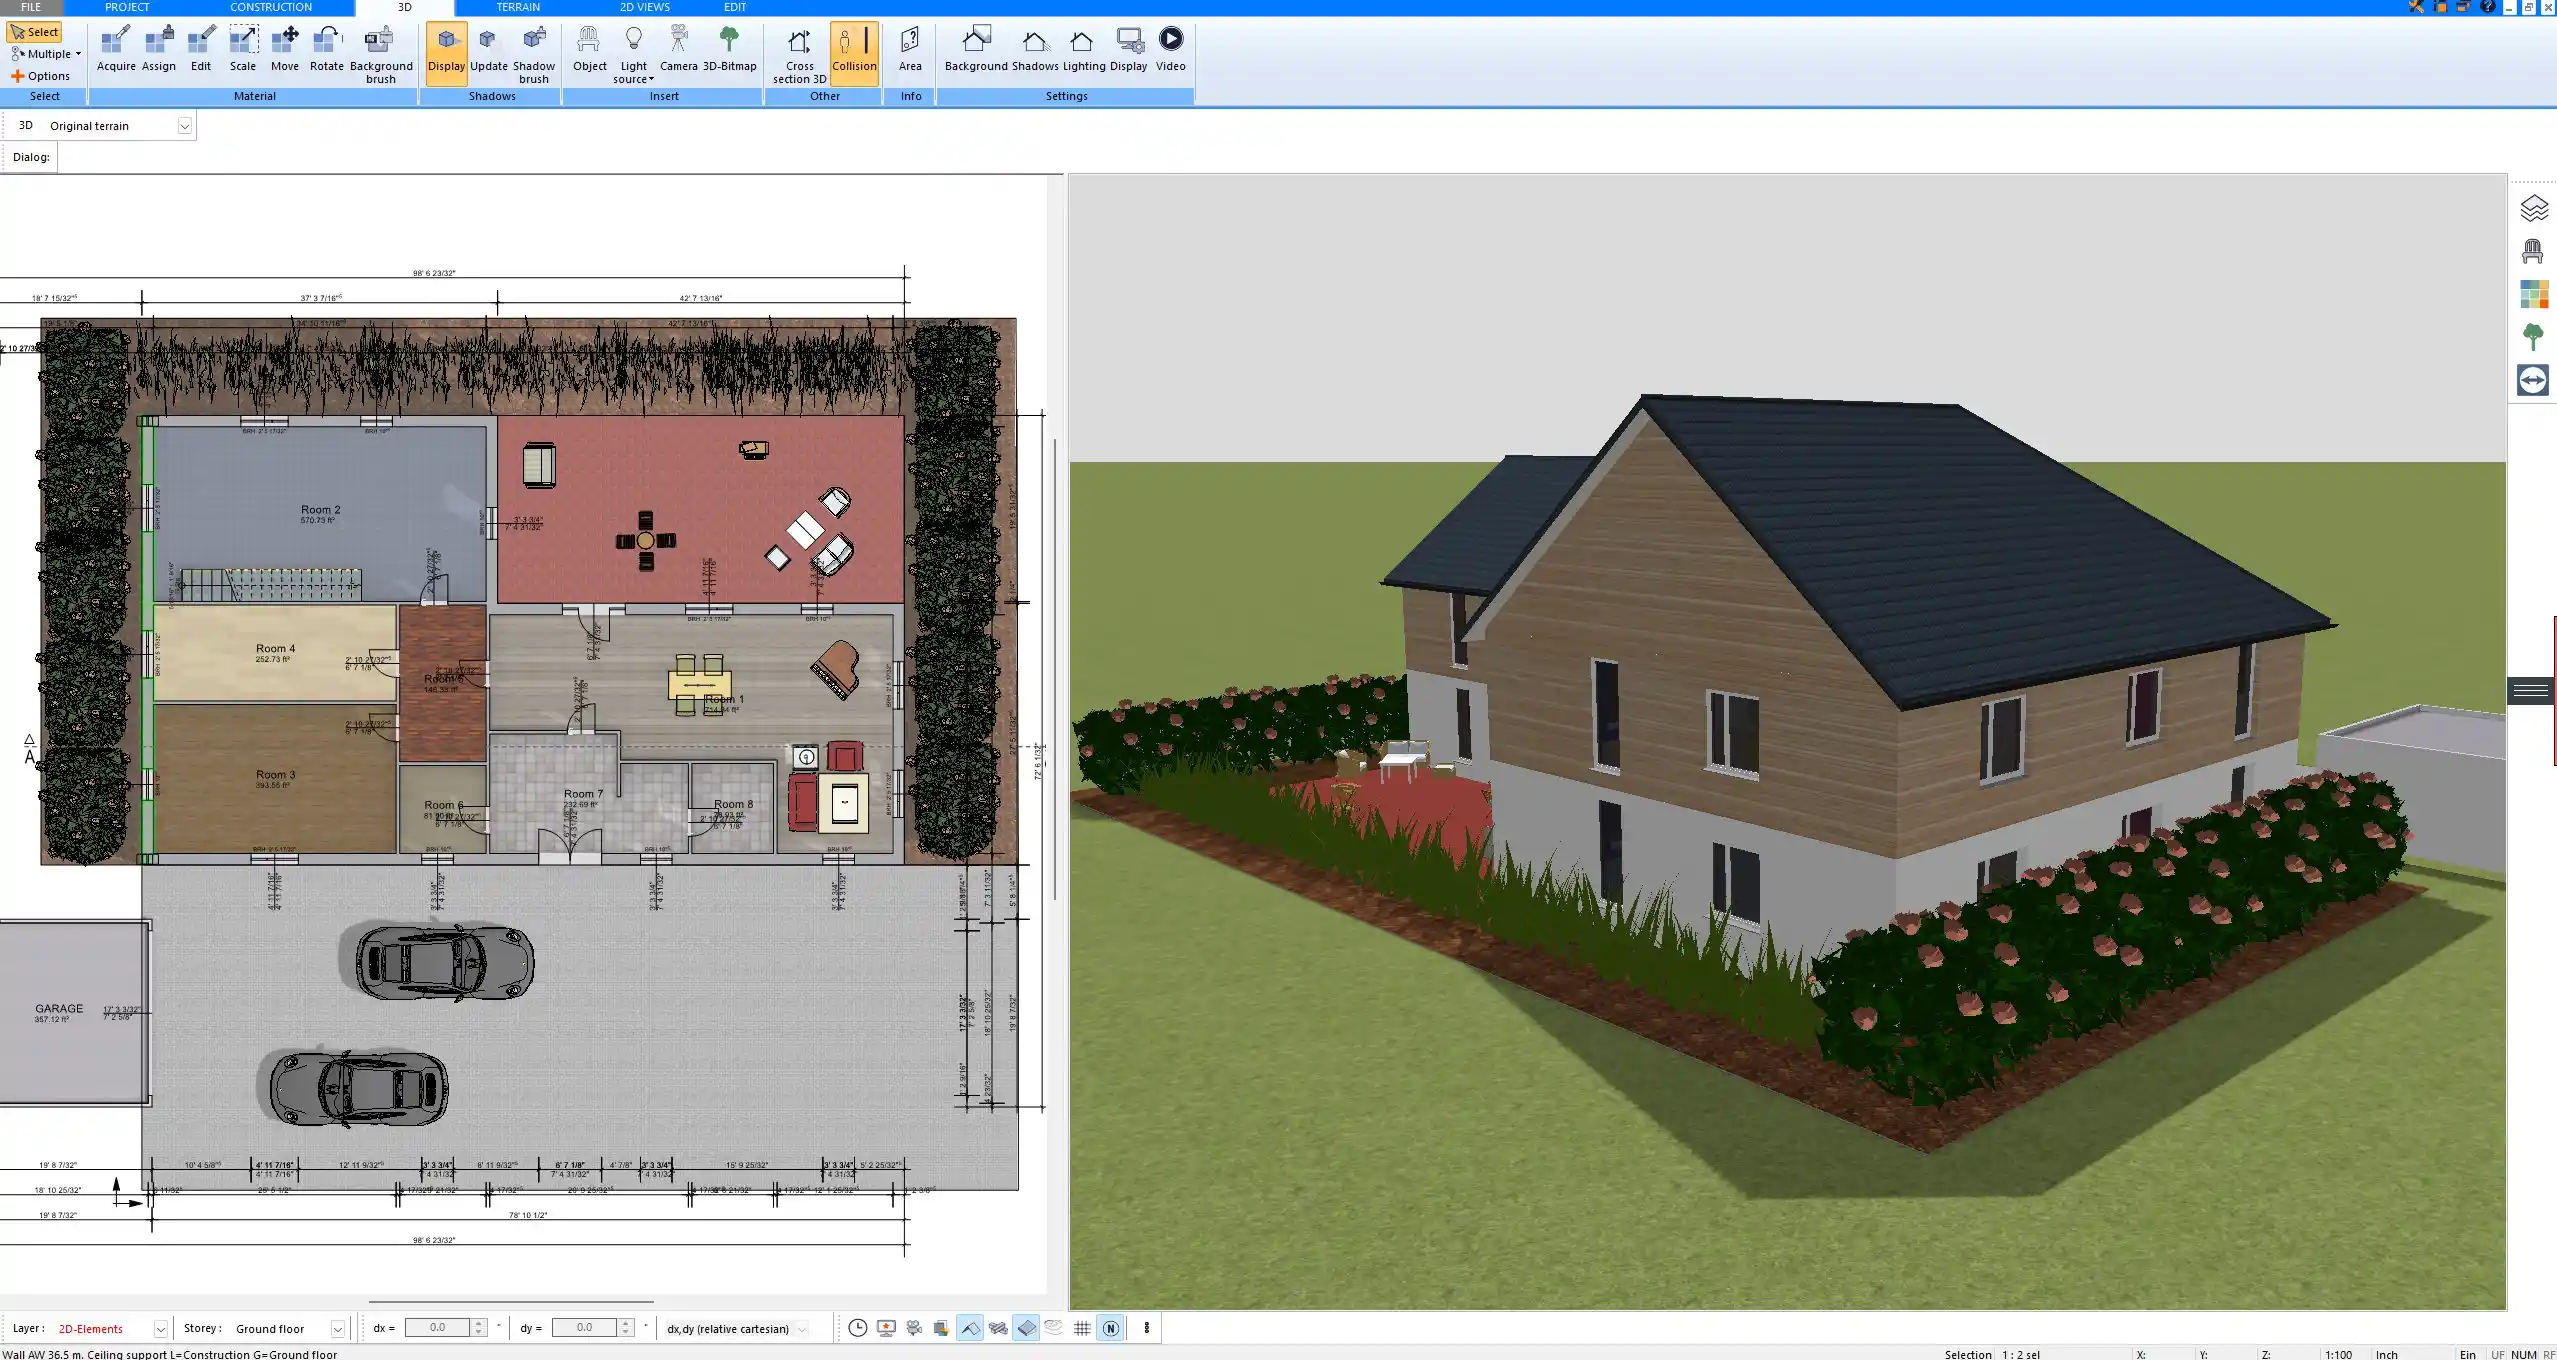
Step 4 – Check Dimensions and Export Plans
Once your layout is complete, you can check and fine-tune all dimensions. Plan7Architect shows area sizes for each room and allows you to generate an automatic list of floor areas (in square meters or square feet). Use the manual surface measurement tool for roofs, walls, or solar panel areas.
When your plan is ready, export it as a PDF, DWG, or high-resolution image. Plan7Architect also supports layered plans and scaled printouts for permit applications.
Tips for Off-Grid Floor Plans
-
Position windows to capture sunlight during winter and avoid overheating in summer
-
Design roof overhangs or pergolas for seasonal shading
-
Consider thick thermal mass walls for natural temperature regulation
-
Add external storage areas for firewood or gas cylinders
-
Minimize hallway space to make better use of square footage
-
If building in cold climates, add a small entry vestibule (airlock) to reduce heat loss
Example Layout: One-Story Off-Grid Cabin (75 m² / approx. 800 sq ft)
| Area | Description |
|---|---|
| Living Room/Kitchen | Open space with southern exposure, large windows |
| Bedroom | Compact, separated for privacy, well-insulated |
| Bathroom | With shower and composting toilet |
| Utility Room | Contains inverter, batteries, water system |
| Pantry/Storage | For food, tools, and backup supplies |
| Covered Porch | Extends living space and offers summer shading |
Can You Use Plan7Architect for International Off-Grid Planning?
Yes, Plan7Architect is fully adaptable to off-grid designs worldwide. You can switch between metric and imperial units at any time and define all building elements according to your local standards. This flexibility makes it suitable for off-grid homes in Europe, North America, Australia, Africa, and beyond. The software works offline, so you can plan even in remote areas without internet access.
Common Mistakes to Avoid
-
Oversizing the house, which increases heating and energy demand
-
Forgetting to include a technical room for system maintenance
-
Ignoring solar orientation and wind protection
-
Underestimating storage space for food, water, and power
-
Overcomplicating the design with too many rooms and corridors
-
Not checking local regulations, especially for wastewater and off-grid systems
Final Tip
Tip: In Plan7Architect Pro, use the layer system to separate elements such as solar technology, HVAC, or water management from the living areas. This makes your plans cleaner, easier to understand, and more professional—especially if you need to export them for official purposes or collaboration.
Plan your project with Plan7Architect

Plan7Architect Pro 5 for $219.99
You don’t need any prior experience because the software has been specifically designed for beginners. The planning process is carried out in 5 simple steps:
1. Draw Walls

2. Windows & Doors

3. Floors & Roof

4. Textures & 3D Objects

5. Plan for the Building Permit

6. Export the Floor Plan as a 3D Model for Twinmotion

- – Compliant with international construction standards
- – Usable on 3 PCs simultaneously
- – Option for consultation with an architect
- – Comprehensive user manual
- – Regular updates
- – Video tutorials
- – Millions of 3D objects available


