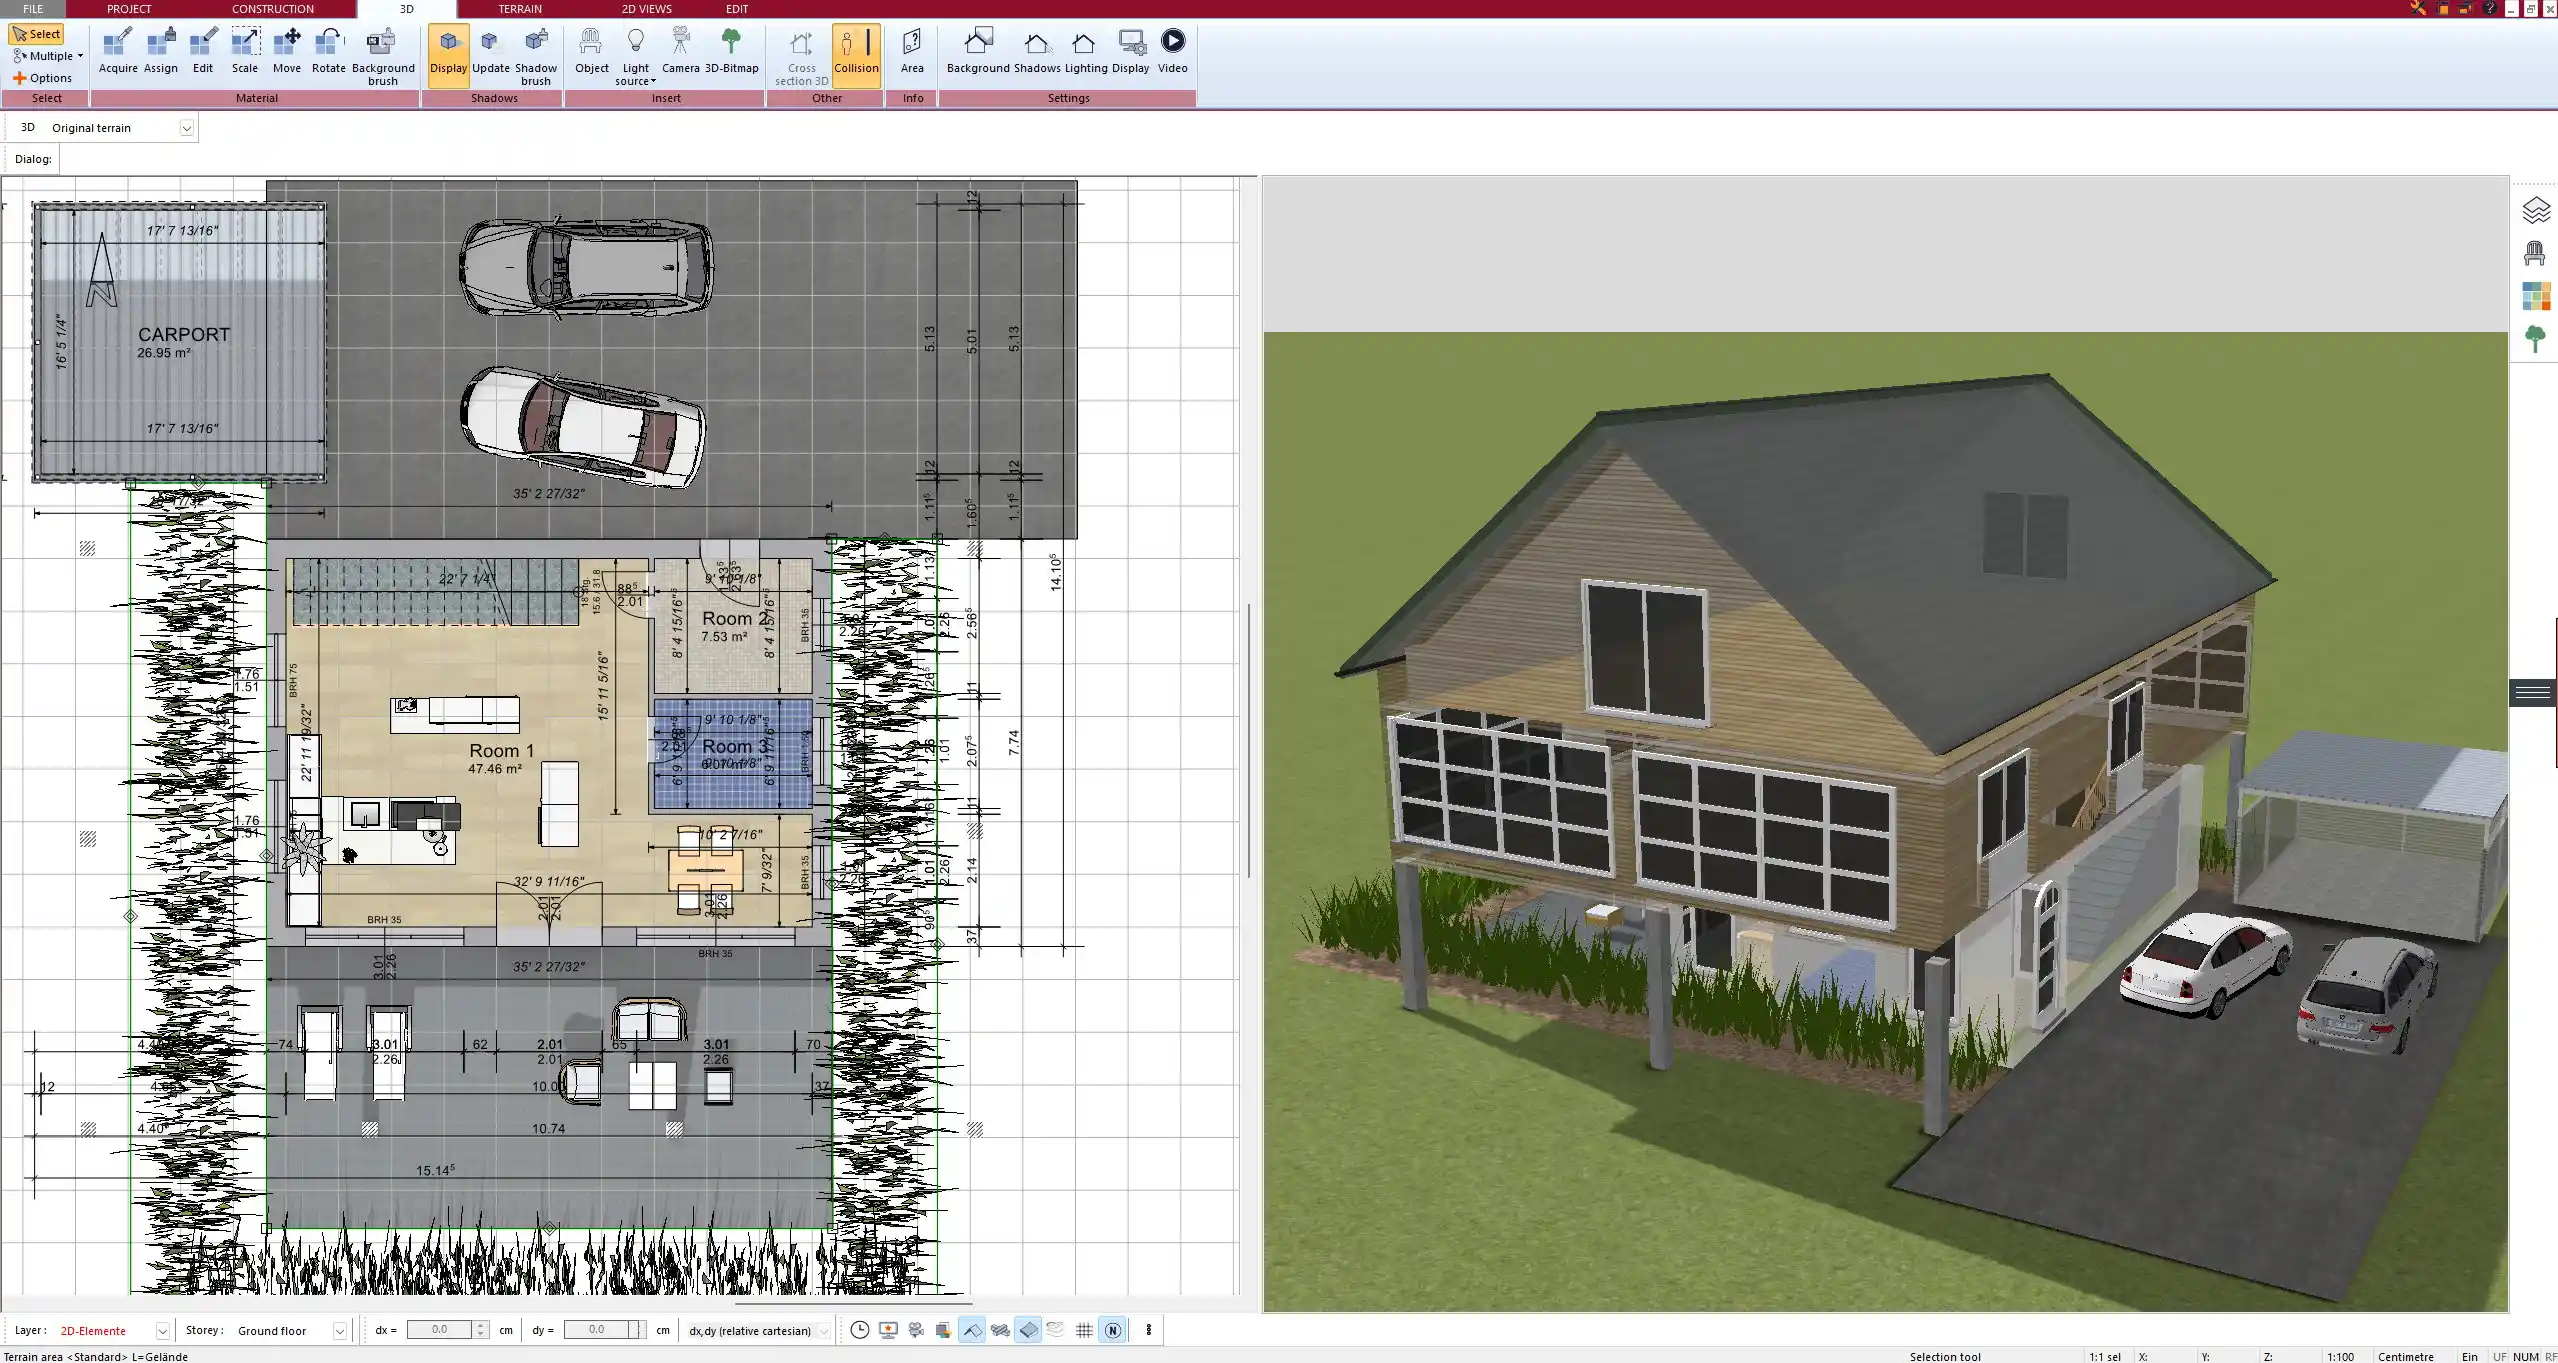
If you want to create a house floor plan that includes a garage, you can do this quickly and intuitively with Plan7Architect. The software allows you to design the entire house layout including an attached or detached garage, without needing any previous architectural knowledge. You can start from scratch or use one of the many ready-made sample projects included in the software.
In Plan7Architect, you work in both 2D and 3D simultaneously. That means you can draw your house and garage in a 2D floor plan, while instantly seeing how everything looks in 3D. You can also switch between metric (meters, centimeters) and imperial (feet, inches) units at any time, depending on your location and project requirements. This makes the software suitable for users worldwide.
Whether you’re planning a single-car garage, a double garage, or an extra-deep storage area, all elements can be individually adjusted. In this article, I’ll show you how I set up house plans with a garage in Plan7Architect and what you should consider for dimensions, layout, and real-world requirements.
Step-by-Step: How to Add a Garage to Your Floor Plan
Step 1 – Start a New Project or Use a Template
Once you open the software, you can either begin a new project or choose a sample project that already includes a garage to adapt. When starting from scratch, you first define the measurement system—either metric or imperial. Then, enter the basic parameters: number of floors, total dimensions, and optionally a plot outline.
If you already have a survey or base drawing, you can import it as an underlay (e.g., as a PDF, image, or DWG). This is especially useful if you’re planning a garage extension for an existing house.
Step 2 – Draw the Main House Layout First
I always begin with the main building. Using the wall tool, I sketch out the external walls and then add internal partitions. I define each room, place windows and doors, and adjust wall thicknesses as needed.
Each component can be modified later, so there’s no need to finalize the design right away. I like to use layers to organize different aspects—for example, having one layer for load-bearing walls and another for utilities.
Step 3 – Plan the Garage Area
Next, I add the garage. In most cases, I attach it to the house either directly or via a small hallway. But you can also place it detached from the house on the same plot.
Using the same wall tool, I draw the garage shape next to the house. I recommend deciding early whether you want space for one car, two cars, or more—this affects the necessary width and depth. You can freely set wall height and thickness for the garage independently from the house.
Step 4 – Insert Garage Doors and Driveway Access
In the object catalog, you’ll find several garage door options—sectional, roller, or classic double doors. You simply drag the door into the wall and adjust the width and height. The software shows you immediately in 3D how it looks.
To simulate driveway access, you can use the terrain and surface tools. I like to place a concrete texture or pavers in front of the garage to represent the driveway. You can even slope the terrain slightly for a realistic effect.
Step 5 – Set Room Types and Use Labels
It’s helpful to label the garage space clearly. I assign the “Garage” room type and optionally subdivide it into parking area and storage. You can place workbenches, shelves, or utility boxes from the object catalog if desired.
Room labels help when you generate area lists later on. Plan7Architect lets you export a full list of room sizes, which is useful when applying for permits or discussing the plan with professionals.
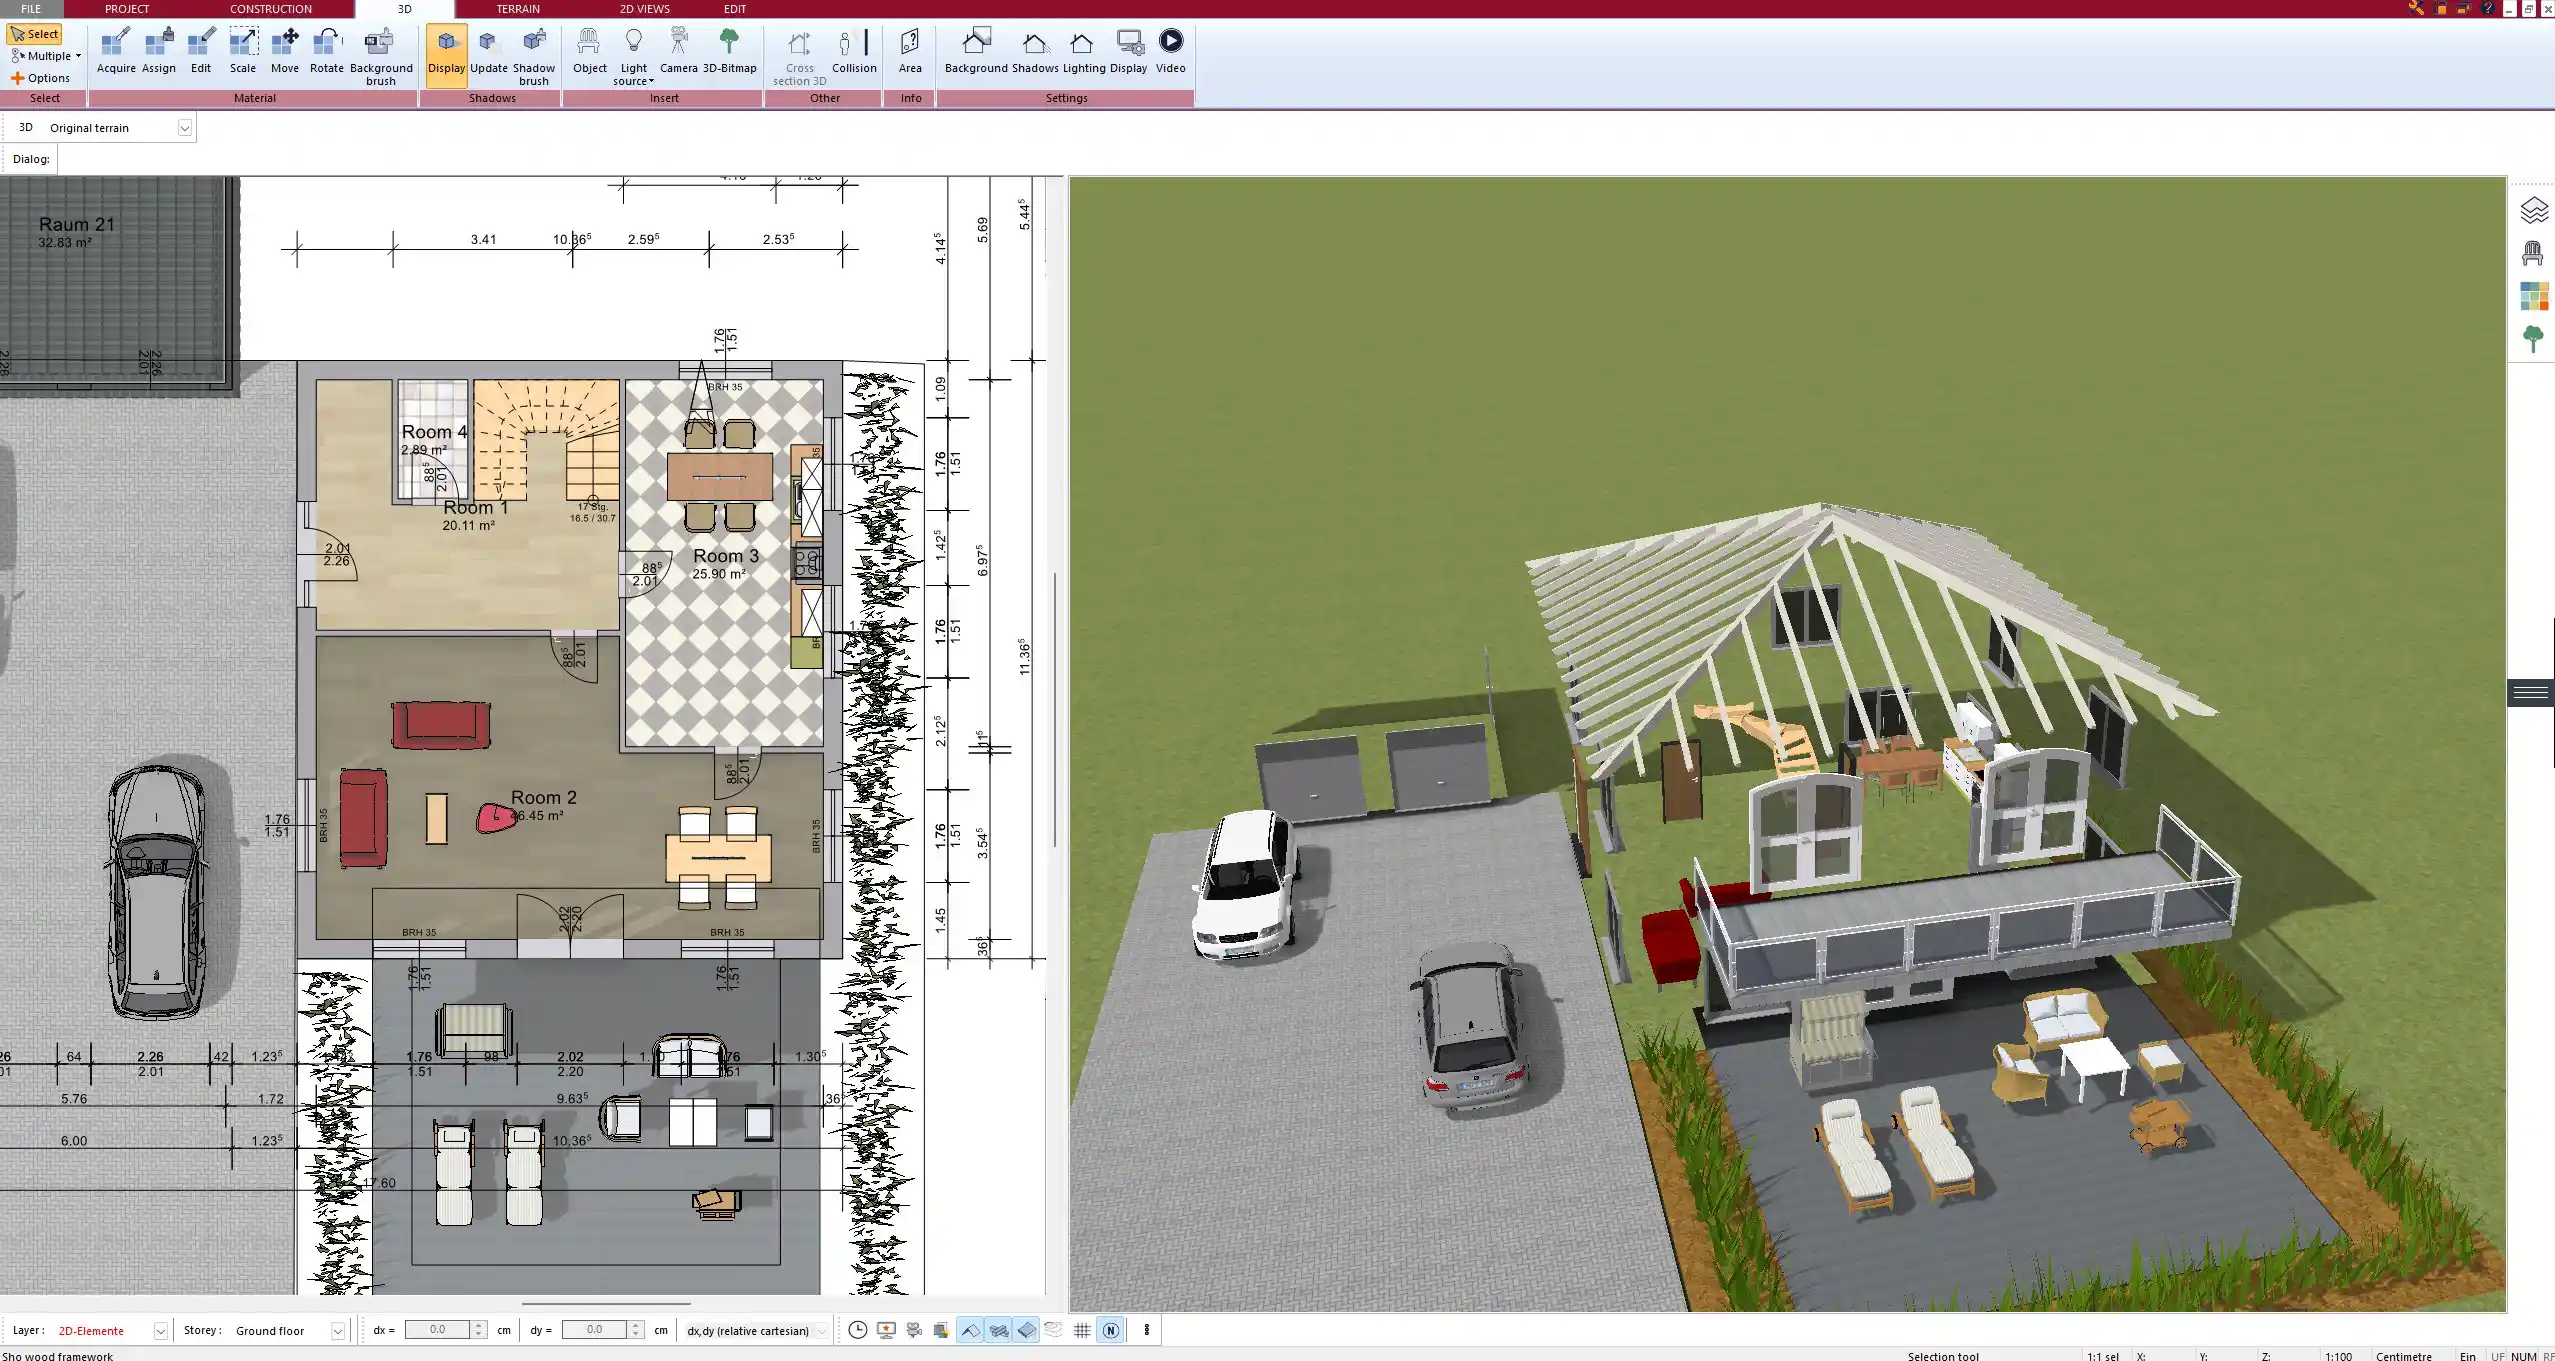
Step 6 – Add Upper Floor or Roof Over the Garage
Depending on your design, you might want a flat roof, a pitched roof, or even a room above the garage. I usually select a flat roof when I want to keep things modern, or a pitched roof to match the main building.
You can also connect the garage roof to the house roof for a seamless look. If you want to add dormers or skylights above the garage, this is easily done with just a few clicks.
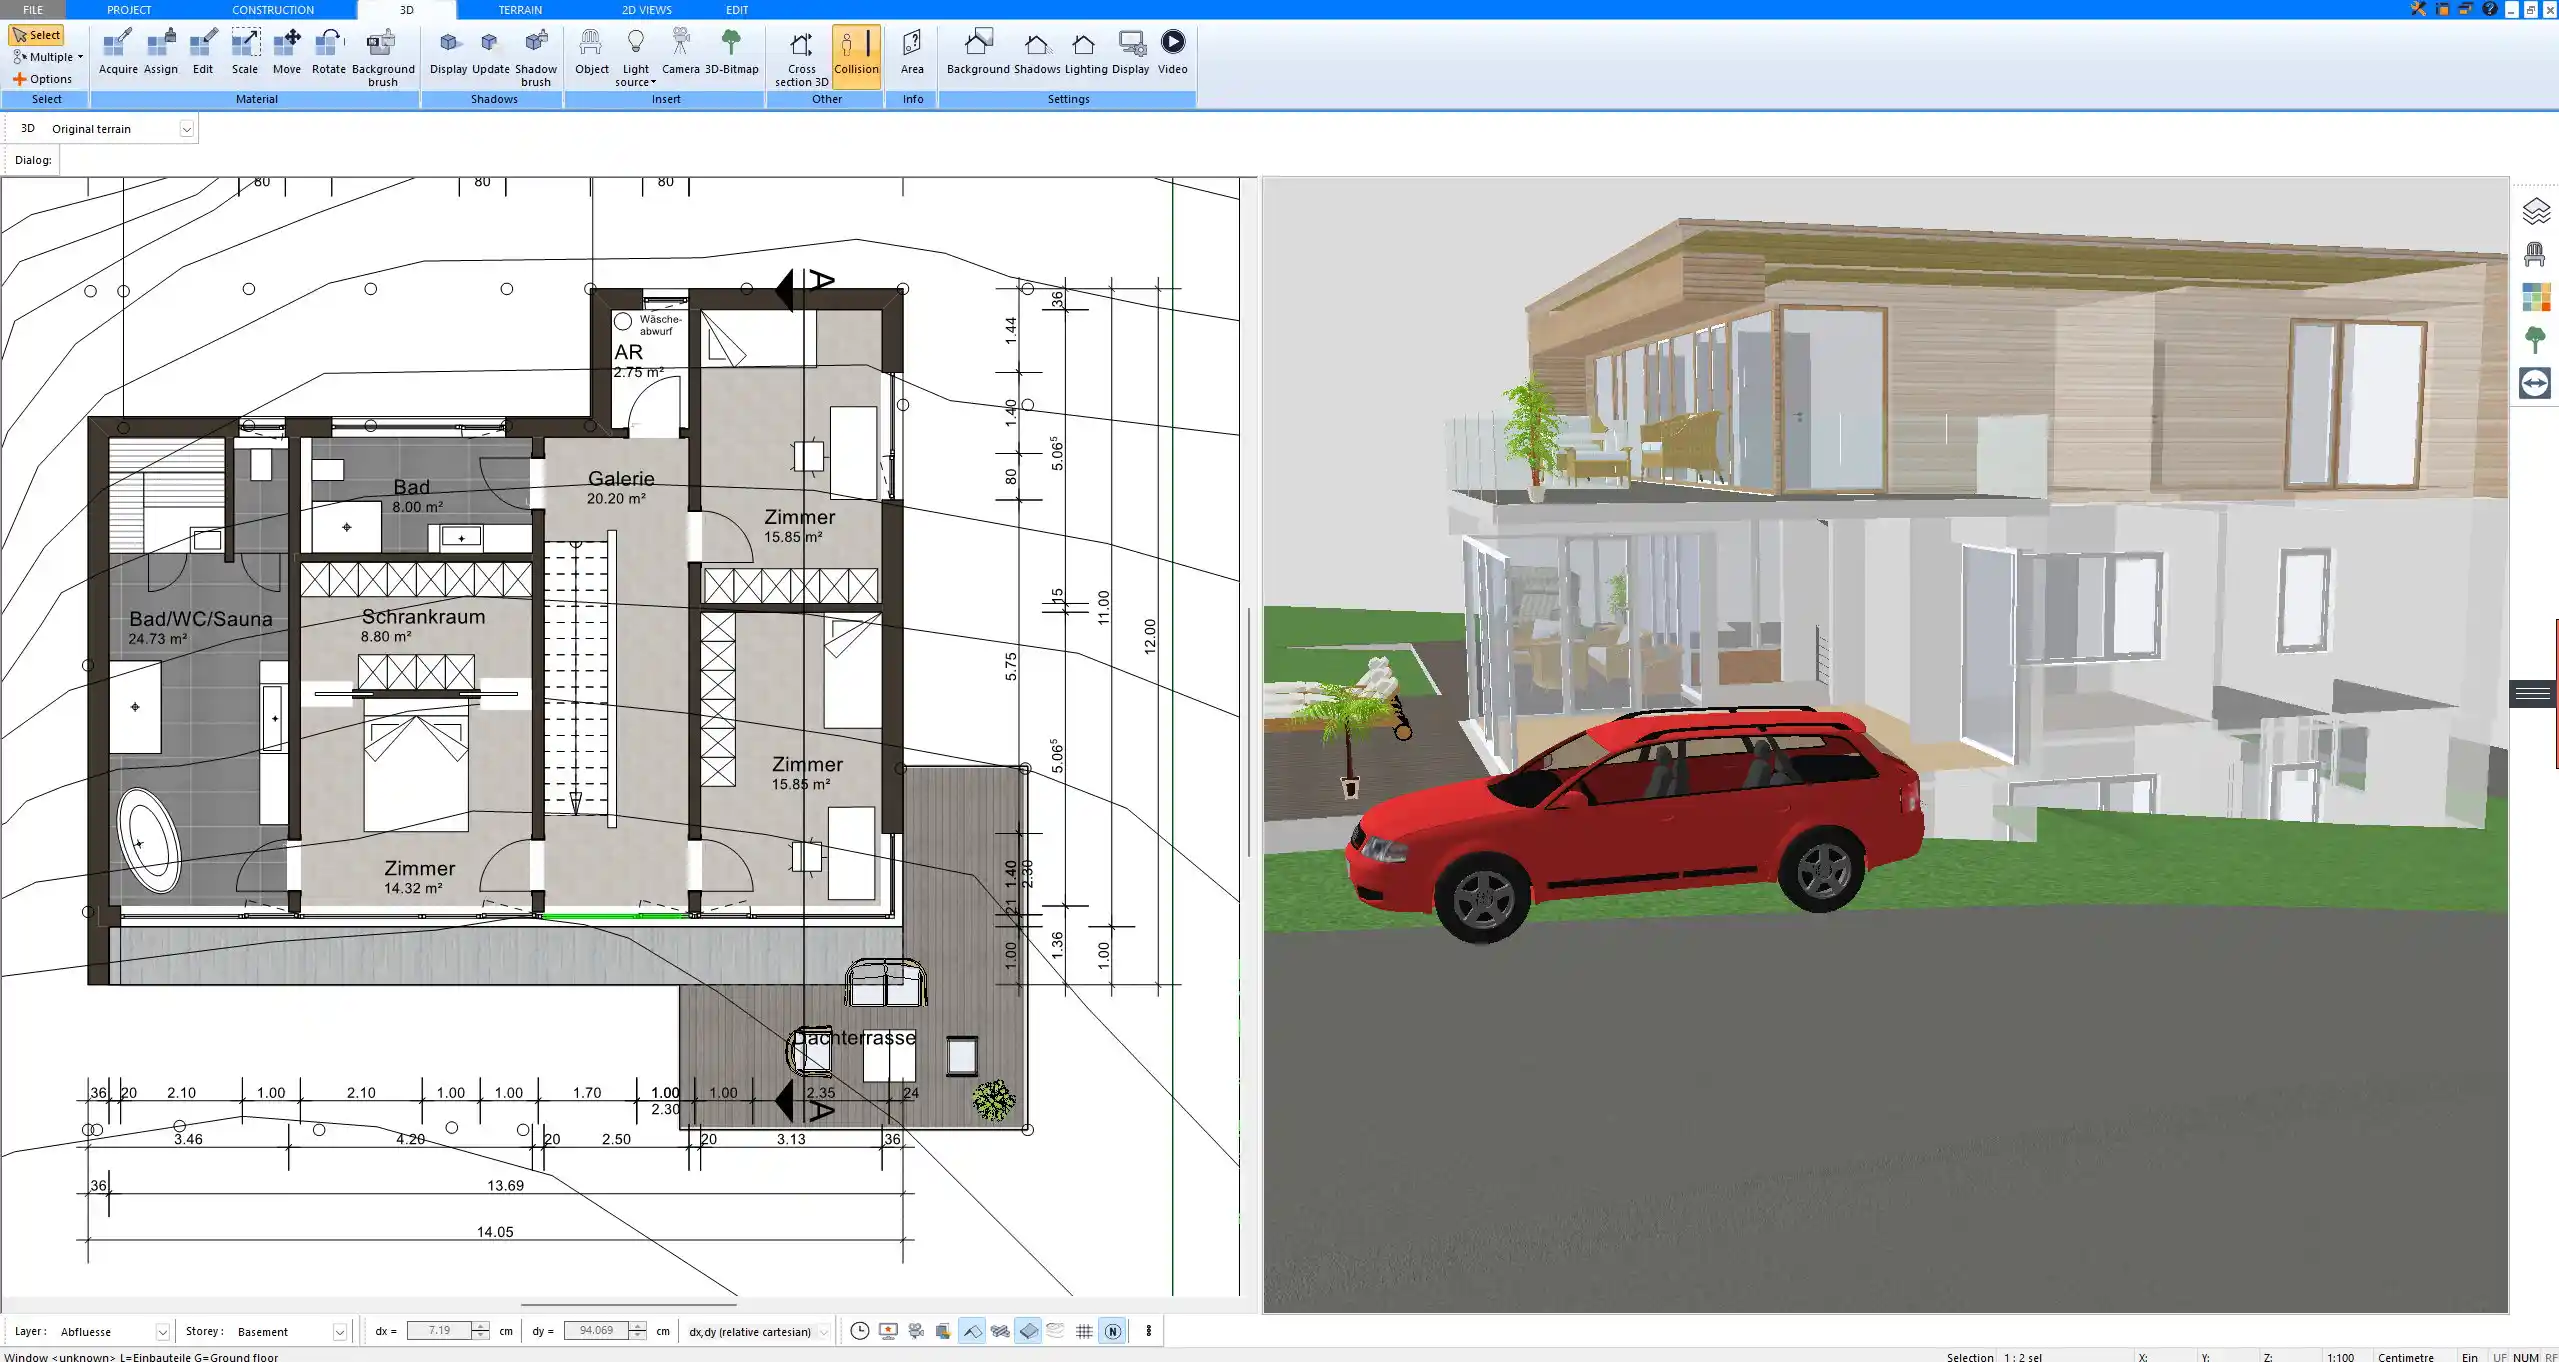
Step 7 – Preview in 3D and Adjust as Needed
After planning the garage, I always switch to 3D view. This lets you check proportions and correct any mistakes. You can walk through the entire house including the garage, rotate the view freely, and make real-time changes directly in the 3D model or in the 2D floor plan.
You can also render photorealistic images of the design or even record a virtual tour.
Garage Floor Plan Tips for Real-World Planning
Recommended Garage Sizes
| Garage Type | Minimum Size (Metric) | Minimum Size (Imperial) |
|---|---|---|
| Single Garage | 3.0 m x 5.5 m | 10 ft x 18 ft |
| Double Garage | 5.5 m x 6.0 m | 18 ft x 20 ft |
| With Storage Area | +2.0 m length/width | +6.5 ft length/width |
These are base dimensions. If you plan to store tools, bikes, or a workbench, add more space accordingly.
Attached vs. Detached Garage – Pros & Cons
Attached Garage:
-
Direct indoor access
-
Better insulation and security
-
Easier to integrate into house utilities
Detached Garage:
-
More flexible placement on plot
-
Less noise and fumes near living spaces
-
Often better for resale value or aesthetics
Local Regulations and Vehicle Sizes
Always check local zoning rules regarding setbacks, access roads, and maximum building sizes. In some countries, garages must meet fire protection standards or require specific insulation levels. If you have a large vehicle like a truck or van, plan additional height and clearance.
Tip:
If you’re unsure about future needs, leave extra space in your garage design. A few extra feet or centimeters now can prevent expensive changes later.
Exporting and Using Your Garage House Plan
Export for Building Permits or Professionals
Plan7Architect allows you to export your plans in several formats: PDF for printing, DWG for sharing with architects or engineers, or as image files for presentations. You can also include section drawings, elevations, and roof plans to complete your submission.
Use the Plan for Visualization or Presentation
If you’re presenting your plan to a contractor, family, or city office, the 3D views and walk-throughs are a major benefit. You can create animated tours or static visuals that clearly show what you’re planning.
Advantages of Planning Your Garage with Plan7Architect
-
Full control over house and garage layout
-
Create floor plans, cross sections, and 3D models
-
Includes a large catalog of garage-specific objects
-
Works with metric and imperial units
-
Real-time 2D/3D planning
-
No subscription model – one-time payment
-
Use on up to three devices
-
Export options for permit drawings and collaboration
Boxed Tip:
You can switch units (metric/imperial) at any time—perfect if you’re working across countries or submitting plans to different authorities.
Plan a Professional Garage Floor Plan – Without Subscription
With Plan7Architect, you can design your house and garage in one connected process. Whether you’re starting a new build or planning an extension, the software gives you full flexibility and professional tools—without a steep learning curve. And thanks to the 14-day money-back guarantee, you can try it risk-free. You only pay once and can install it on up to three PCs.
Plan your project with Plan7Architect

Plan7Architect Pro 5 for $99.99
You don’t need any prior experience because the software has been specifically designed for beginners. The planning process is carried out in 5 simple steps:
1. Draw Walls

2. Windows & Doors

3. Floors & Roof

4. Textures & 3D Objects

5. Plan for the Building Permit

6. Export the Floor Plan as a 3D Model for Twinmotion

- – Compliant with international construction standards
- – Usable on 3 PCs simultaneously
- – Option for consultation with an architect
- – Comprehensive user manual
- – Regular updates
- – Video tutorials
- – Millions of 3D objects available


