If you want to create your own atrium house floor plan, you can start directly in Plan7Architect. After launching the software, open a new project. You can either select an empty template or use a pre-configured house layout as a starting point.
Use the wall tool to define the outer shape of your home. The atrium is created by leaving an open space in the center or along one side of the layout, depending on your preferred design. The shape could be rectangular, U-shaped, L-shaped, or even a closed square surrounding the atrium on all sides.
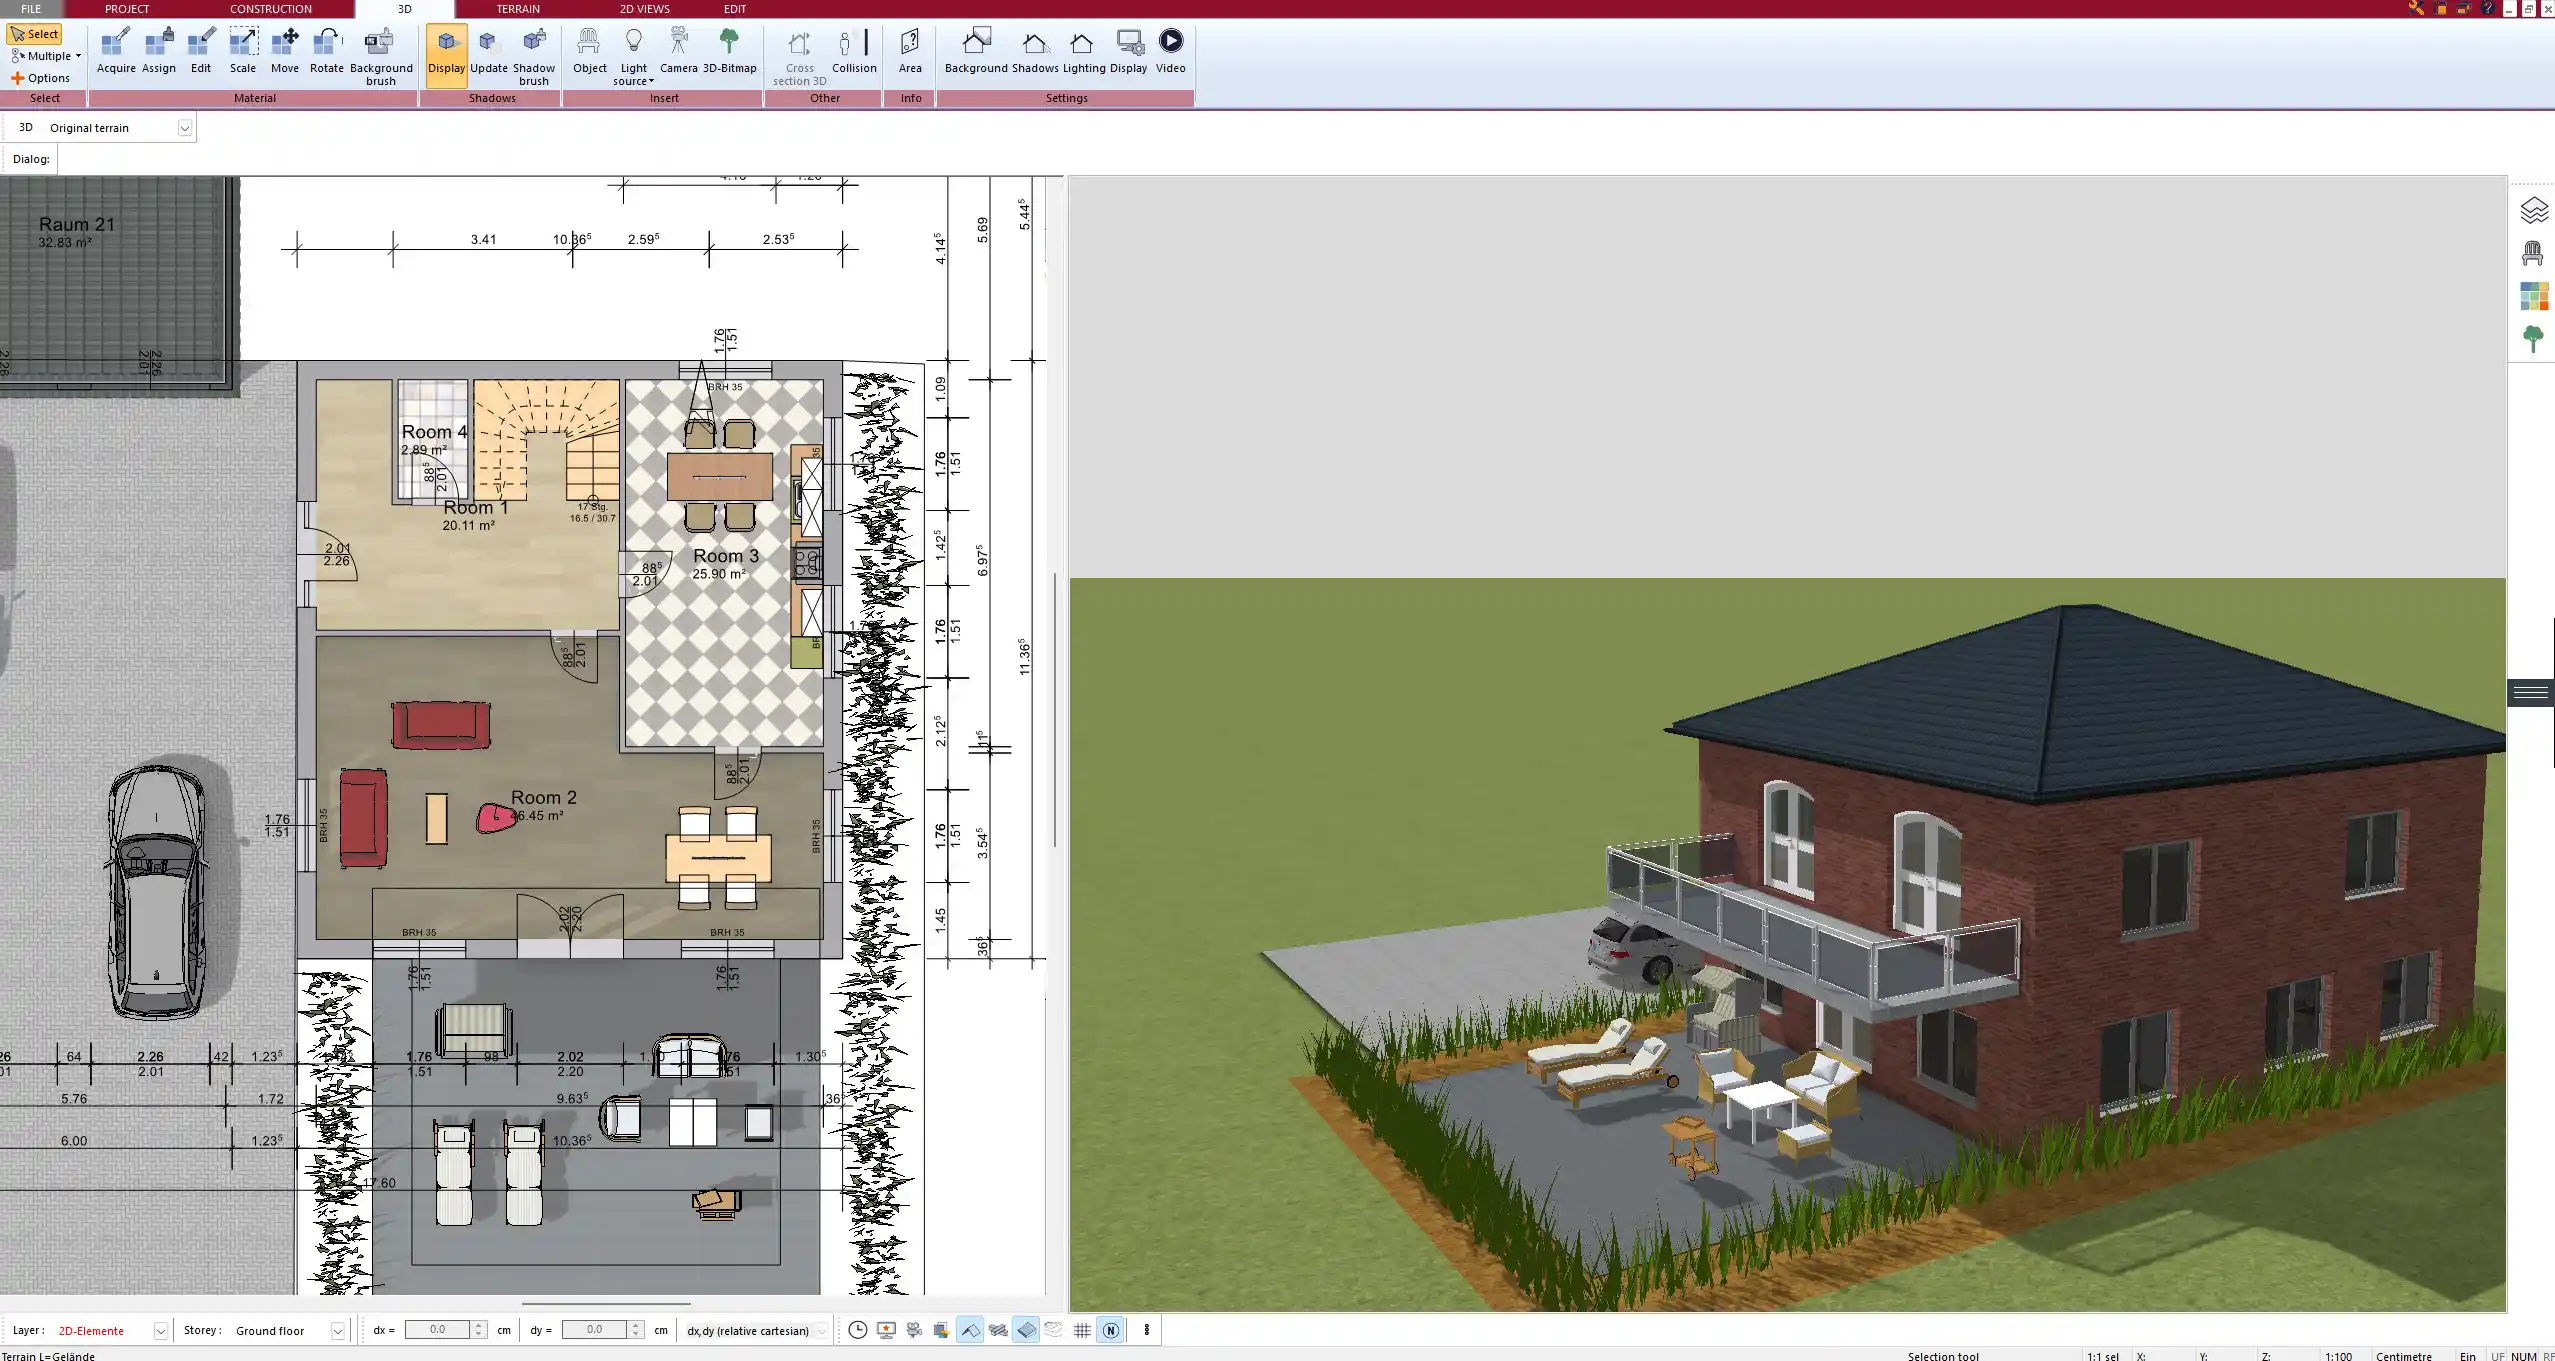
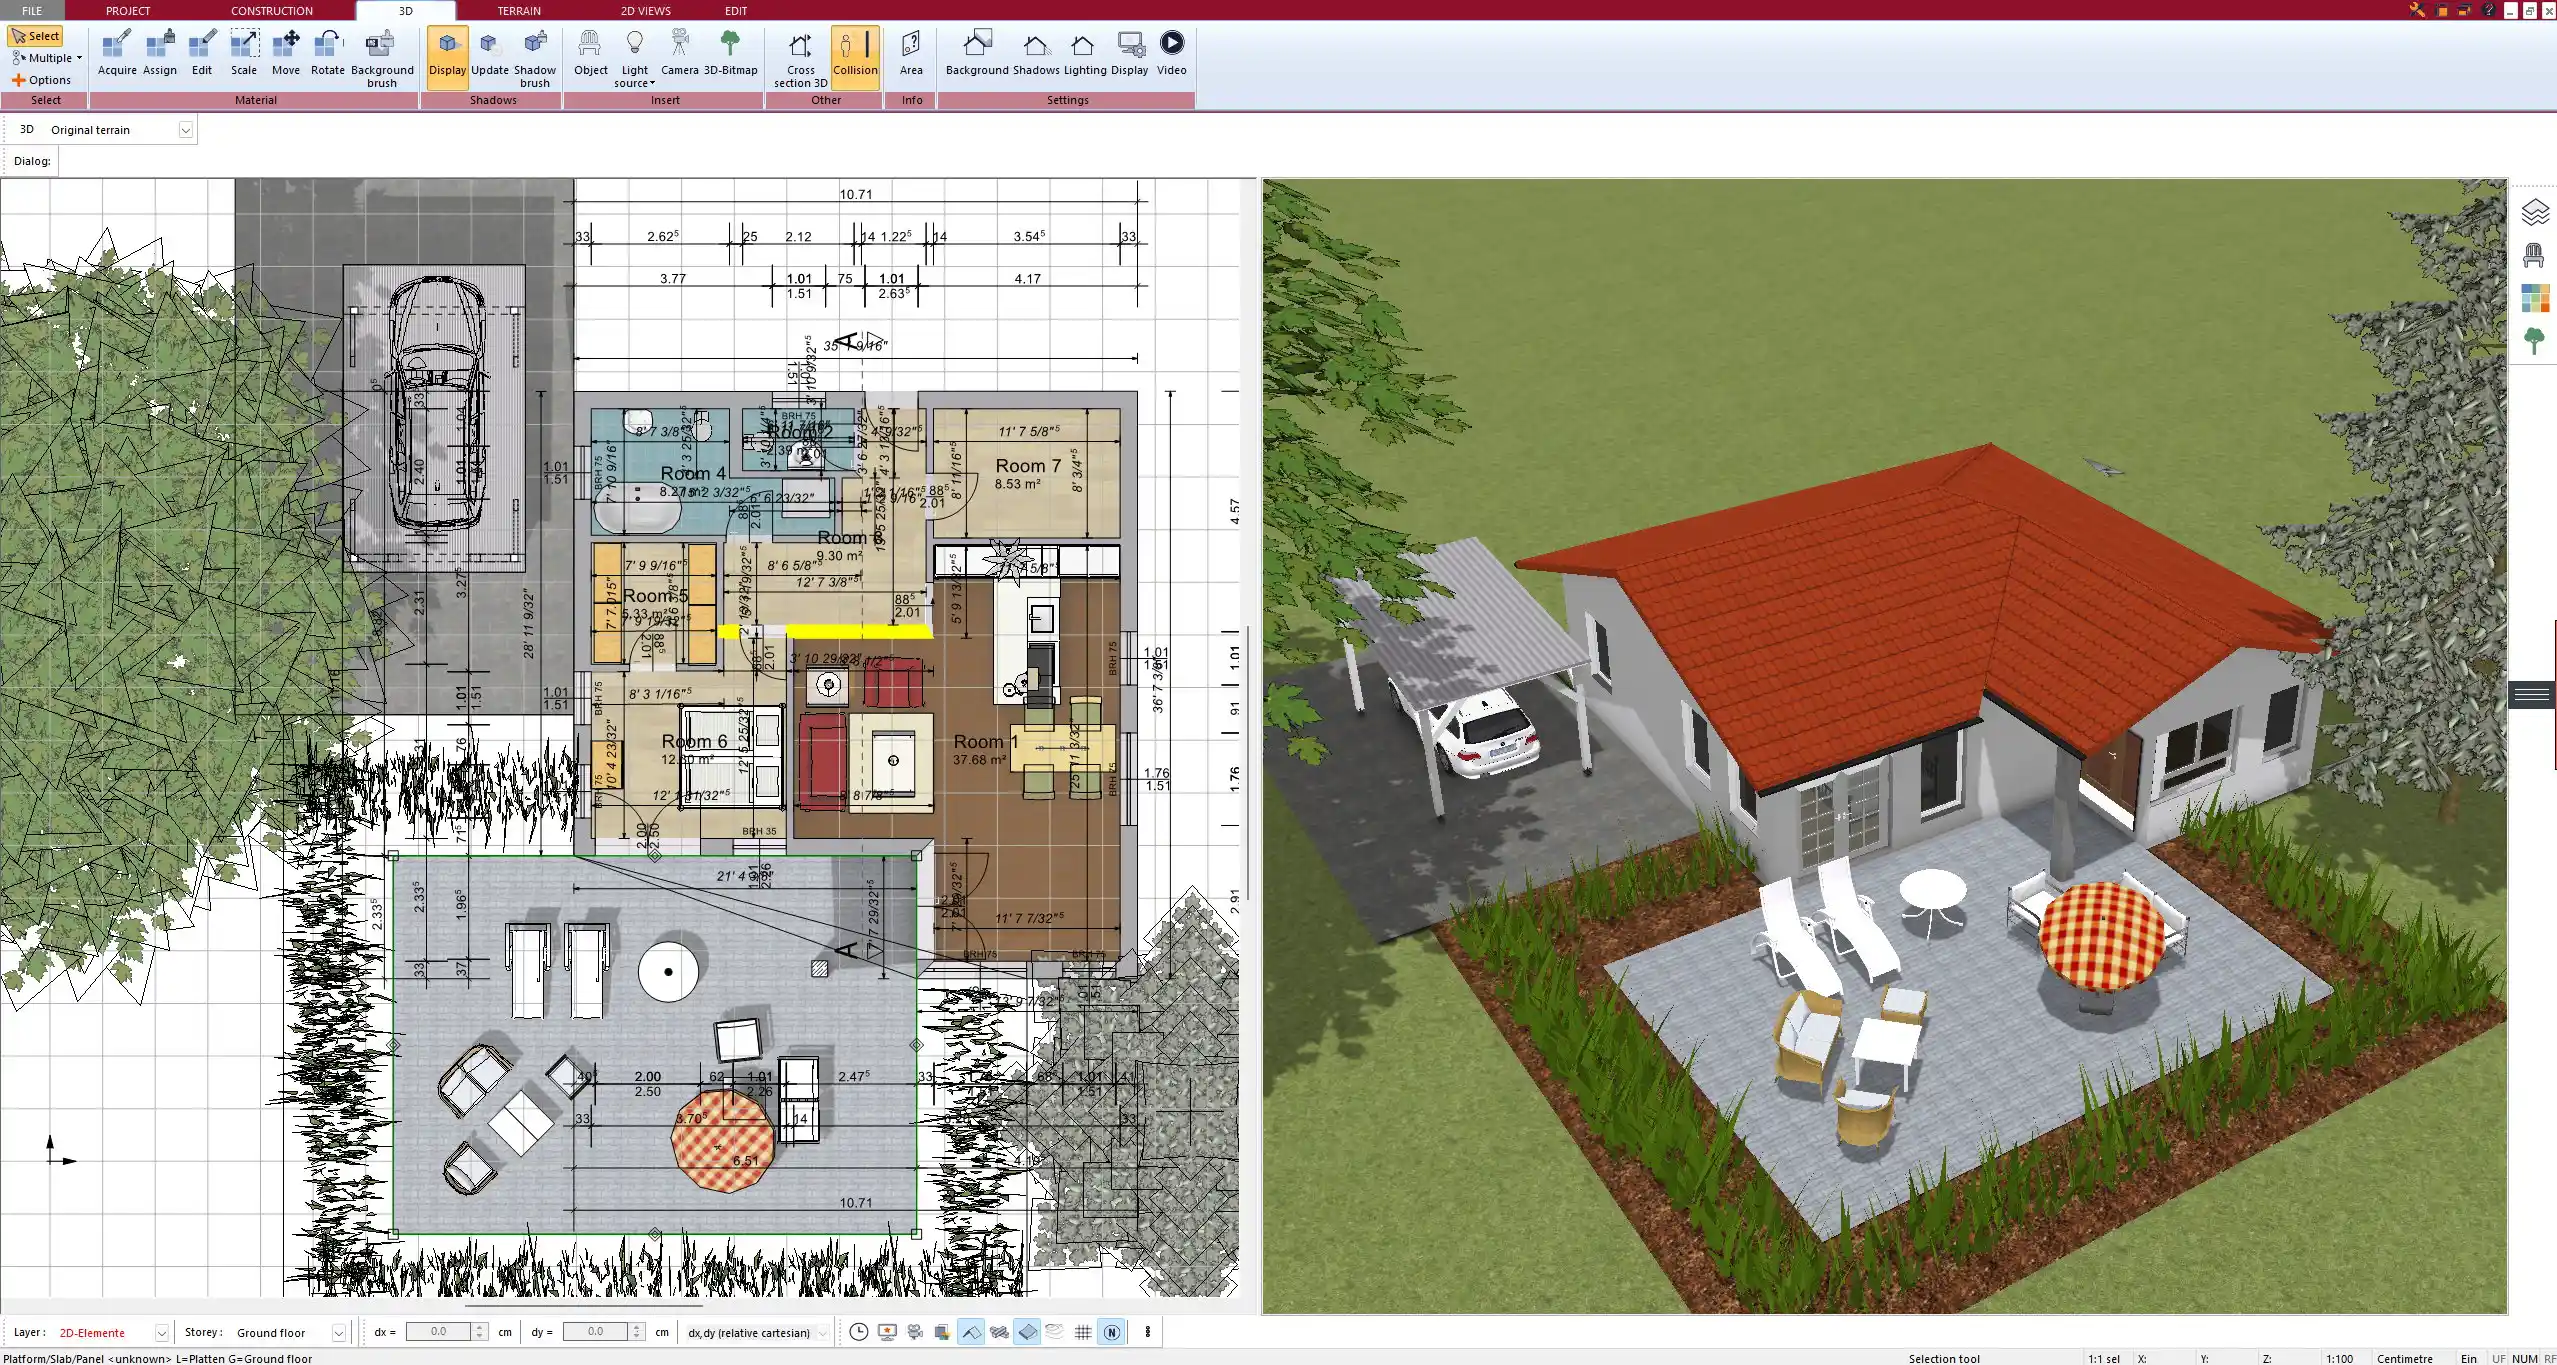
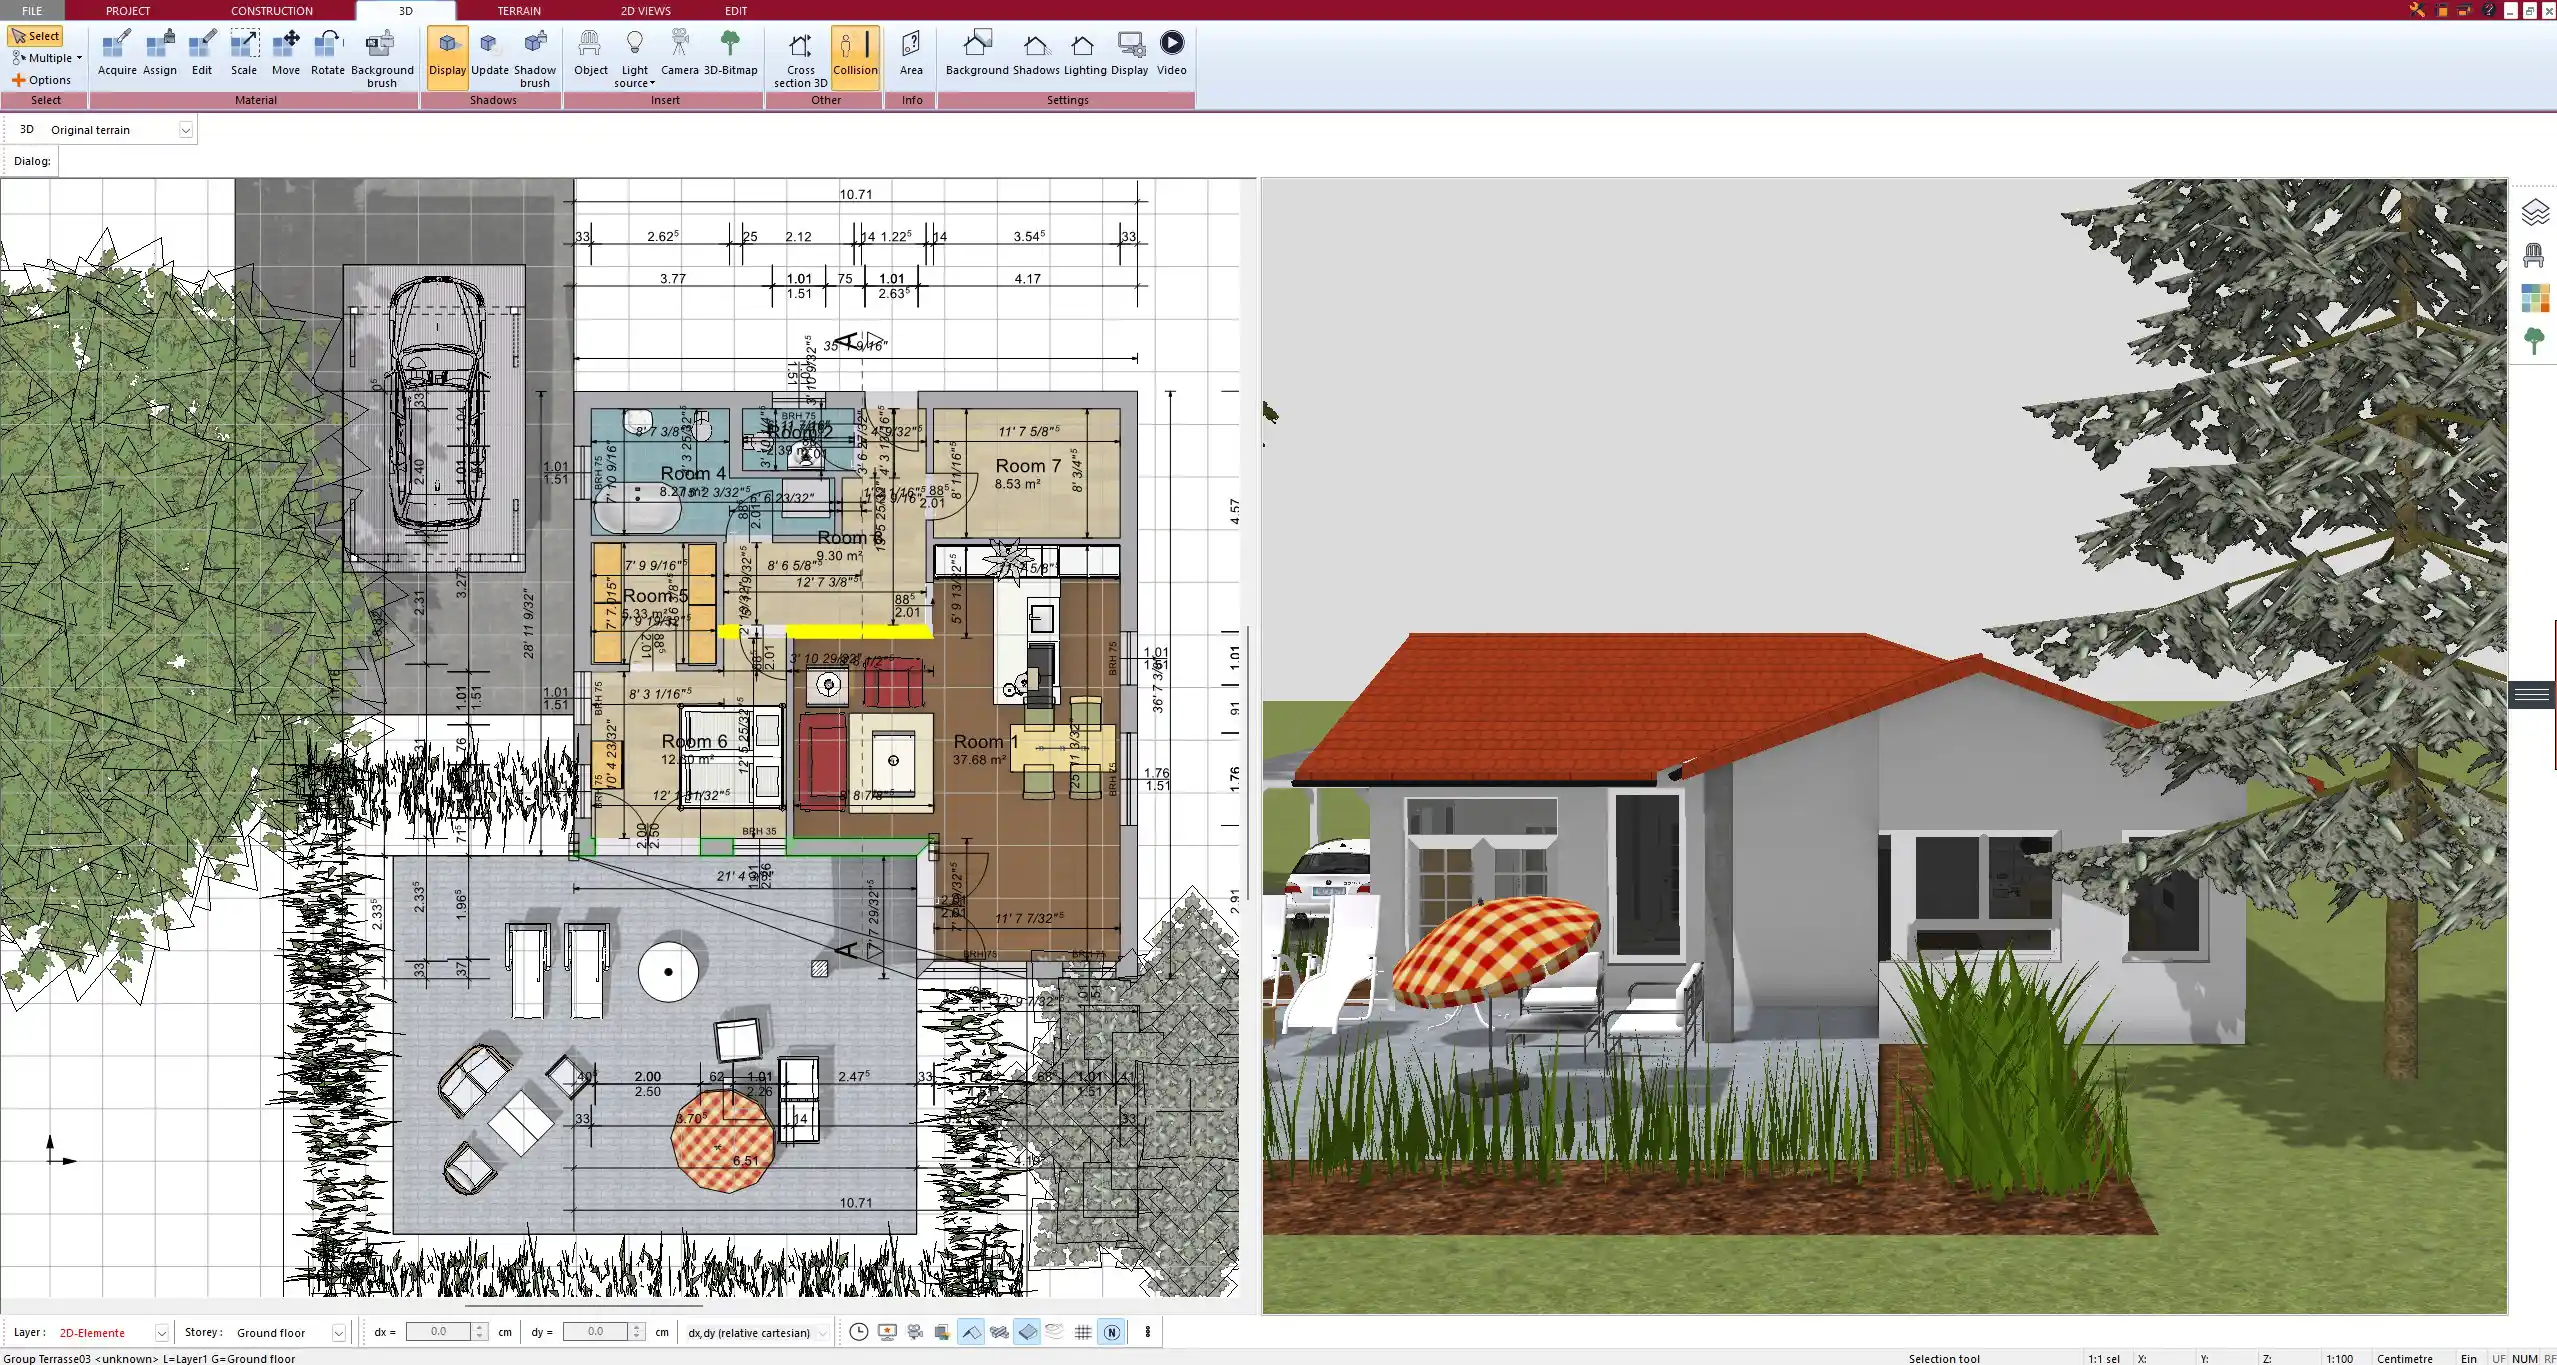
Once the outer walls are placed, define the interior layout by adding rooms around the atrium. These can include living areas, kitchens, bedrooms, and hallways. With Plan7Architect, you can switch between 2D and 3D views anytime to visualize your design and check proportions.
To open up the space toward the atrium, add large sliding glass doors or open passages between the indoor areas and the courtyard. You can easily drag and drop such elements into the floor plan. Whether you’re working with meters or feet, the software lets you switch between metric and imperial units based on your preference.
Tip: You can place trees, plants, benches, or even a small water feature inside the atrium area and see them immediately in the 3D view. This gives you a realistic feel for the space as it will look later.
What Makes an Atrium House Unique?
The core element of an atrium house is its internal courtyard. This area is usually open to the sky and located in the middle of the house or enclosed by wings of the building. The atrium allows for more natural light, fresh air circulation, and privacy without compromising the outdoor feeling.
Atrium houses are especially popular in warm climates where central outdoor spaces act as cooling zones. They are also great for urban plots, offering privacy and light even on smaller lots. All living spaces are arranged around the atrium, giving a calm and open atmosphere to the home.
Key characteristics of atrium homes:
-
Central courtyard open to the sky or partially roofed
-
Indoor rooms connected directly to the atrium
-
Strong visual connection between interior and exterior
-
Excellent for ventilation and light distribution
-
Increased privacy even in densely built areas
Core Features You’ll Need to Use in the Software
Wall and Room Layout Tools
Start by drawing the outer walls of your house using the wall tool. Define the atrium space by leaving a large rectangular or square gap in the center. Then, create surrounding rooms using the room function or individual walls.
You can set specific wall thicknesses, lengths, and orientations by simply clicking and adjusting the dimensions. If you want to match a specific construction plan or design, you can enter exact values in meters or feet. Plan7Architect lets you choose between metric and imperial units at any time.
Glass Elements and Openings
To create a strong connection between the atrium and the interior, add large windows, glass walls, and sliding doors facing the atrium space. These elements can be placed by dragging them from the catalog directly into the wall.
You can use:
-
Floor-to-ceiling windows
-
Folding glass walls
-
Sliding patio doors
-
Transparent partitions
This helps bring in light and maintains a visual flow throughout the building.
Atrium Landscaping and Design
Once the structural elements are in place, you can design the atrium itself. Plan7Architect includes a library of 3D garden objects, including:
-
Trees
-
Shrubs
-
Garden paths
-
Benches
-
Decorative elements
If your atrium includes a fountain or small pond, you can place water objects as well. The landscaping can be adjusted in the 3D view to ensure harmony with the surrounding rooms.
You also have the option to partially cover the atrium using transparent roof panels or pergola structures to provide shade and protection from rain.
Lighting Simulation
Plan7Architect lets you simulate real sunlight and shadows. You can set the geographic location, time of day, and season to analyze how light moves through your atrium during the day.
This is especially helpful for:
-
Determining optimal window placement
-
Planning for passive heating or shading
-
Improving energy efficiency
With real-time shadow simulation, you’ll see how much sunlight enters the atrium and which rooms benefit most.
Design Options and Variations for Your Atrium Layout
Depending on the size and orientation of your plot, you can choose different architectural shapes for your atrium house. Each shape affects light, privacy, and space usage differently.
Design options:
-
U-shape: Three-sided enclosure around the atrium. Ideal for larger plots with a clear backyard direction.
-
L-shape: Creates partial enclosure, perfect for corner lots or compact layouts.
-
Ring-shape: Encloses the atrium entirely, offering maximum privacy.
-
Split-level: Incorporates different floor heights around the atrium, creating dynamic views and spatial experiences.
Example Floor Plan Setup Table
| House Shape | Recommended Plot Size | Typical Atrium Size | Entry Point |
|---|---|---|---|
| U-shape | 900 to 1300 m2 / 9600 to 14000 ft2 | 5 x 5 m / 16 x 16 ft | Entry from center wing |
| L-shape | 600 to 900 m2 / 6500 to 9600 ft2 | 4 x 4 m / 13 x 13 ft | Atrium in corner connection |
| Ring-shape | 1000+ m2 / 10700+ ft2 | 6 x 6 m / 19 x 19 ft | Entry via main corridor |
How to Plan for Weather and Climate
The design of your atrium should reflect the local climate conditions. In hot and dry regions, the atrium can be used for passive cooling. Planting greenery and installing water features enhances evaporative cooling effects.
In colder or rainy areas, you may want to include a retractable roof or cover parts of the atrium with glass. This allows year-round use of the space while still maintaining a bright and open feeling.
With Plan7Architect’s simulation features, you can test different roof designs and shading solutions and see how they affect the indoor climate and lighting.
Elements to consider:
-
Sun orientation and shadow movement
-
Rainwater drainage inside the courtyard
-
Wind flow through openings
-
Use of deciduous trees for seasonal shading
Common Mistakes to Avoid
Atrium design offers great freedom, but some typical errors can reduce its functionality or visual appeal.
Mistakes to avoid:
-
Designing the atrium too small – it should feel like an extension of your living space
-
Placing no doors or access to the atrium from main rooms – it should be integrated, not isolated
-
Forgetting about rainwater drainage – standing water or soil flooding can be problematic
-
Ignoring visual proportions – keep window sizes balanced around the atrium
Warning: Always double-check dimensions and distances using Plan7Architect’s measurement tools. What looks good in 3D must also work in reality.
Exporting and Presenting Your Plan
Once your floor plan is complete, you can export it in several ways. Plan7Architect allows you to create technical and visual outputs suitable for presentations, permits, or contractors.
Export options include:
-
2D floor plans in PDF format
-
3D renderings and walkthroughs
-
Scaled technical plans for construction
-
Image exports for quick sharing
All plans can be created in either metric (m²) or imperial (ft²) units, and you can include furniture, landscaping, and material textures in your exports.
You also have the option to export your model for visualization in Twinmotion, allowing real-time walkthroughs and photo-realistic presentations of your atrium house.
Conclusion: You Don’t Need an Architect to Design Your Atrium House Floor Plan
With Plan7Architect, you can create your own atrium house design from scratch—customized to your needs, style, and region. The software gives you complete control over layout, structure, and atmosphere, with tools for realistic 3D visualization, technical accuracy, and creative freedom.
Whether you’re building in Europe, North America, or elsewhere, the ability to switch between metric and imperial units ensures smooth planning. Use Plan7Architect to confidently design a unique atrium-centered home that connects light, air, and space—all in one place.
Plan your project with Plan7Architect

Plan7Architect Pro 5 for $99.99
You don’t need any prior experience because the software has been specifically designed for beginners. The planning process is carried out in 5 simple steps:
1. Draw Walls

2. Windows & Doors

3. Floors & Roof

4. Textures & 3D Objects

5. Plan for the Building Permit

6. Export the Floor Plan as a 3D Model for Twinmotion

- – Compliant with international construction standards
- – Usable on 3 PCs simultaneously
- – Option for consultation with an architect
- – Comprehensive user manual
- – Regular updates
- – Video tutorials
- – Millions of 3D objects available


