If you’re planning to build or remodel a home with energy efficiency in mind, you can create a suitable floor plan yourself using the Plan7Architect software. With the right tools and features, it becomes surprisingly straightforward to incorporate passive solar design, optimize insulation, and arrange rooms in a way that reduces energy consumption.
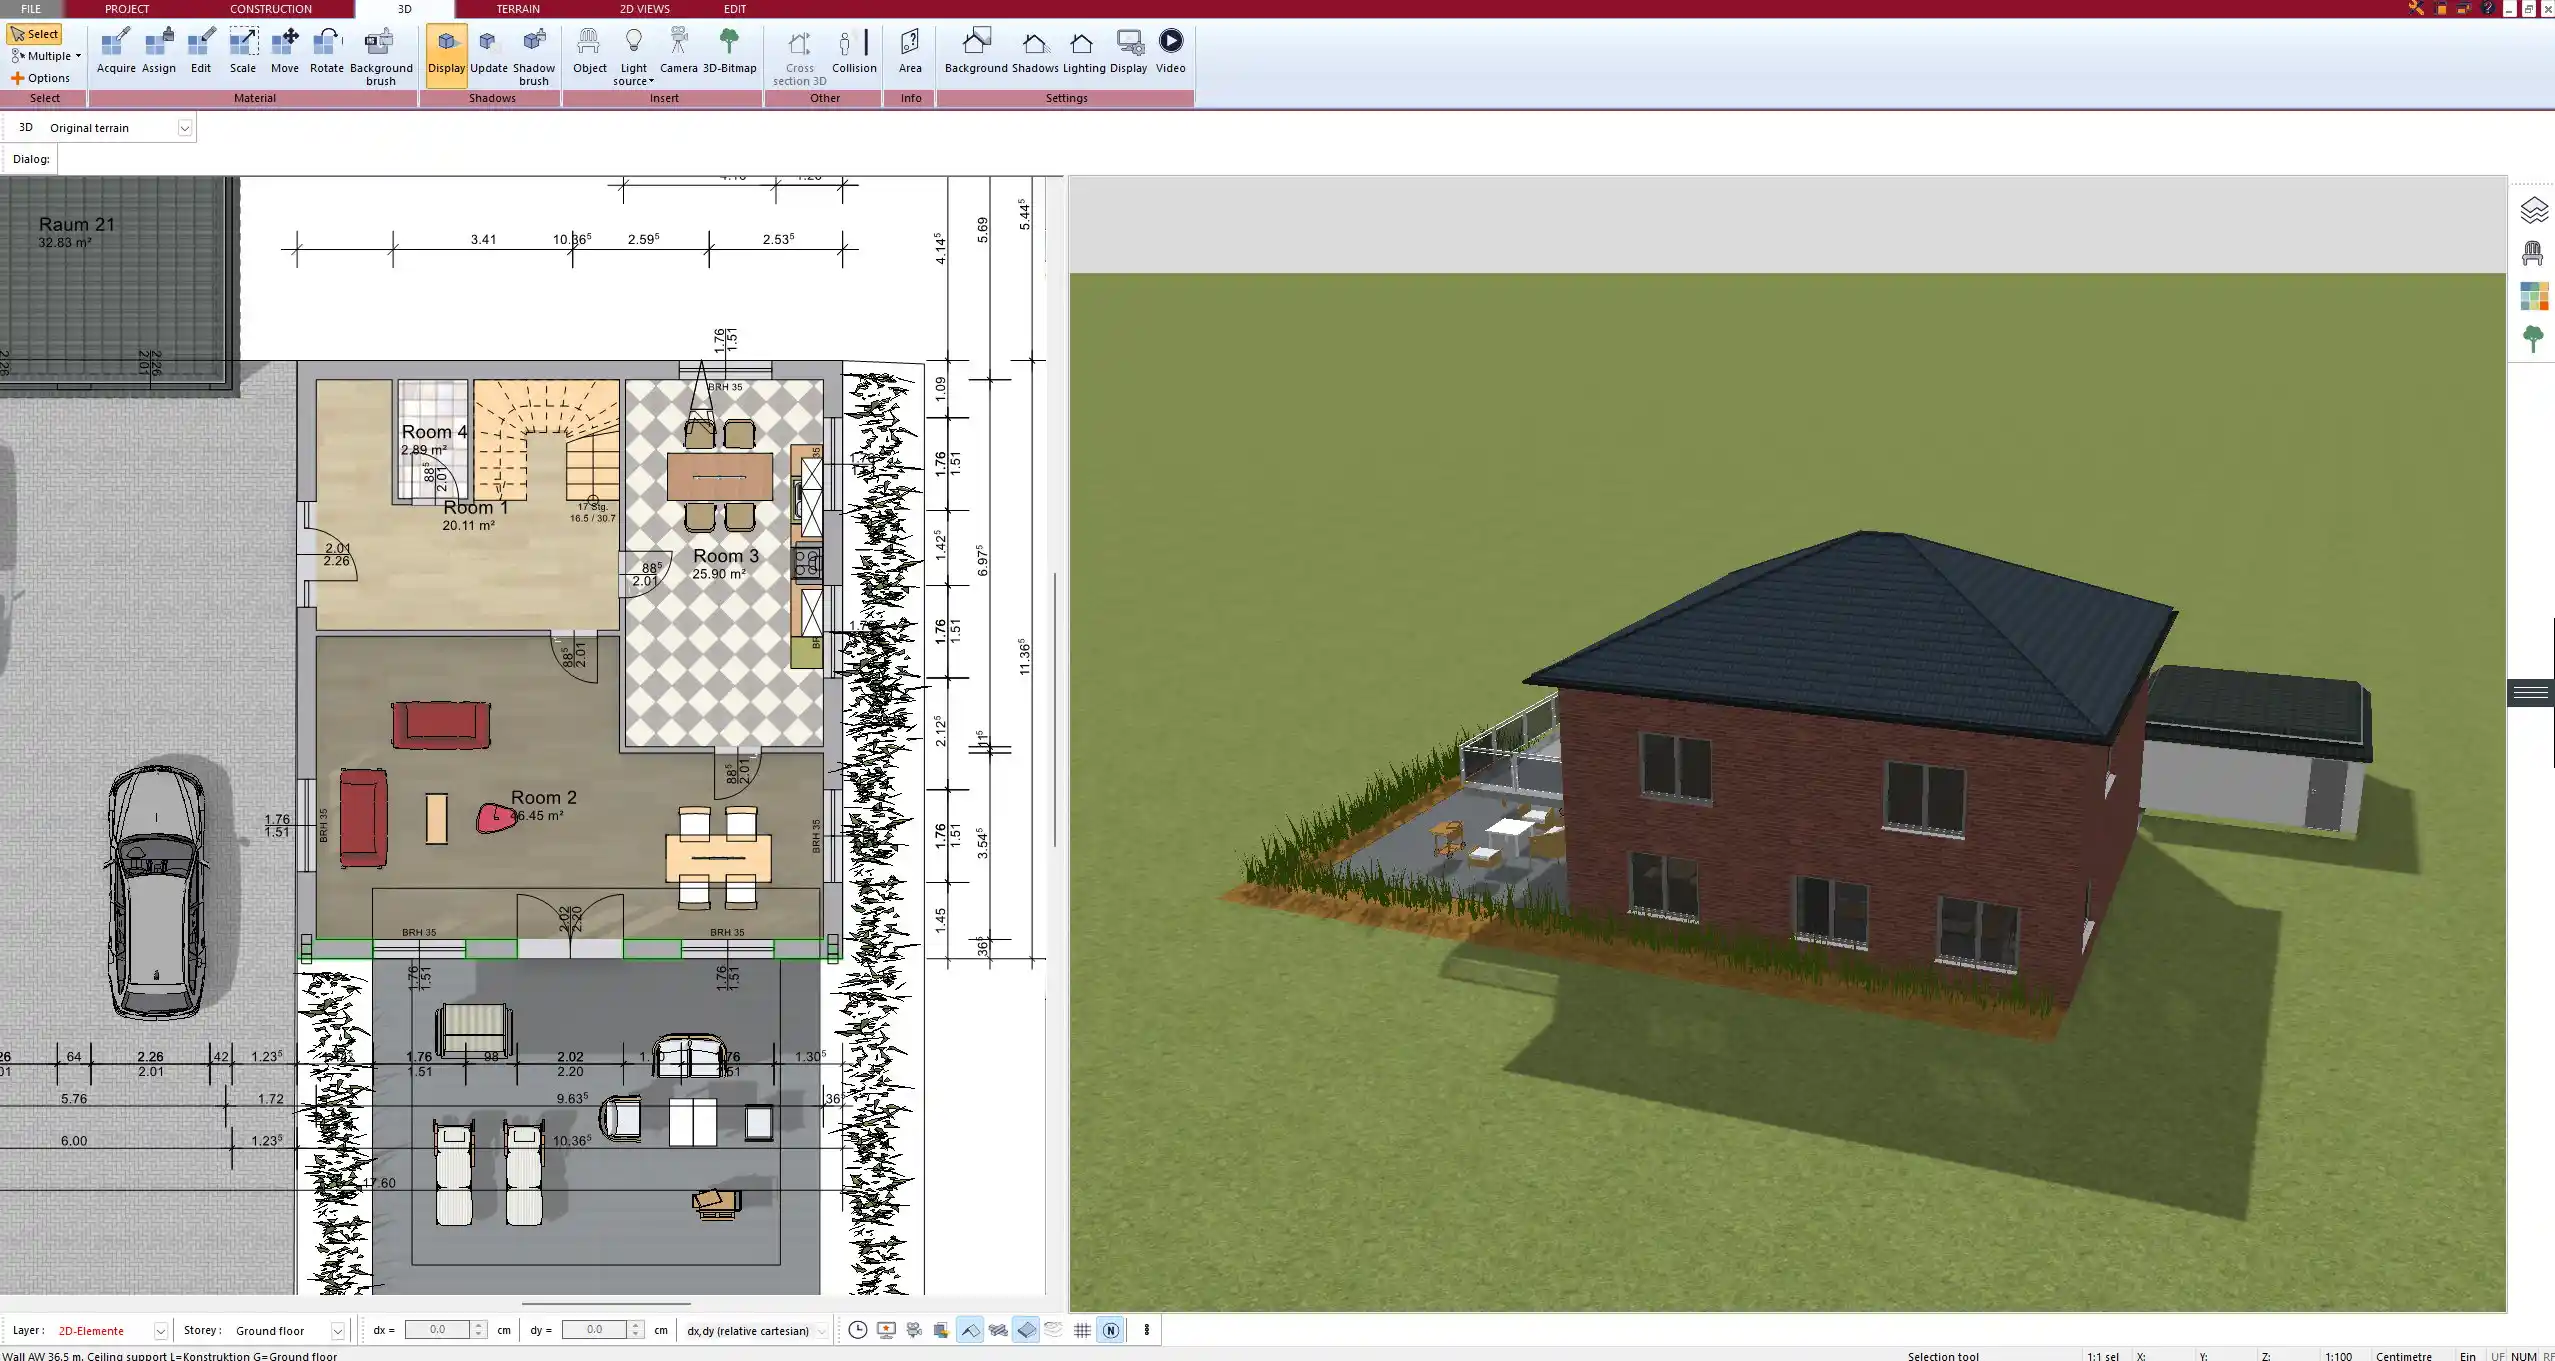
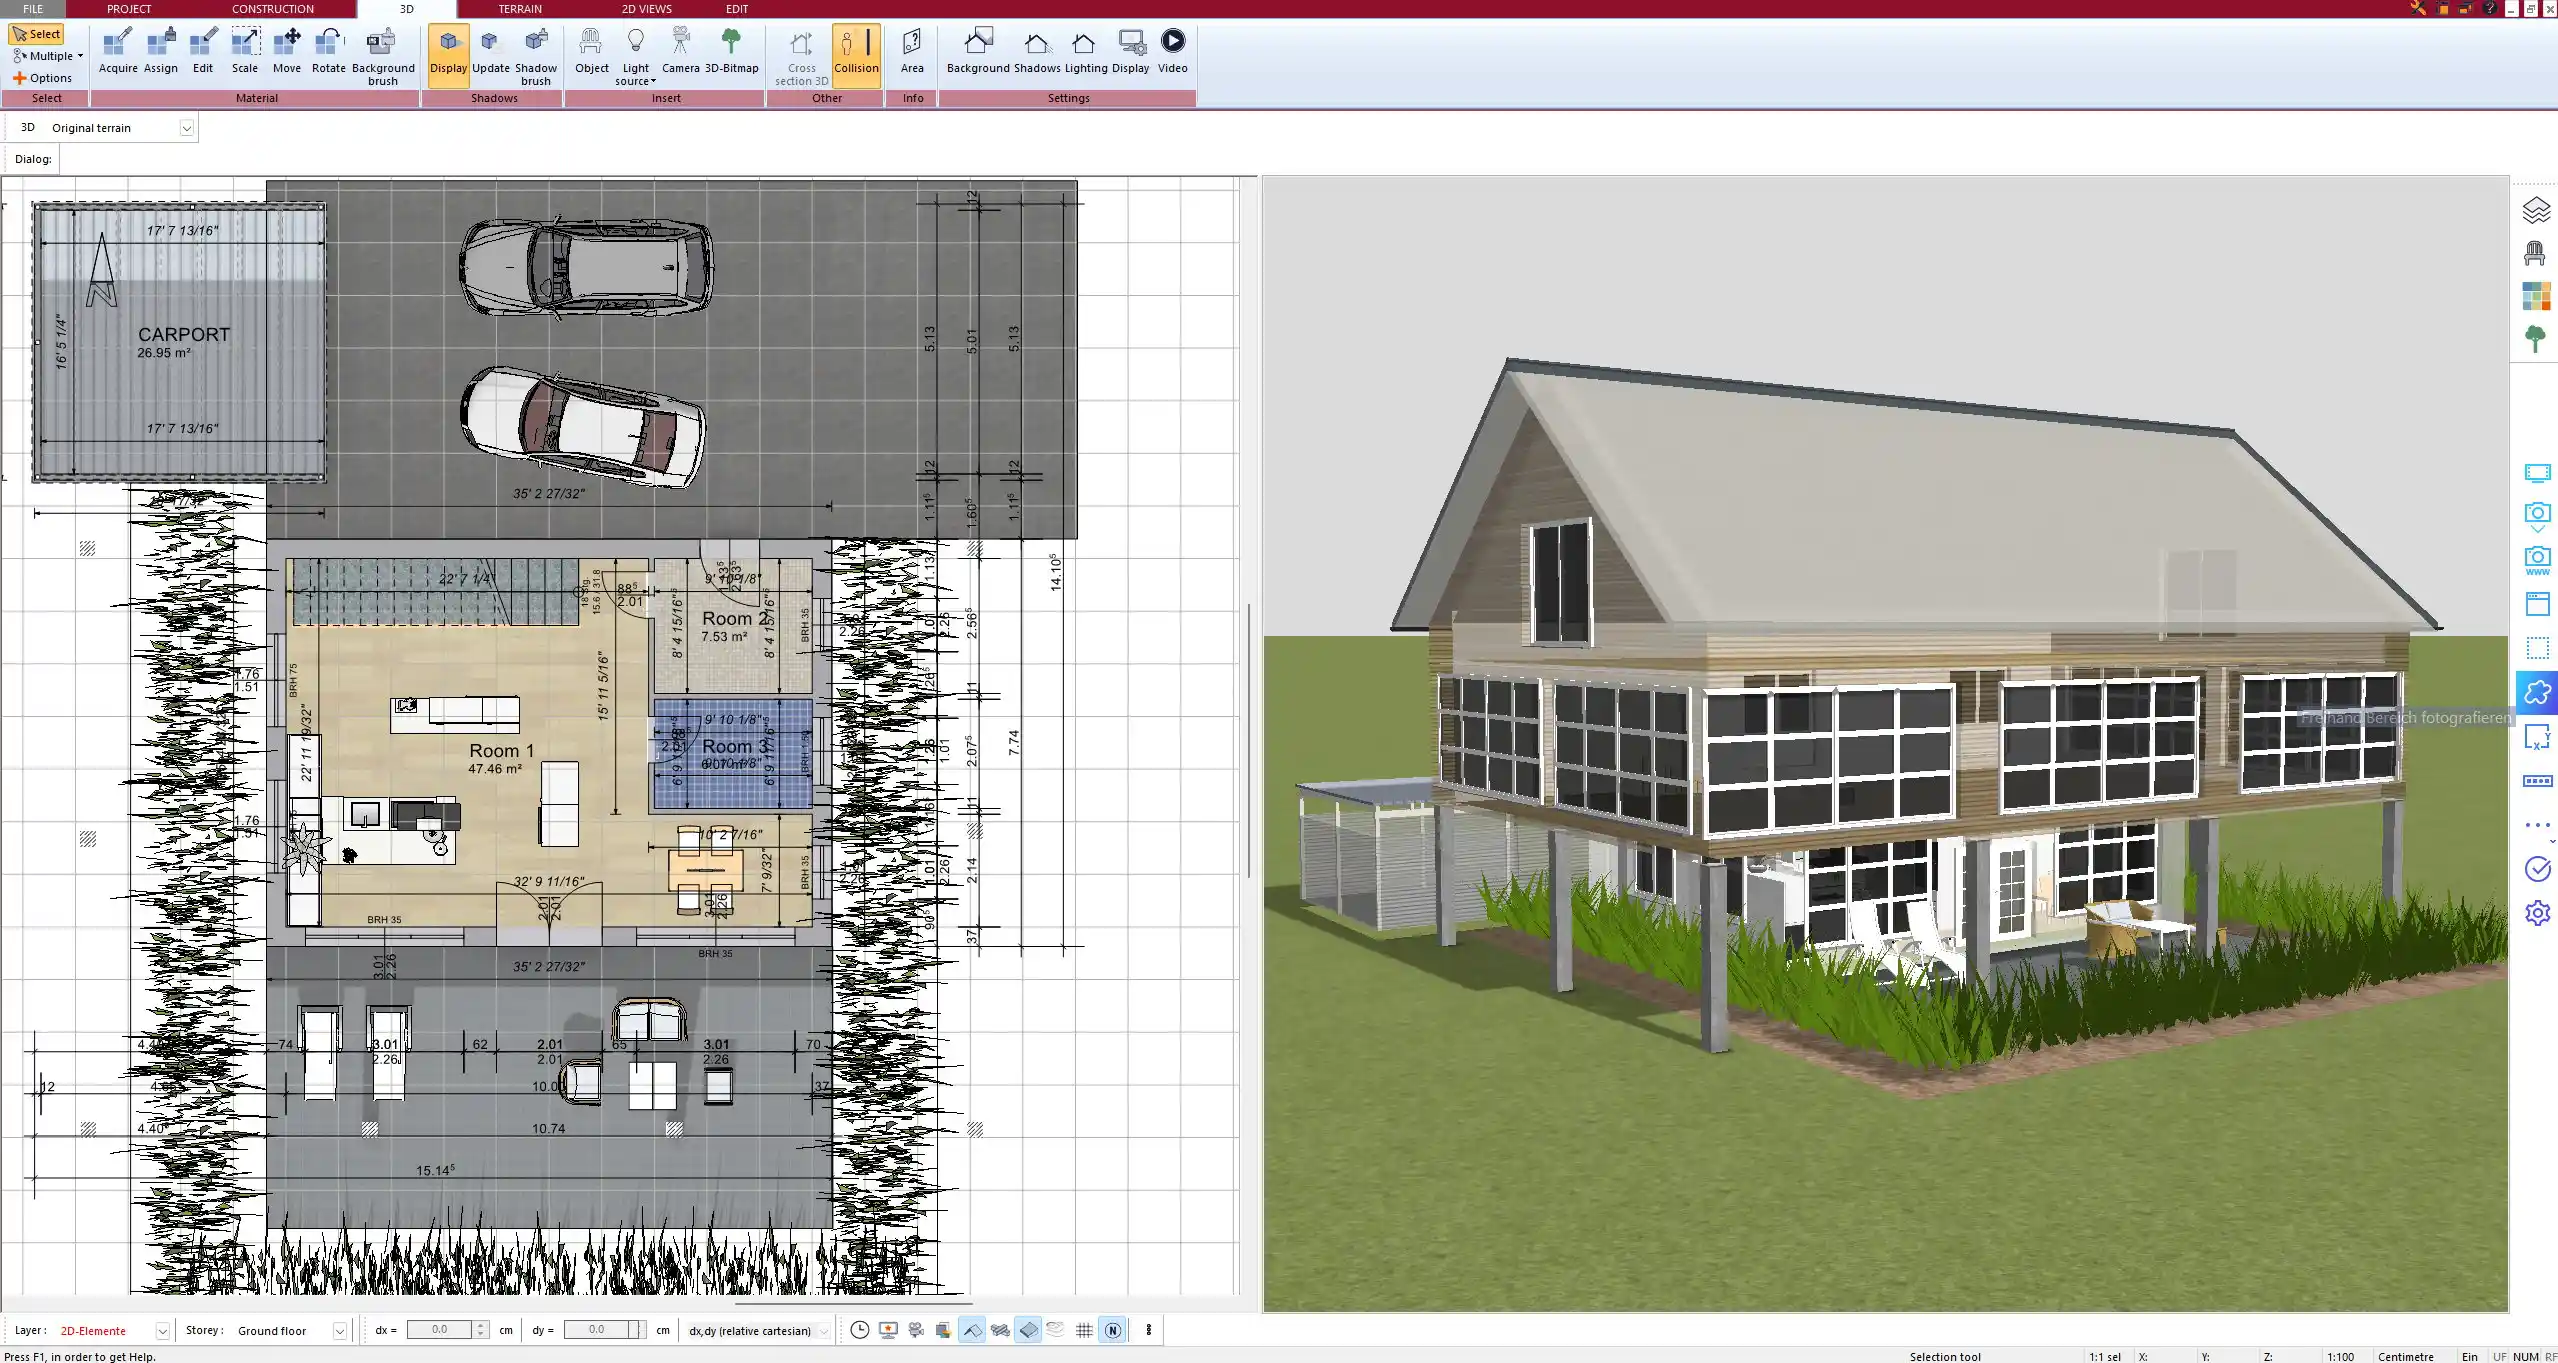
Plan7Architect provides both 2D and 3D planning tools that allow you to control every detail of your energy-efficient house. You can draw walls with insulation layers, position windows based on sunlight orientation, define ventilation zones, and preview your results with real-time 3D visualization.
Whether you’re working with metric or imperial units, Plan7Architect gives you full flexibility. You can switch between unit systems at any time—ideal for users in both Europe and North America.
Key Elements of an Energy-Efficient Floor Plan
Orientation and Room Placement
Proper orientation is one of the most important principles in energy-efficient design. In the Northern Hemisphere, living areas should ideally face south to maximize solar gain during the day. Bedrooms and utility rooms can be positioned on the north side to act as a thermal buffer.
Key principles to apply in Plan7Architect:
-
Position main living spaces to the south for natural heat and light
-
Place fewer or smaller windows on the north side
-
Use roof overhangs or canopies for shade in summer
-
Align the building’s longer axis along the east-west direction
In Plan7Architect, you can easily rotate your entire building or individual rooms to find the optimal sun angle. Shadows and sunlight simulations help test your layout visually.
Wall Thickness and Insulation
Wall structure plays a vital role in energy efficiency. Plan7Architect allows you to define wall types with multiple layers, including load-bearing cores, insulation, and outer cladding.
For example, you can assign the following wall structure in the software:
| Layer Type | Material | Thickness |
|---|---|---|
| Inner Plaster | Gypsum Plaster | 1.5 cm / 0.6 in |
| Insulation | Mineral Wool | 20 cm / 8 in |
| Outer Cladding | Brick | 11.5 cm / 4.5 in |
By customizing each layer, you can simulate the wall’s thermal performance. You can also define U-values and check them against passive house standards.
Plan7Architect supports thermal envelope planning, which allows you to define the building shell that must be airtight and well insulated.
Windows and Doors
Windows and doors are crucial in balancing light and heat flow. Plan7Architect gives you control over window placement, size, glazing type, and shading elements.
Best practices:
-
Use large, triple-glazed windows on the south side
-
Keep east and west-facing windows moderate to prevent overheating
-
Limit or eliminate windows on the north side to reduce heat loss
-
Add shading devices like overhangs or exterior blinds
You can adjust these elements in the software with just a few clicks. Window and door types can be selected from the catalog, and custom dimensions can be entered directly.
Efficient Floor Area Layout
Energy-efficient homes often follow a compact and simple shape to reduce heat loss. Complex shapes or unnecessary extensions increase the external surface area and raise heating demand.
Key layout guidelines:
-
Favor rectangular or square footprints
-
Minimize internal circulation spaces like hallways
-
Keep plumbing areas close together to reduce pipe length
-
Zone rooms by temperature: keep bedrooms cooler and living rooms warmer
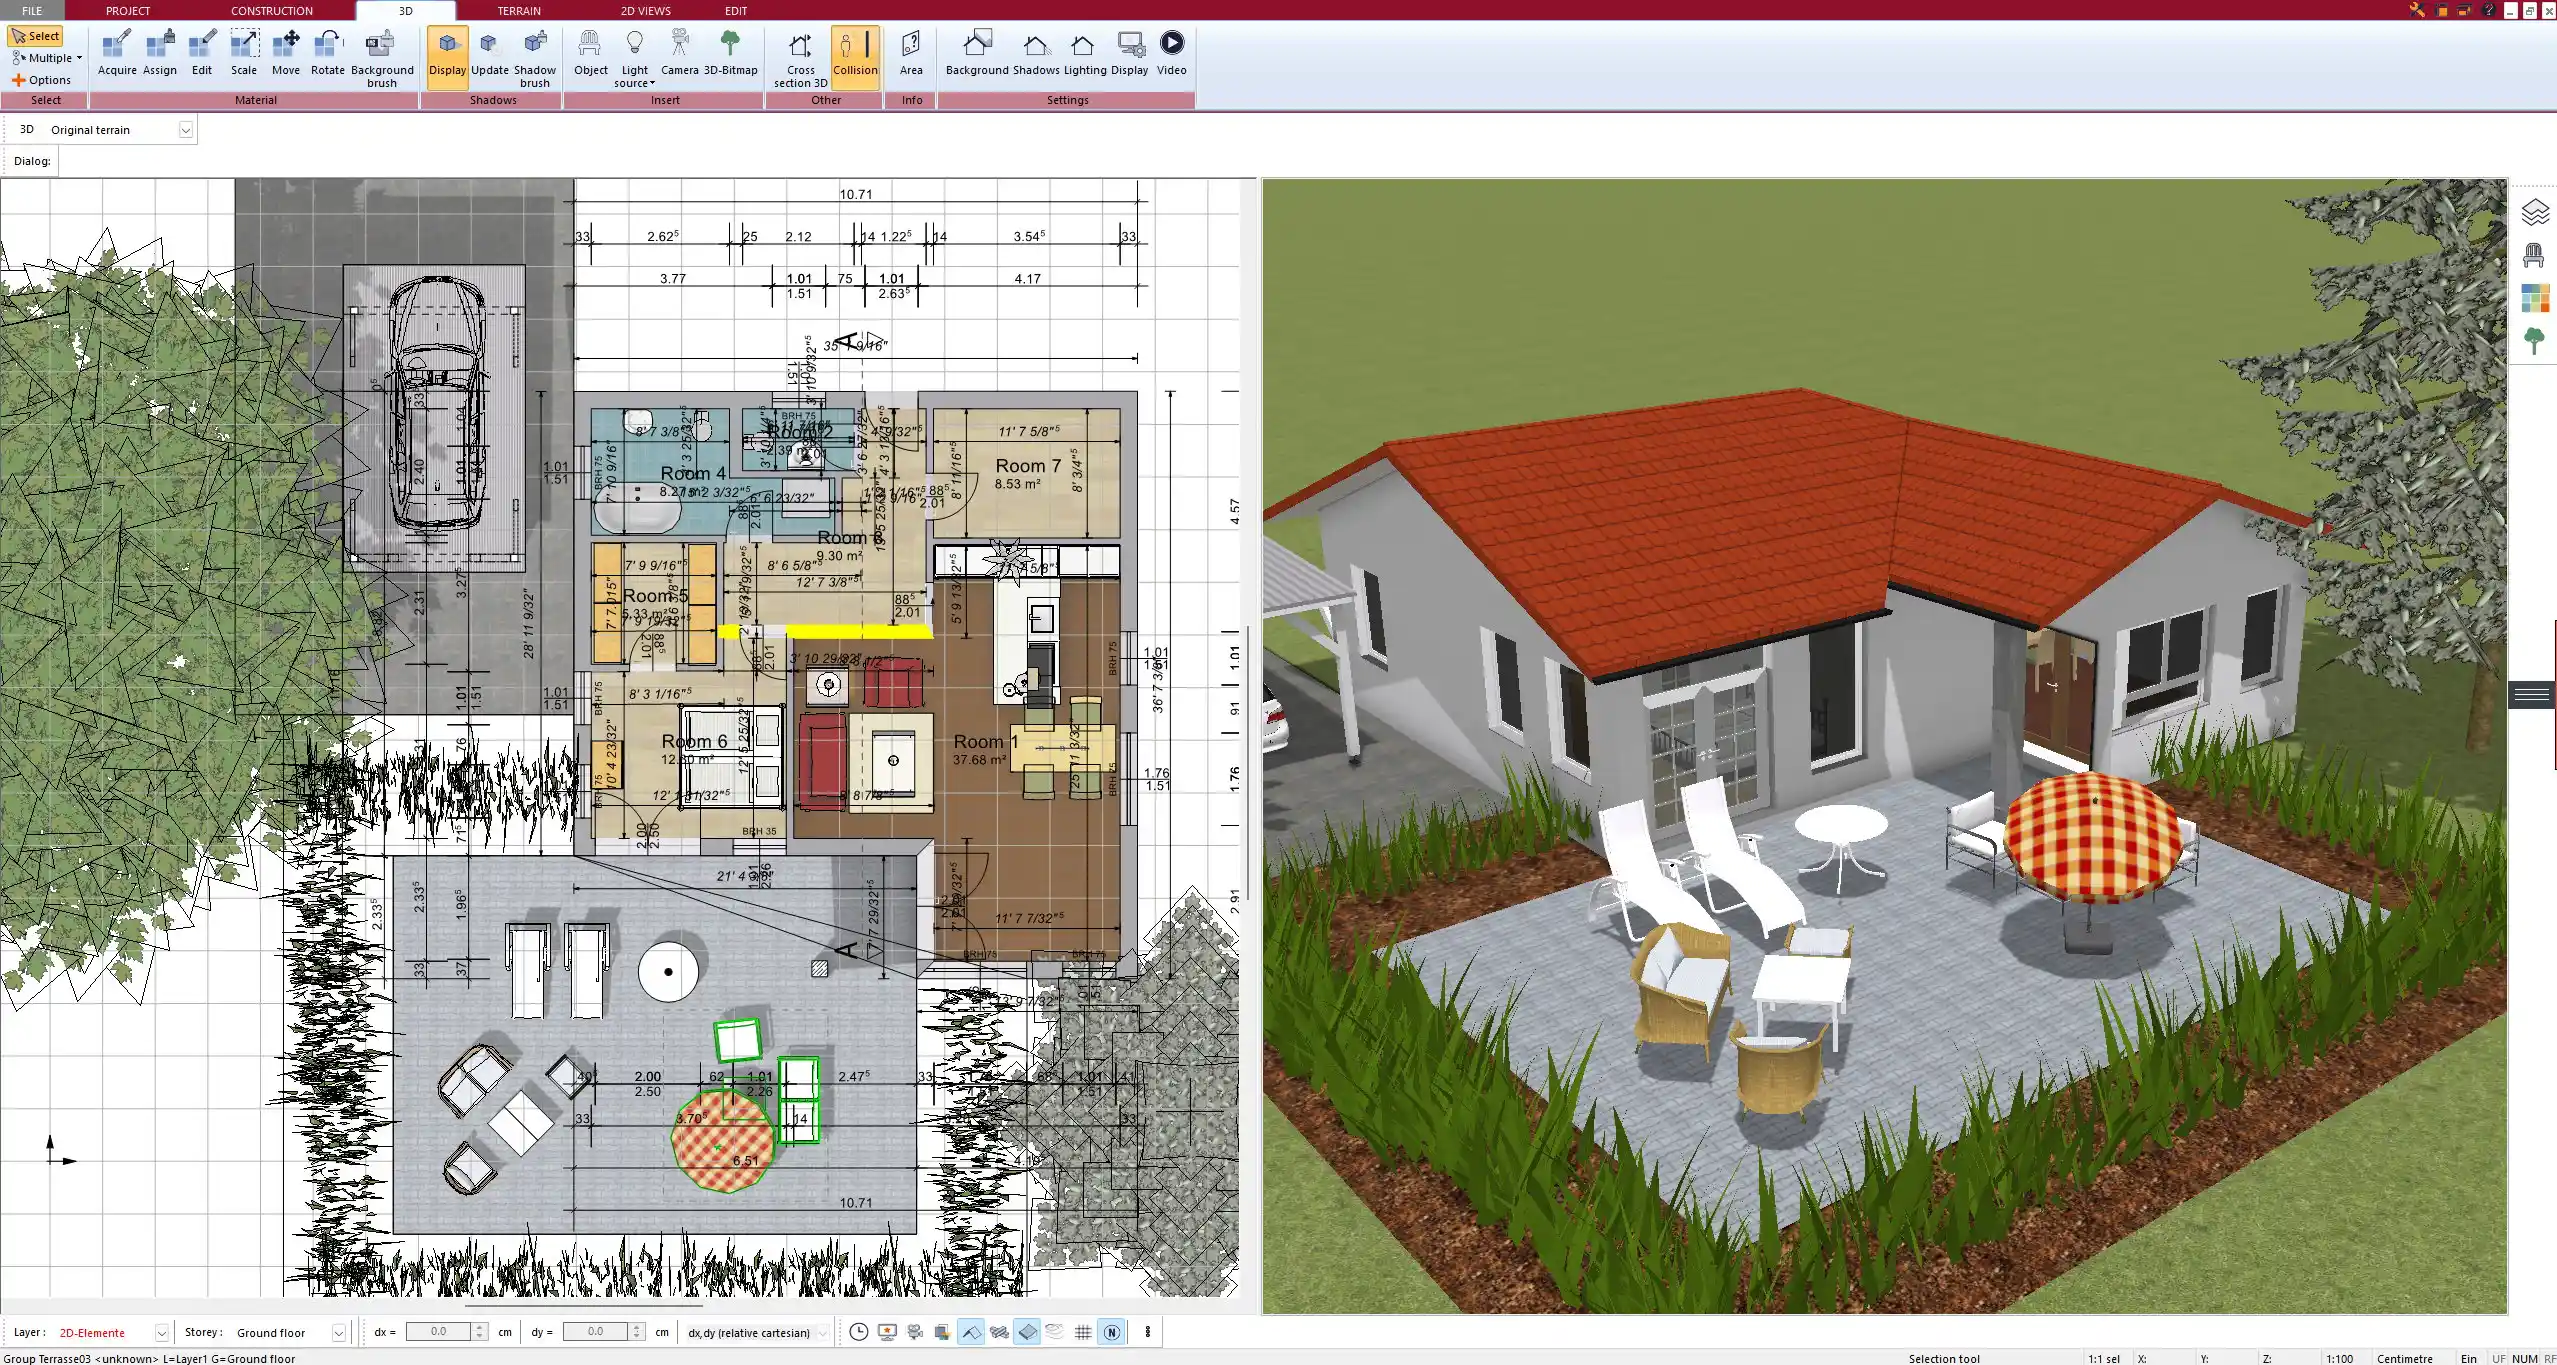
Using Plan7Architect’s drag-and-drop interface, you can experiment with different layouts quickly and evaluate which design feels best while staying energy efficient.
Step-by-Step: How to Plan It with Plan7Architect
Step 1: Set Up the Project
Open the software and create a new project. Choose whether you want to work in metric or imperial units. This is useful whether you’re planning in meters and centimeters or in feet and inches.
Then, define the number of floors and input the external dimensions of your house. You can select from predefined templates optimized for energy efficiency or start completely from scratch.
Step 2: Draw the Walls and Structure
Use the wall tool to draw exterior and interior walls. Select a wall type with the right insulation level or customize your own multi-layer wall from the construction catalog.
You can assign:
-
Load-bearing layers
-
Insulation materials
-
Plaster and cladding types
You can also define wall height, thickness, and U-value settings. Each wall you place can have its own thermal properties.
Step 3: Place Windows, Doors, and Shading
Select window types from the catalog and place them where solar gain is desired. Customize glazing properties and frame materials.
Add shading elements directly: roof overhangs, balconies, and adjustable sun shades are all available. Use the 3D preview to test how the sun moves across your house during the day and across seasons.
Tip: Use Plan7Architect’s shadow simulation to evaluate the impact of sun angles at different times of the year.
Step 4: Configure the Roof and Insulation
Choose your preferred roof type—flat, gabled, hipped—and define the insulation structure. You can simulate green roofs or roofs with integrated solar panels by importing components from external libraries like SketchUp.
Set insulation layers in the roof just like you do for walls, and define overhangs for passive shading.
Tip: A simple, well-insulated gable roof often delivers the best balance between thermal performance and ease of construction.
Step 5: Check Your Design in 3D
Switch to the 3D mode to review your floor plan as a walk-through model. Check for shading, orientation, wall thickness, and room layout. Use the sunlight tool to simulate lighting at any time of day.
You can also render your building and export images or videos for documentation or discussion with professionals.
Smart Features for Energy Planning
Plan7Architect includes several tools that help you design with energy efficiency in mind. These features are particularly helpful:
-
Real-time sunlight and shadow simulation
-
Surface and floor area calculations for insulation and heating estimates
-
SketchUp import for custom solar panels, HVAC units, or energy-saving devices
-
Layer management for HVAC, electrical, and insulation zones
-
Export options for sharing your plans with experts
You can also save energy zones as separate layers—like the thermal envelope or ventilation routes—and show or hide them as needed.
Tip: What Helps You Save the Most Energy
The following design choices often deliver the biggest gains in energy efficiency:
-
Compact, simple building shapes
-
Strong roof and wall insulation
-
Triple-glazed windows with good orientation
-
Airtight design with heat recovery ventilation
-
Strategic zoning of living vs. sleeping areas
Create a checklist of these points while working in Plan7Architect, and review them at each planning stage.
What Makes Plan7Architect Ideal for This
Plan7Architect is designed specifically for private builders and professionals who want full control over their house plans—including energy aspects.
Key advantages:
-
Energy-efficient templates and smart tools
-
Multi-layer wall and roof configurations
-
Customizable materials with thermal values
-
Full 2D and 3D planning with real-time preview
-
Sunlight and shadow simulation
-
Works in both metric and imperial units
-
No subscription required – install on up to three PCs
-
Exportable plans for use with architects and building authorities
Whether you’re building your own home or designing for a client, Plan7Architect provides all the tools you need to create a modern, energy-efficient floor plan that meets both comfort and sustainability goals.
Plan your project with Plan7Architect

Plan7Architect Pro 5 for $99.99
You don’t need any prior experience because the software has been specifically designed for beginners. The planning process is carried out in 5 simple steps:
1. Draw Walls

2. Windows & Doors

3. Floors & Roof

4. Textures & 3D Objects

5. Plan for the Building Permit

6. Export the Floor Plan as a 3D Model for Twinmotion

- – Compliant with international construction standards
- – Usable on 3 PCs simultaneously
- – Option for consultation with an architect
- – Comprehensive user manual
- – Regular updates
- – Video tutorials
- – Millions of 3D objects available


