If you want to design a low-energy house yourself, Plan7Architect gives you everything you need to get started quickly and professionally — without prior architectural knowledge. I have planned several energy-efficient homes using this software and can say with confidence: it’s intuitive, visual, and powerful.
To begin, open the Plan7Architect software and choose “New Project”. From there, you can either select a predefined house template or start with a blank floor plan. I personally prefer starting from scratch to fully control insulation zones, window positions, and technical room placement.
Once the basic outline is in place, you can immediately start placing thick insulated walls, high-performance windows, and define roof layers — all of which are crucial for a low-energy concept.
Use the integrated building component library to insert:
-
Exterior and interior walls with custom U-values
-
Triple-glazed windows and insulated door types
-
Layered roof constructions with variable materials
-
Heating systems and mechanical ventilation zones
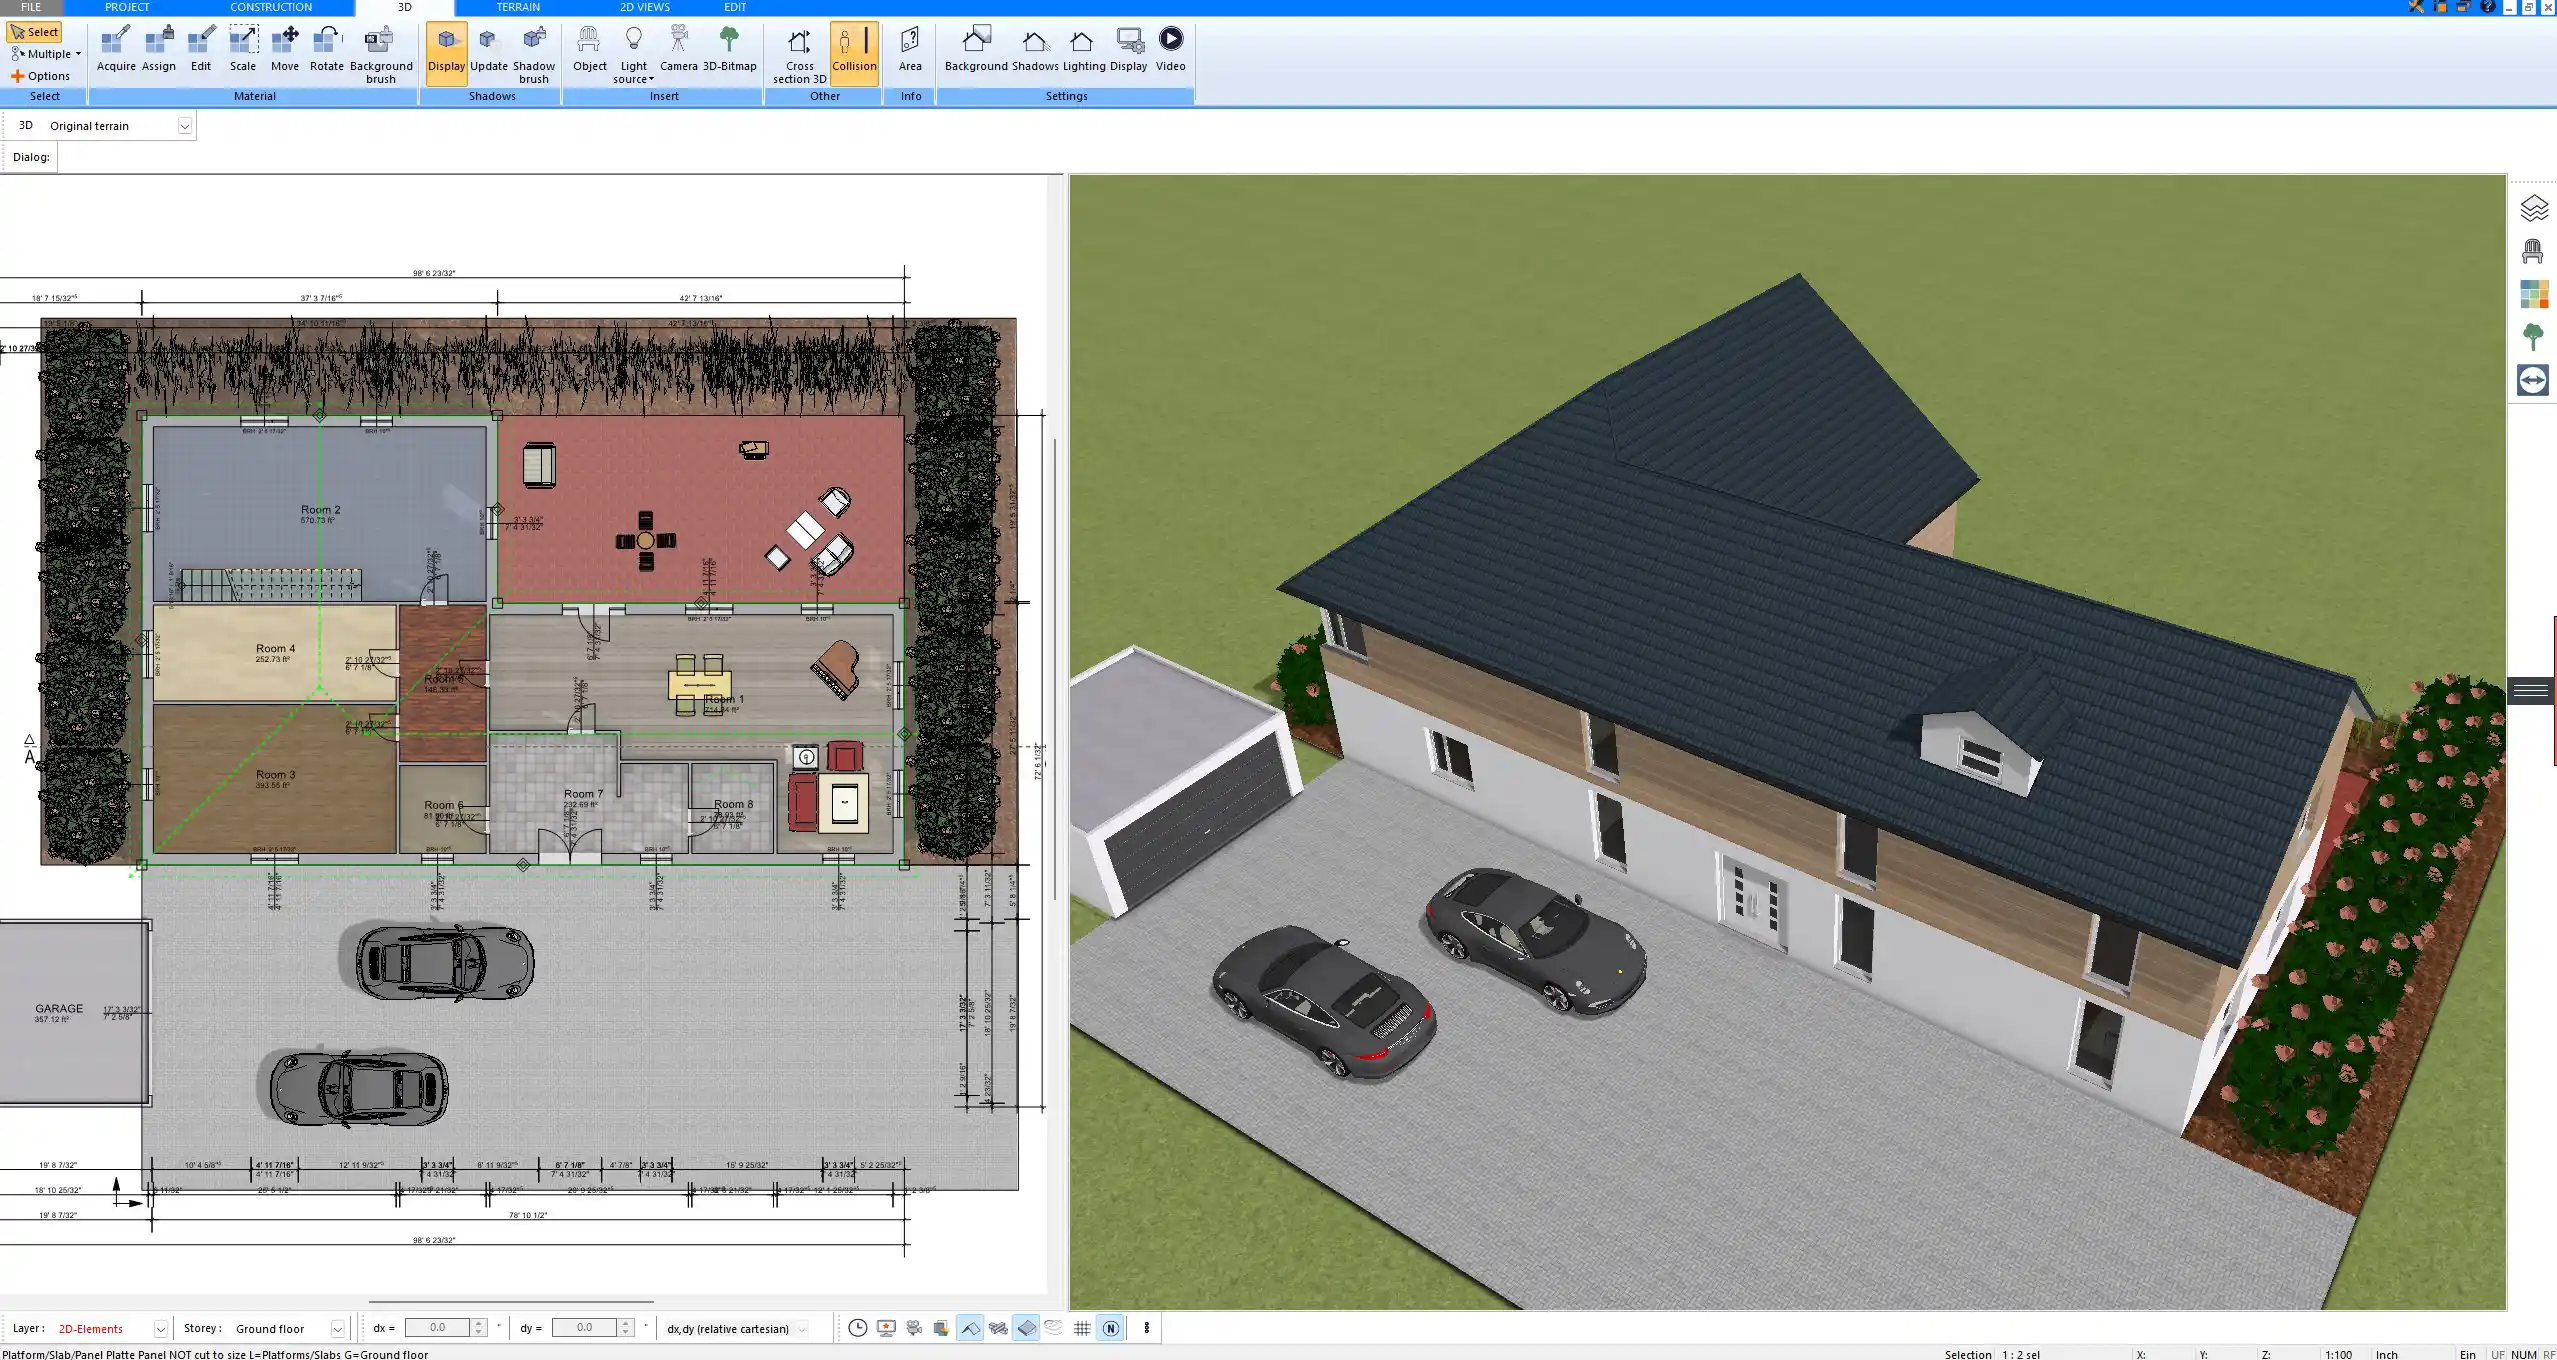
A major advantage: you can work in either metric (square meters) or imperial (square feet) units depending on your preference or country. The switch is seamless and takes one click.
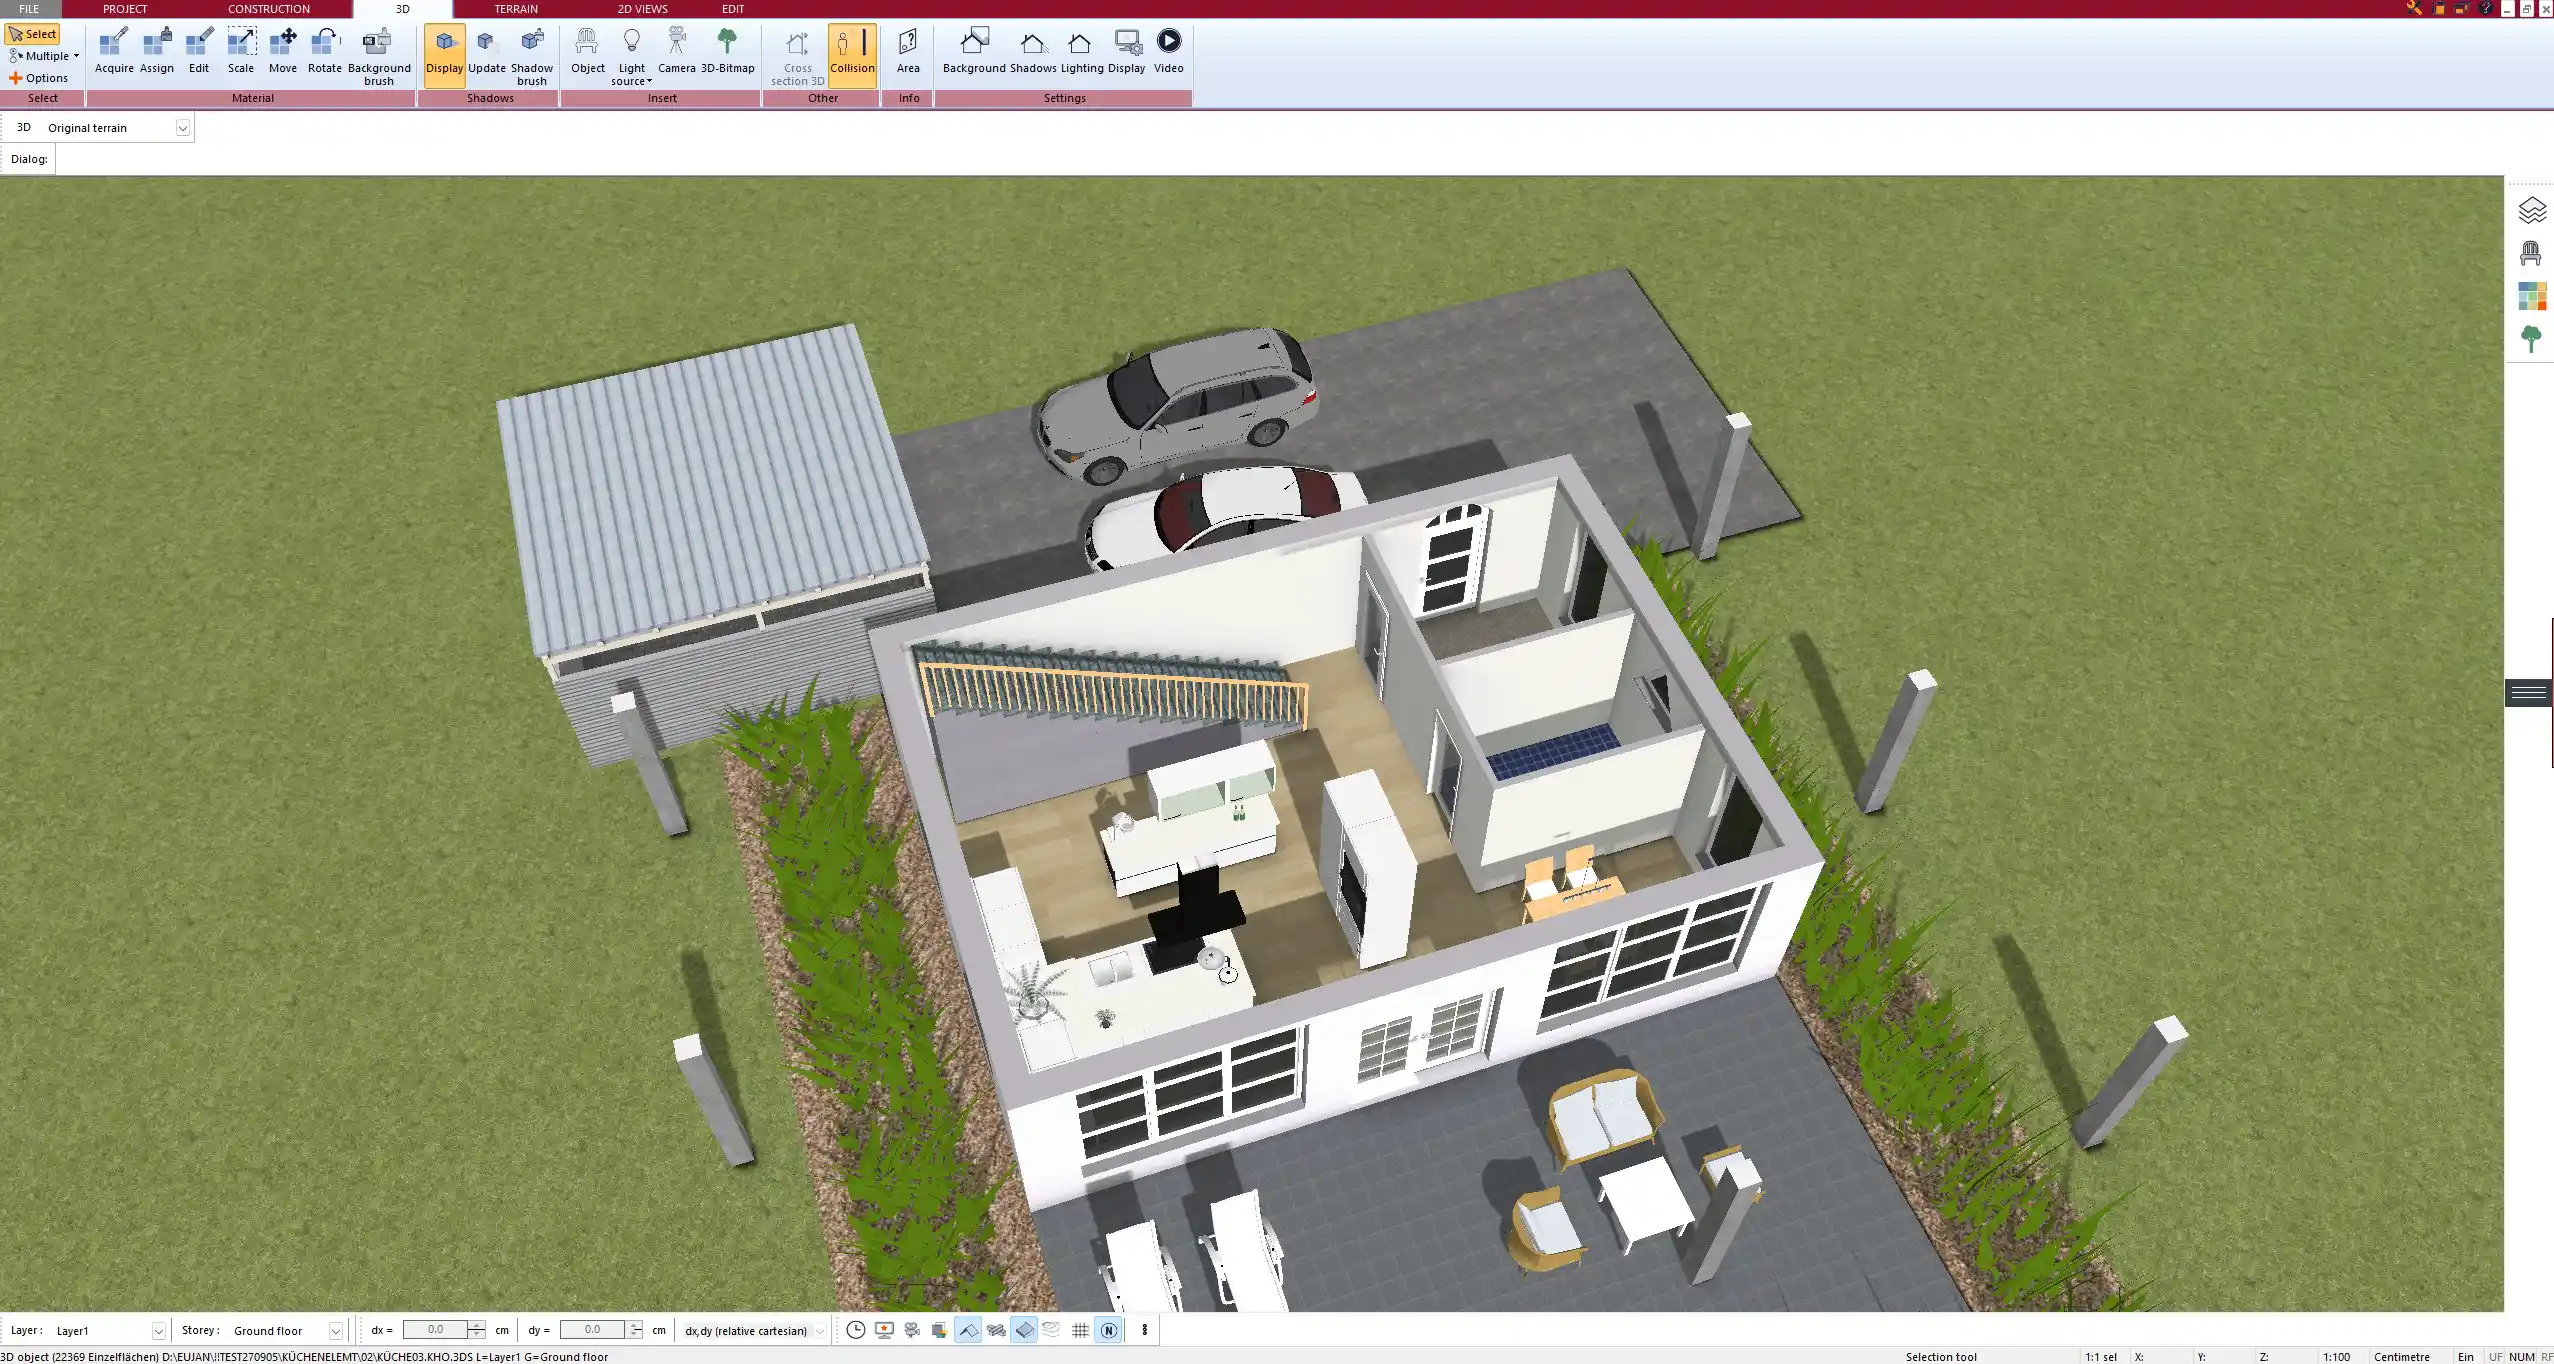
Finally, you can switch to the 3D view and see your energy-efficient layout come to life instantly — room by room, roof included. You can even simulate sun paths and test the impact of shading elements if you have a premium version.
Tip:
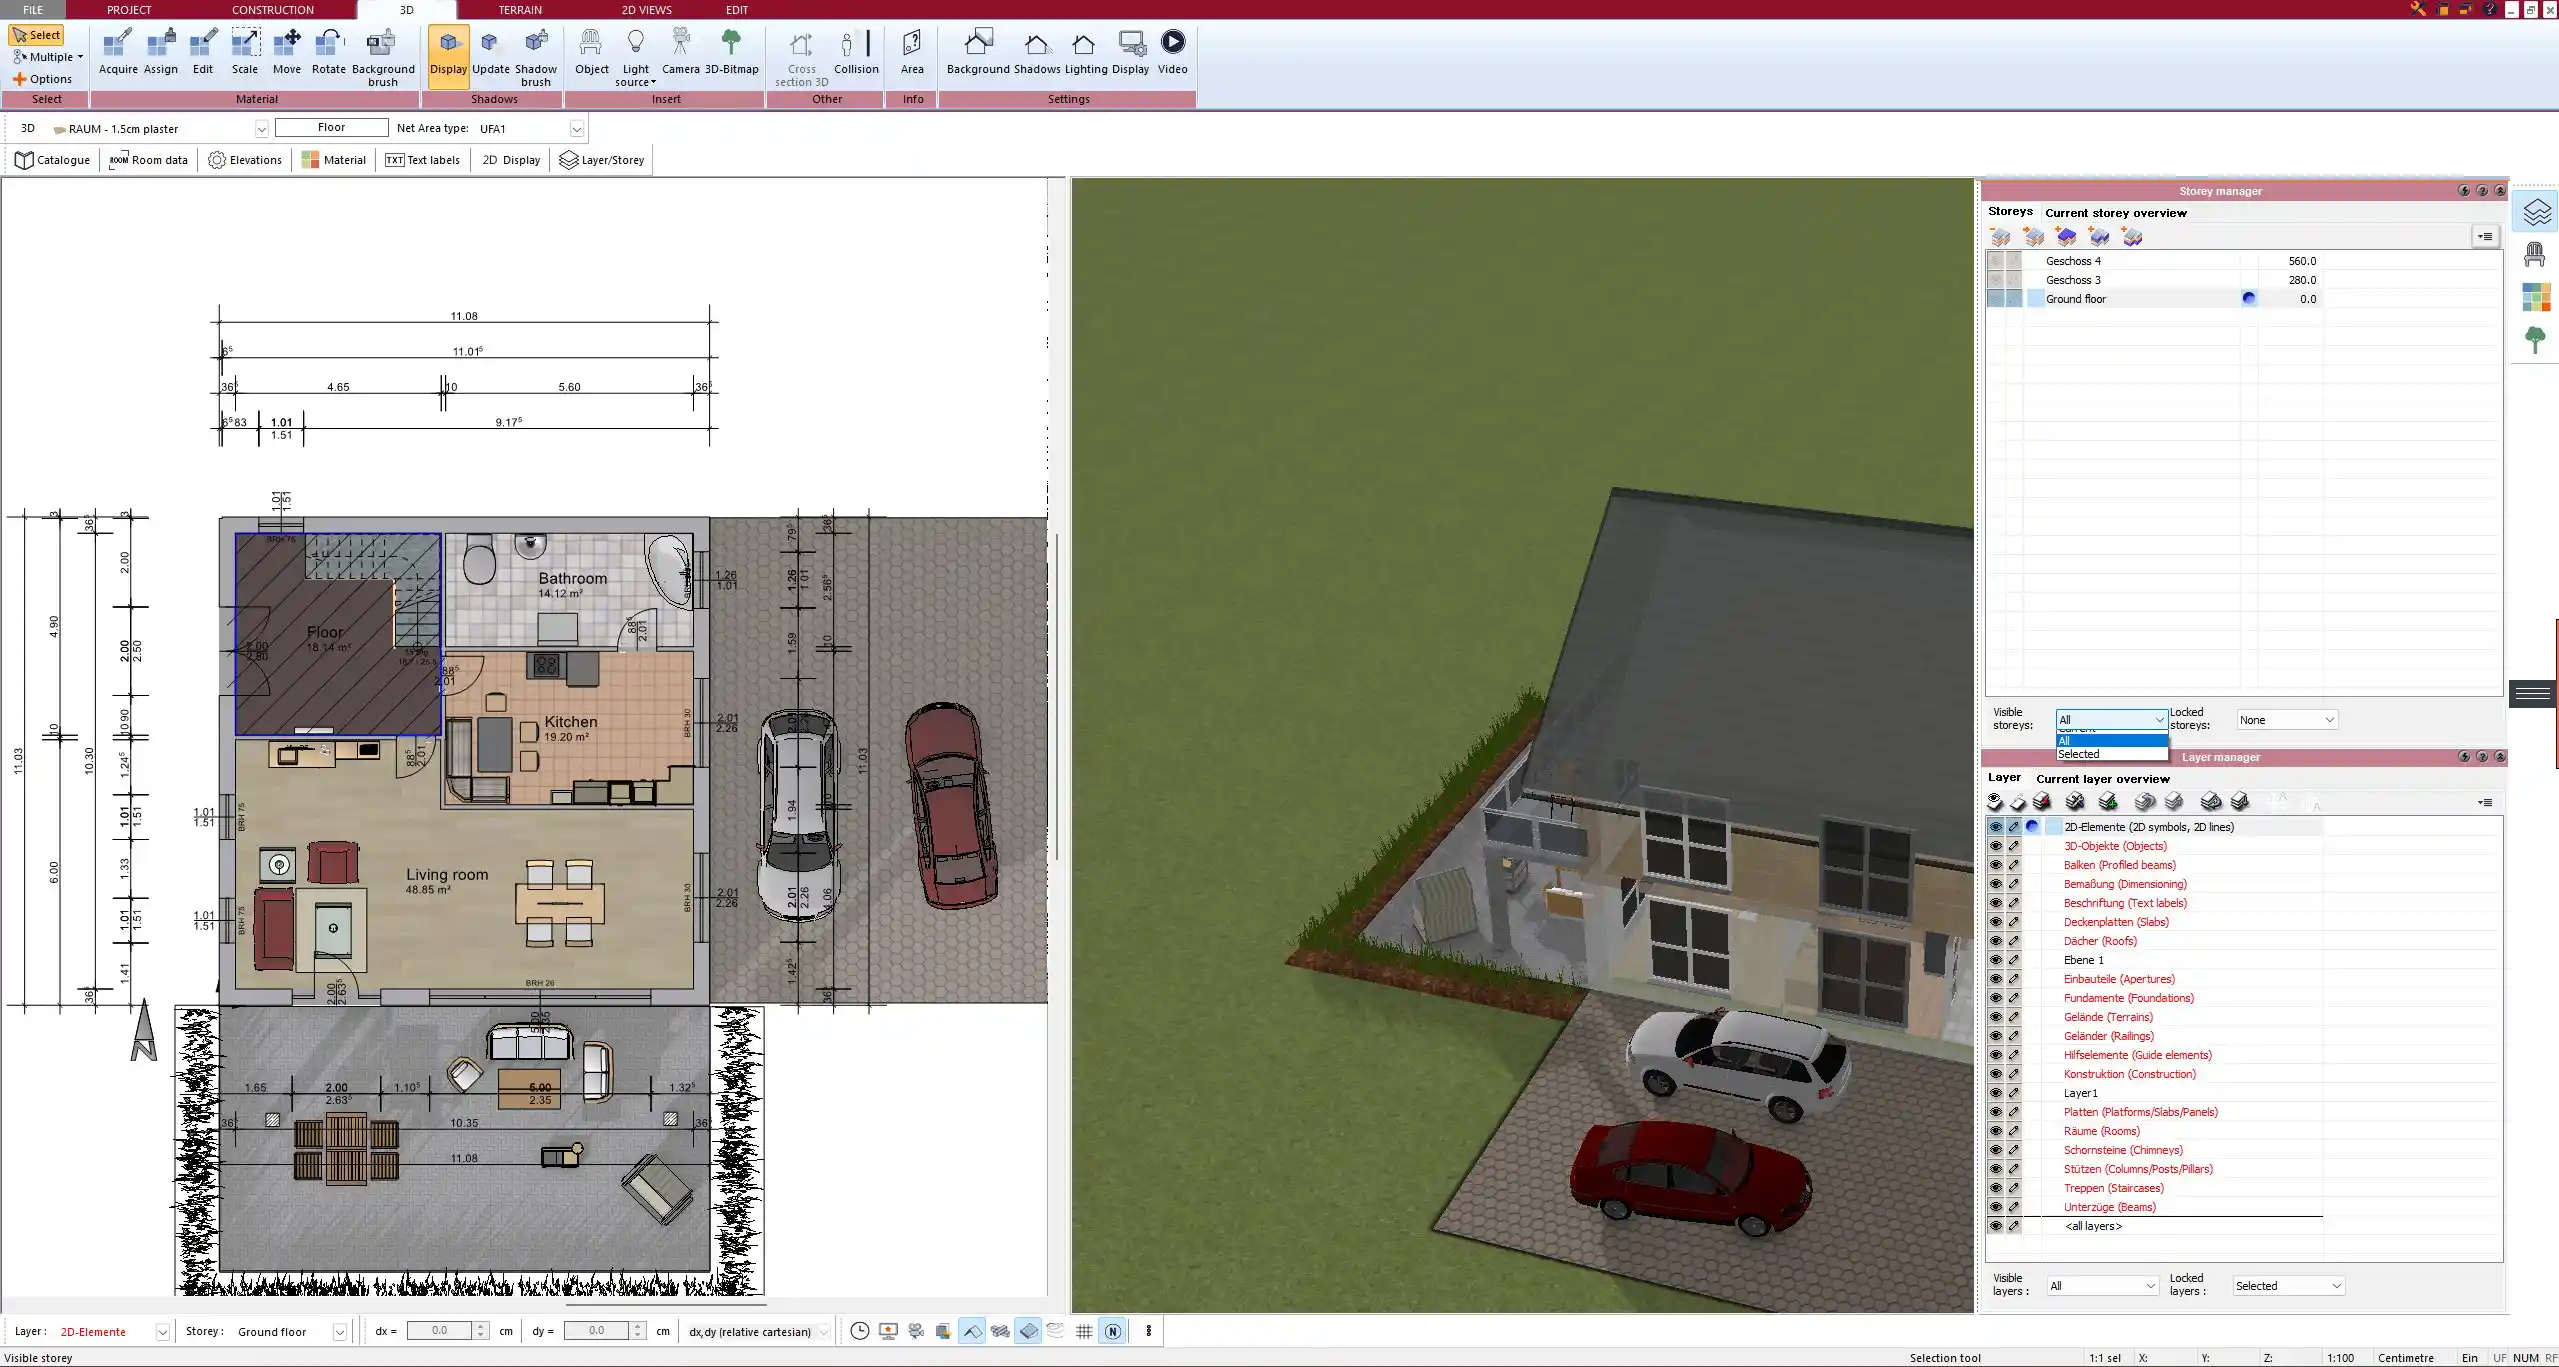
Use the floor plan mode to check for cold bridges or badly placed openings. Plan7Architect allows you to zoom in and analyze connections between building components.
What Makes a Low-Energy House?
A low-energy house is defined by one simple principle: it requires very little energy for heating and cooling — typically far less than a standard building. That’s not just about adding more insulation. It starts with smart planning.
Key Characteristics of Low-Energy Homes:
| Feature | Description |
|---|---|
| Compact Shape | Less surface area means less heat loss. L-shapes or rectangles work best. |
| Orientation | South-facing glass areas capture heat in winter (Northern Hemisphere). |
| High Insulation | Roof, walls, and floors must be thermally insulated, with low U-values. |
| Airtightness | Minimal leaks, tested via blower door test. |
| Ventilation with Heat Recovery | A must-have to retain warmth while providing fresh air. |
How Plan7Architect Helps You Achieve a Low-Energy Layout
From my own experience, Plan7Architect is ideal for designing low-energy house layouts because of how much you can control and simulate during planning. You don’t just draw walls and windows — you define how these elements behave thermally.
Core Planning Features for Energy-Efficient Design:
-
Drag-and-drop components like insulated external walls, multi-layered roof types, and energy-efficient doors.
-
Preconfigured elements such as triple-glazed windows, passive house walls, or thermal bridge-free junctions.
-
Material customization for defining U-values and thermal resistance properties.
-
Orientation tools to rotate and align your design based on sun path (especially important for solar gain).
-
Unit switching from meters to feet and vice versa with a single setting.
-
Export functions for sharing plans with consultants or for further energy calculations.
Design Tips for Low-Energy Floor Plans
Based on several successful designs, I’ve learned that certain layout strategies dramatically improve energy efficiency. A low-energy house begins with the way you zone and shape the floor plan.
Best Practices When Planning the Floor Plan:
-
Use a compact layout: Rectangular or square footprints reduce heat loss.
-
Group plumbing zones: Place kitchen, bathroom, and utility room close together.
-
Minimize corridor areas: Open-plan concepts reduce unnecessary heated space.
-
Orient day rooms to the south, where solar heat gain can be used passively.
-
Avoid large window areas on the north or west side to prevent heat loss or overheating.
-
Reserve space for technical systems: MVHR unit, heat pump, water storage.
Smart Layout Elements to Include:
| Element | Why It Matters |
|---|---|
| Technical Room | Needed for heat pumps, MVHR, battery storage, etc. |
| Overhangs or Pergolas | Provide passive shading for summer without blocking winter sun. |
| Compact Roof Shapes | Reduce heat loss and make PV integration easier. |
Tip:
When placing windows in Plan7Architect, always check their solar orientation. Use shading analysis to avoid overheating in summer, especially in southern-facing areas.
Common Mistakes to Avoid
Even with the best software, mistakes in floor plan design can lead to poor energy performance. Here are errors I often see — and how to avoid them.
Typical Pitfalls in Low-Energy Design:
-
Oversized glass areas without external shading elements
-
Too many building angles, which create thermal weak points
-
Poor placement of bedrooms, e.g., exposed to intense afternoon sun
-
Lack of space for ventilation systems, leading to later compromises
-
Misuse of north-facing walls for living areas, resulting in cold rooms
Can You Export the Plan for Further Energy Calculation?
Yes. Once your plan is finished, you can easily export it to formats like DXF, PDF, or image files. This makes it easy to:
-
Share the layout with energy consultants for thermal simulations
-
Provide files to contractors or prefab manufacturers
-
Archive and print plans for building permits
I’ve used Plan7Architect plans as a base for full PHPP and KfW calculations. The exported files include exact dimensions, areas, and component types — everything an energy expert needs.
For International Users: Plan7Architect Supports Both Units
Whether you work with metric or imperial units, Plan7Architect has you covered. You can draw, edit, and export your plans using square meters, meters, and centimeters, or square feet, feet, and inches. Switching units can be done at any time via the settings menu.
This makes the software ideal for users from:
-
Europe (Germany, Austria, UK, etc.)
-
USA and Canada
-
Australia and New Zealand
-
Any country with mixed planning standards
There’s no need to calculate conversions manually — the software adjusts everything automatically across the project.
Conclusion – The Smart Way to Plan a Low-Energy Home
With Plan7Architect, you can plan an efficient and sustainable home from scratch, with full control over every energy-relevant detail. From thermal wall properties to ventilation layout and solar orientation — everything is handled within the same intuitive interface.
You don’t need technical knowledge to get professional results. You just need the right tools.
Recommendation: Plan Your Low-Energy House Professionally
If you want to plan your low-energy house without hiring an architect, Plan7Architect is the right solution. The software includes everything you need for 2D and 3D floor plan design and supports both European and American units. You can test it with full access, risk-free, thanks to the 14-day cancellation policy. Just download, start planning, and cancel via email if it’s not right for you.
Plan your project with Plan7Architect

Plan7Architect Pro 5 for $119.99
You don’t need any prior experience because the software has been specifically designed for beginners. The planning process is carried out in 5 simple steps:
1. Draw Walls

2. Windows & Doors

3. Floors & Roof

4. Textures & 3D Objects

5. Plan for the Building Permit

6. Export the Floor Plan as a 3D Model for Twinmotion

- – Compliant with international construction standards
- – Usable on 3 PCs simultaneously
- – Option for consultation with an architect
- – Comprehensive user manual
- – Regular updates
- – Video tutorials
- – Millions of 3D objects available


