If you want to design a row house floor plan yourself, Plan7Architect is the perfect software solution. It allows you to create precise layouts in both 2D and 3D with minimal effort. The program is designed specifically for private builders and renovators who want full control over the floor plan of their home, without needing an architect or CAD knowledge. You can work with either European measurements (meters) or American units (feet and inches), depending on your preference or location—Plan7Architect supports both.
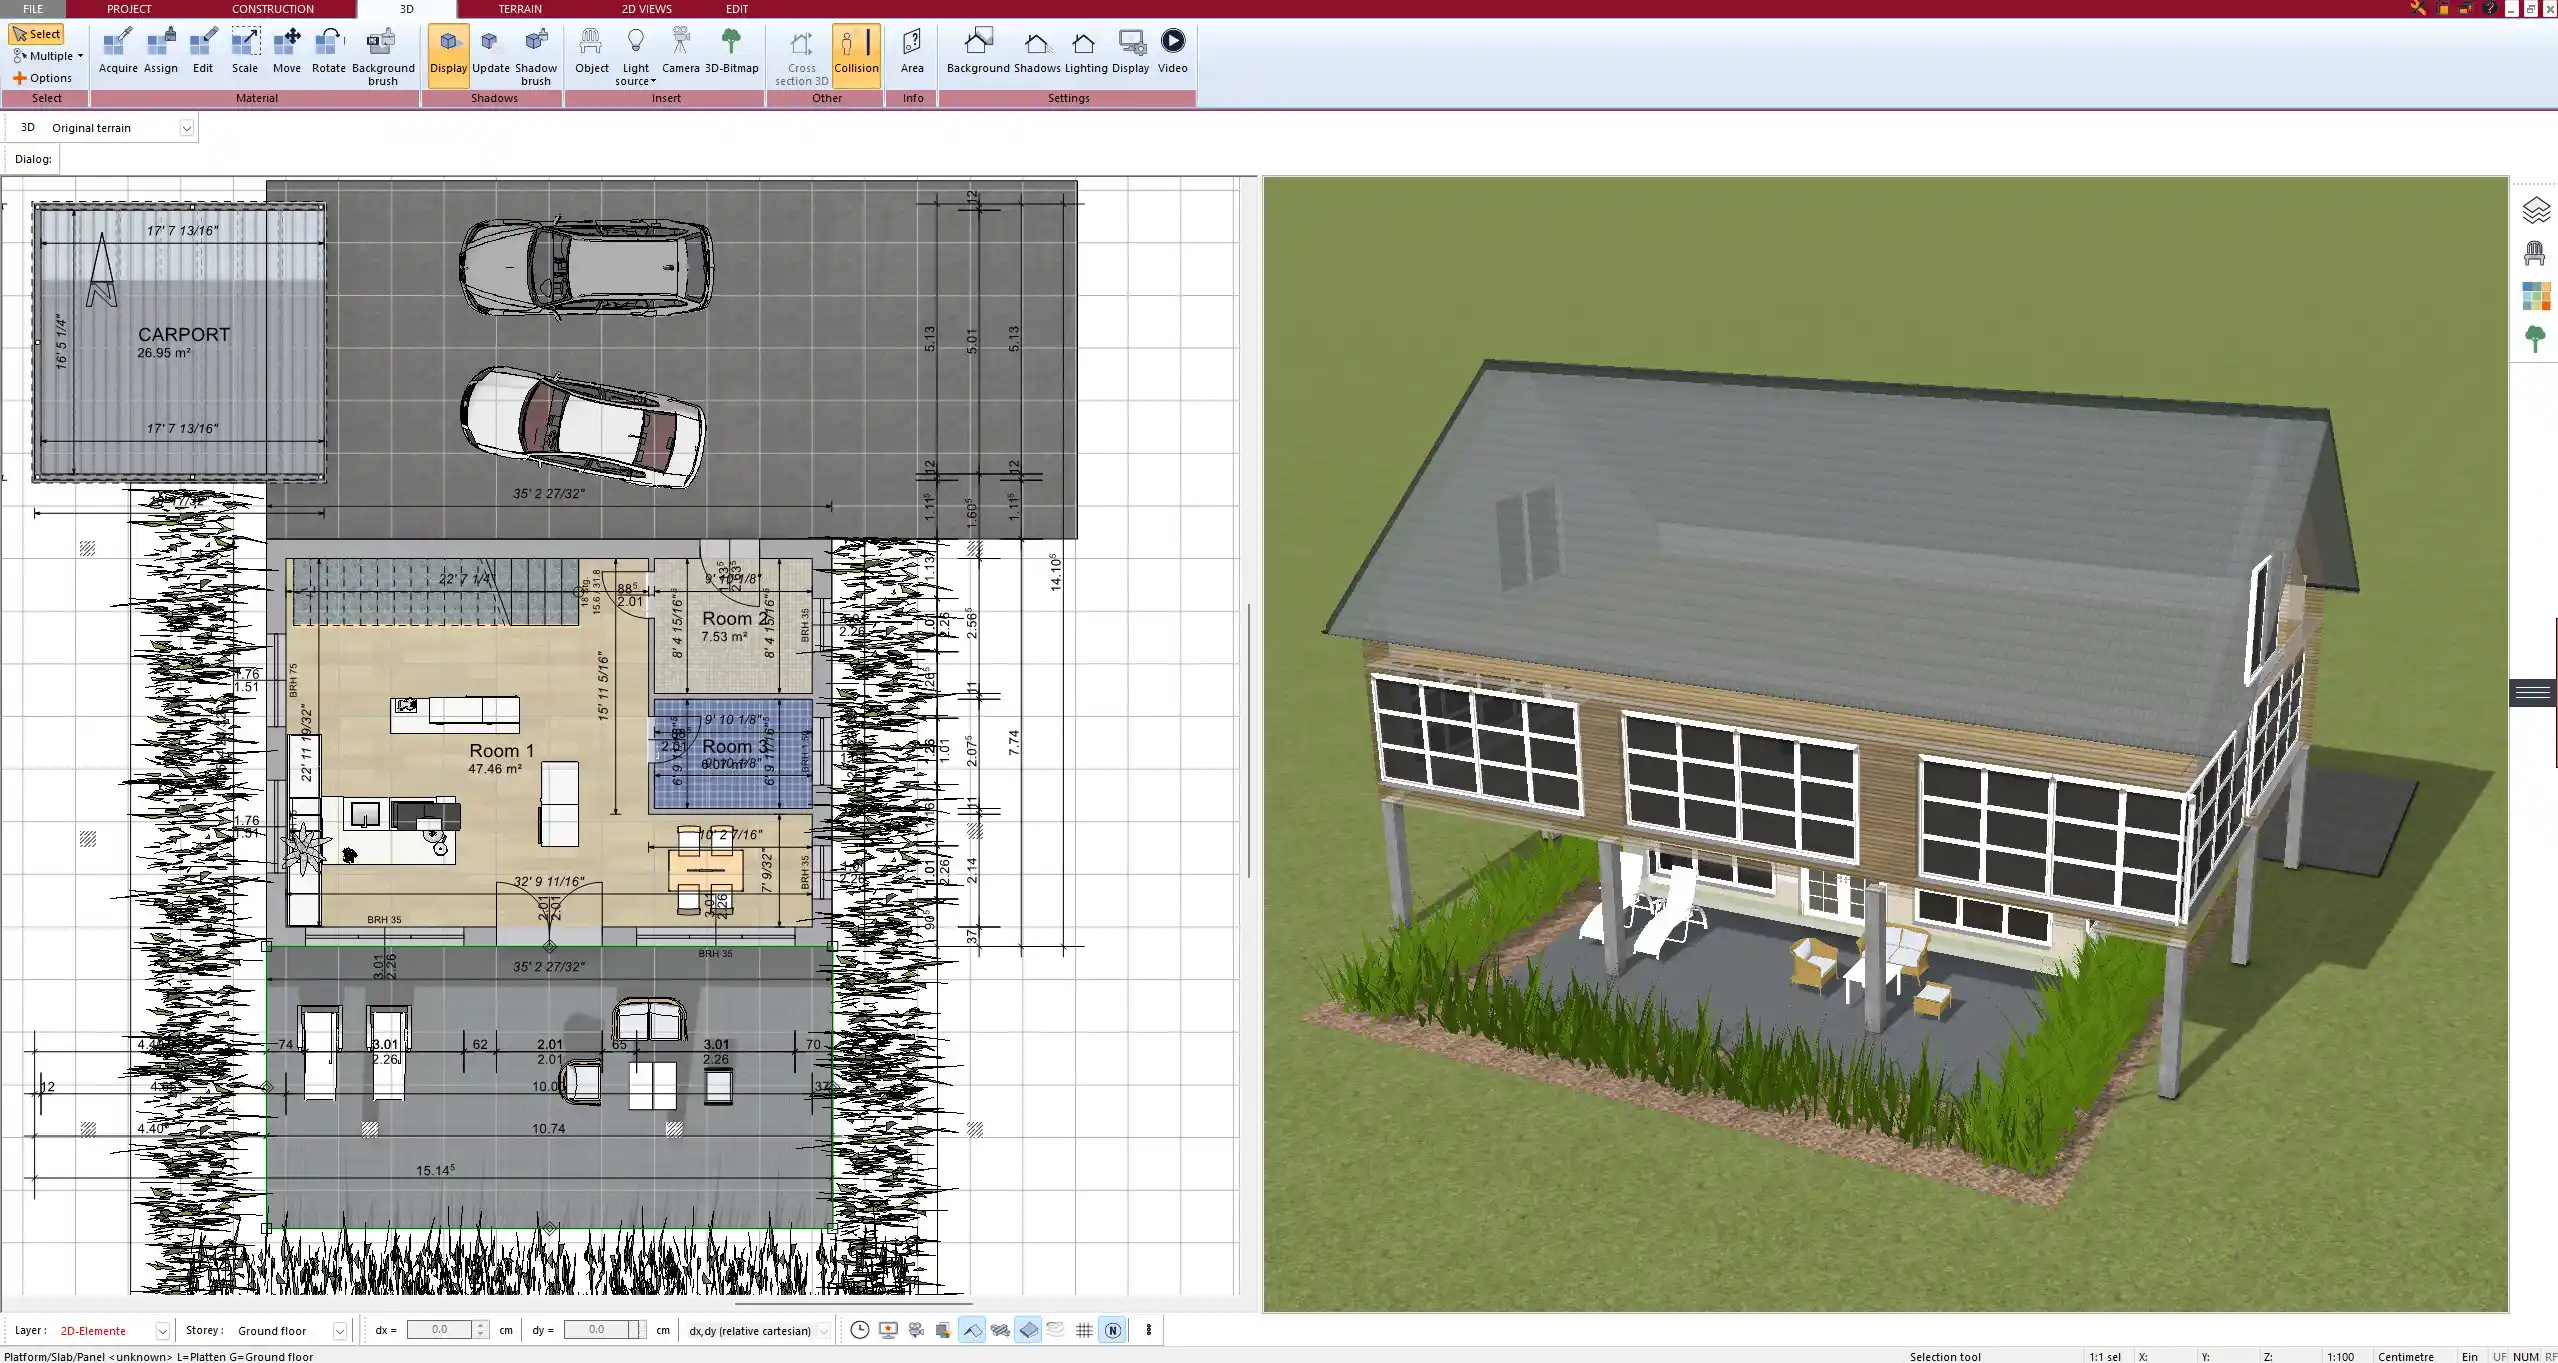
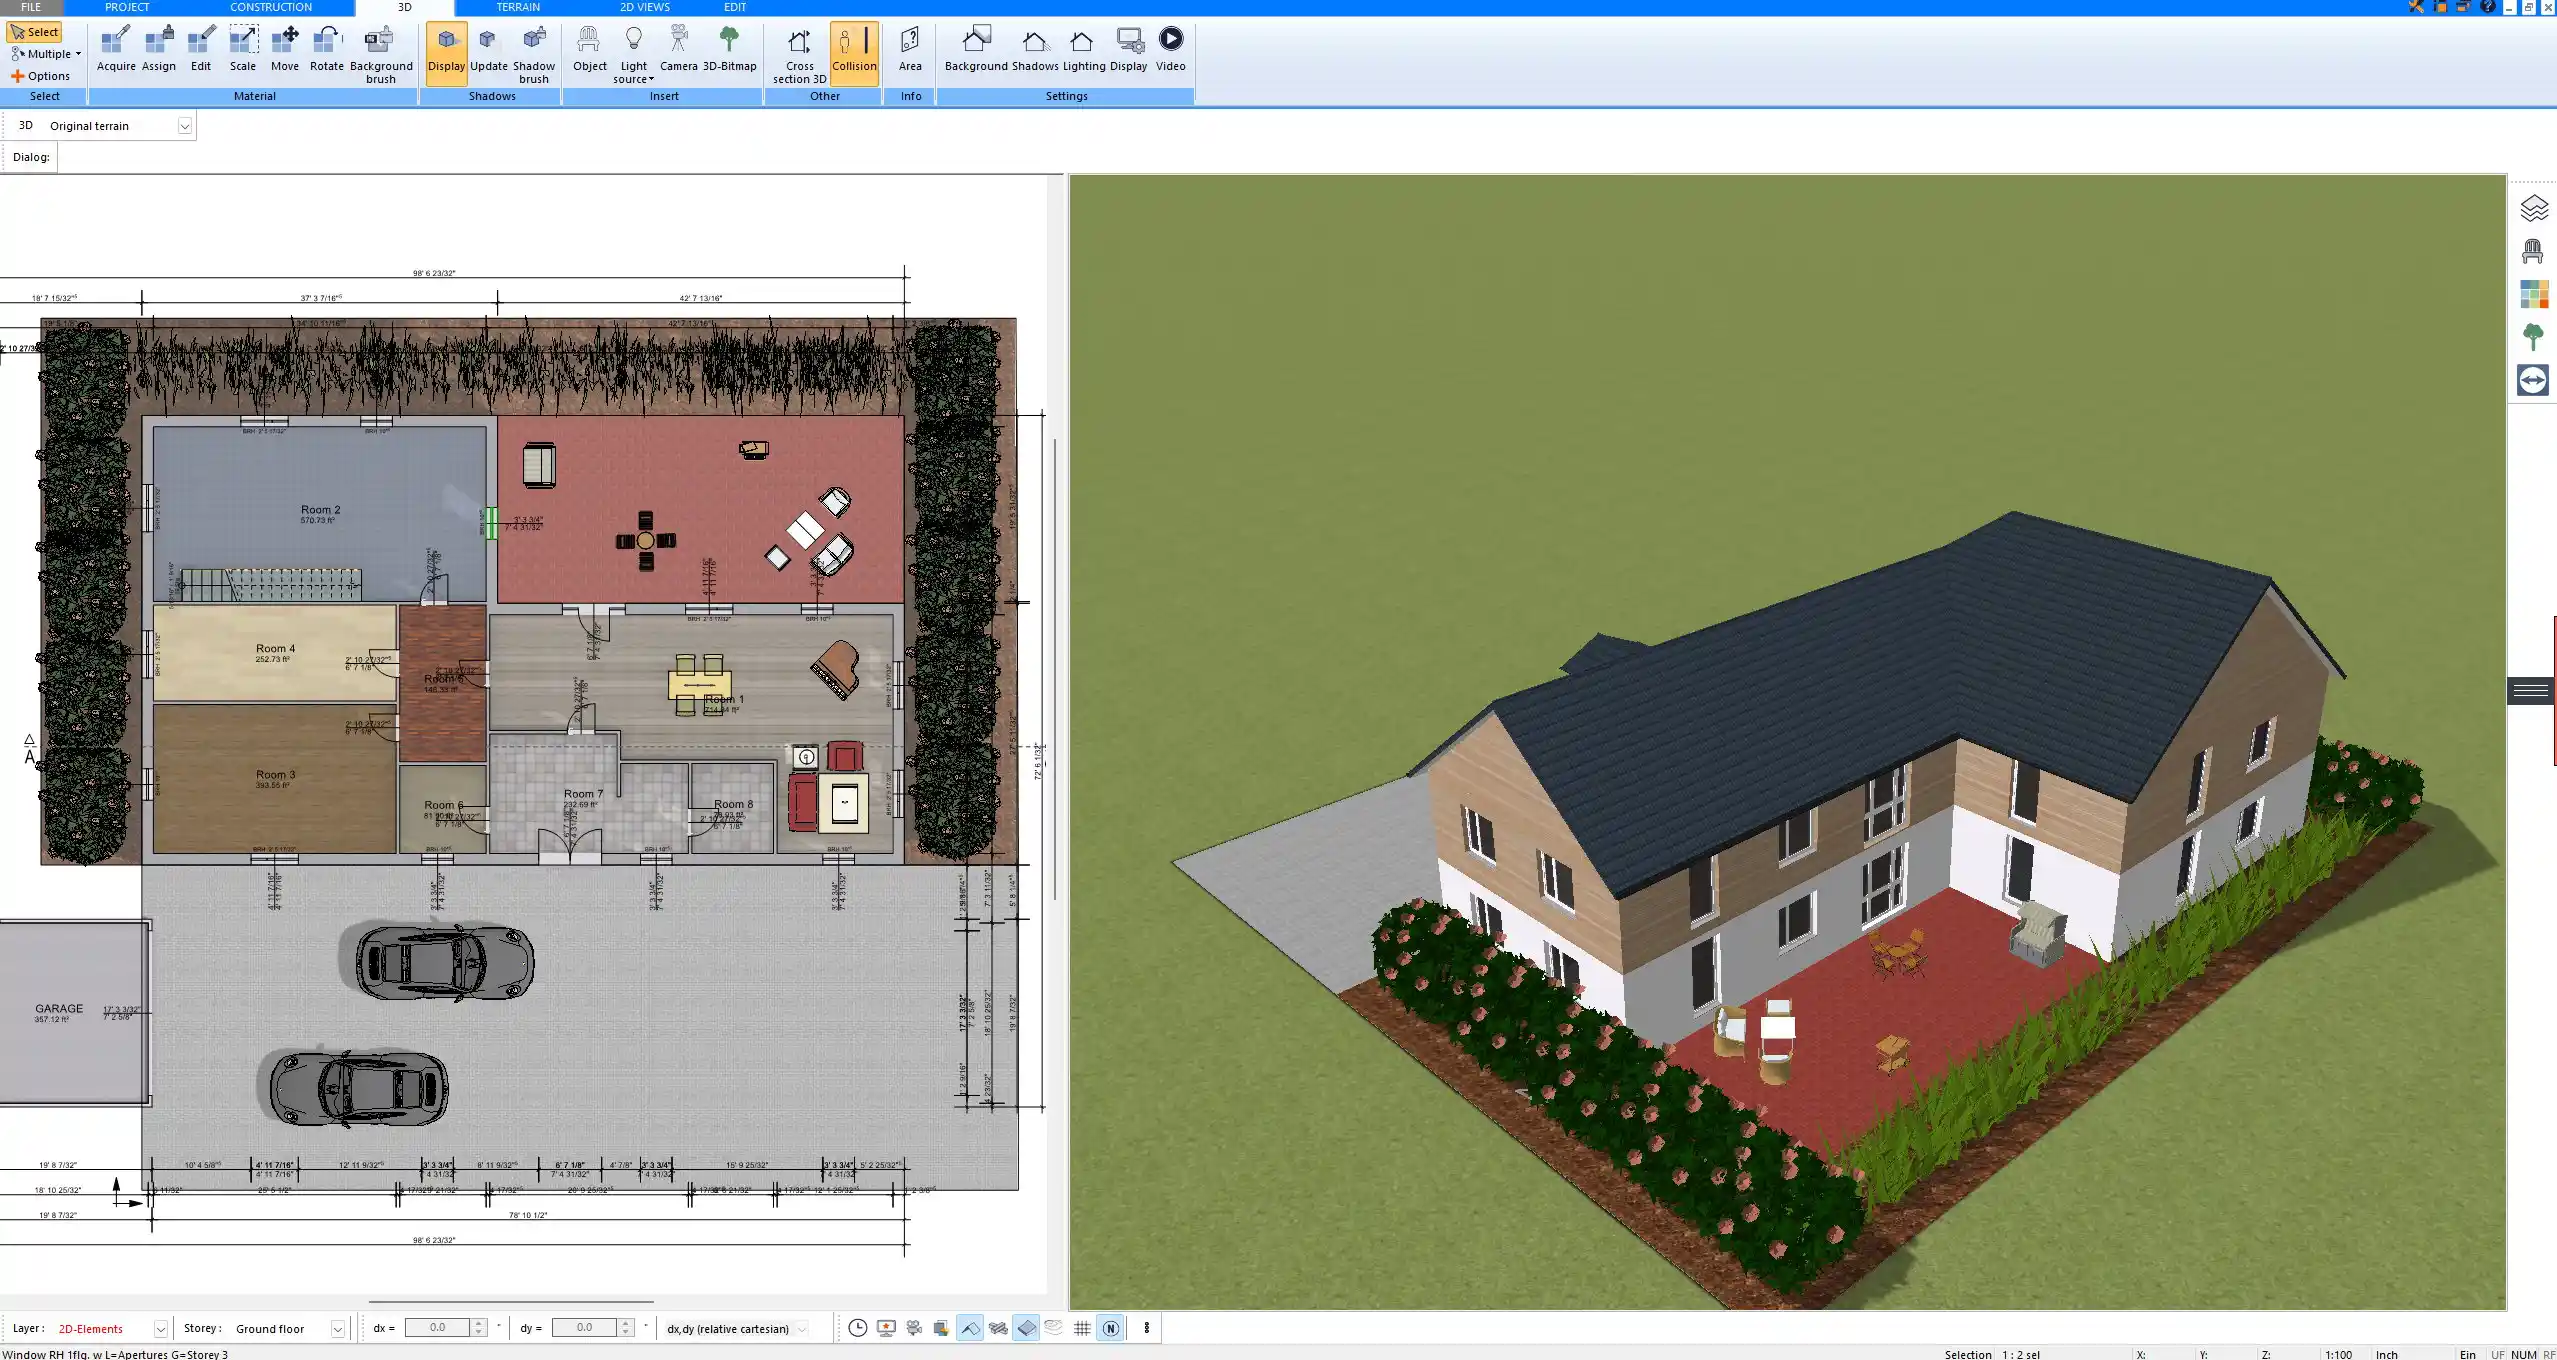
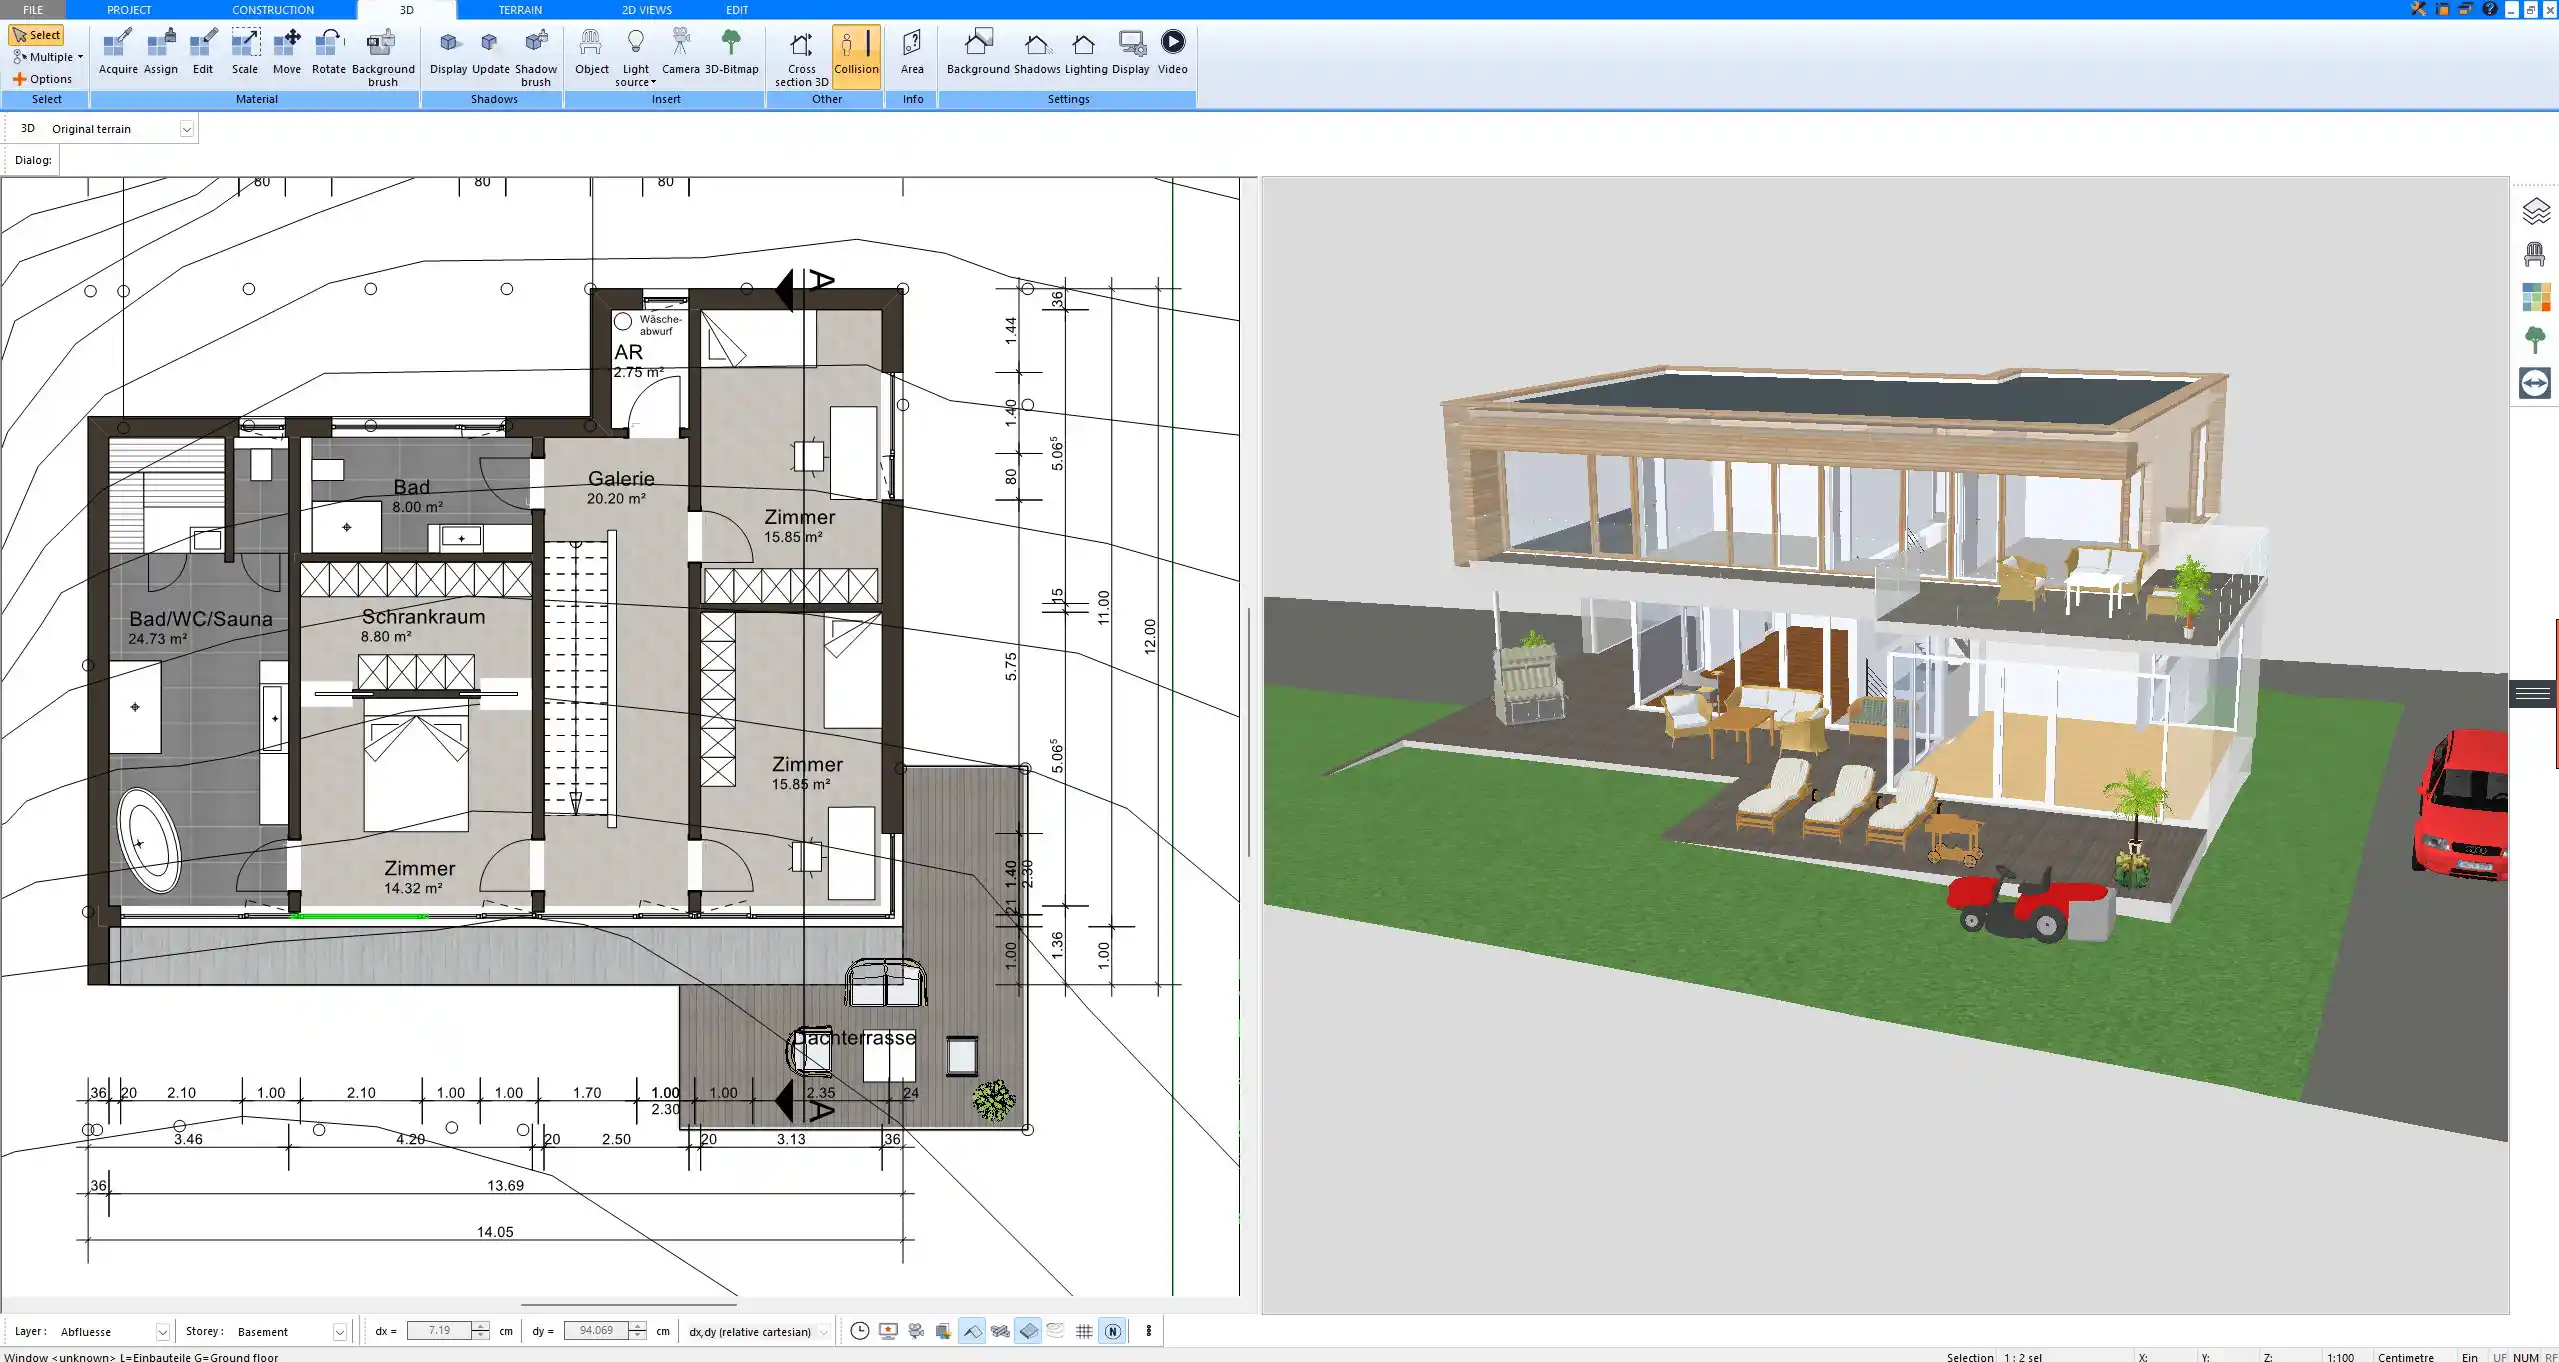
You start by selecting the unit system and then draw your outer walls by entering exact dimensions. Interior walls can be added using drag-and-drop tools, and every element—from staircases to furniture—is customizable. As you work in 2D, a real-time 3D model is generated automatically, helping you immediately visualize the impact of your layout decisions. This is especially useful for long and narrow row houses, where space and light distribution require extra attention.
Templates for multi-story buildings and residential zones are included, so you don’t need to start from scratch. You can also import floor plan sketches or scanned documents as backgrounds to trace over, making it easier to digitize existing ideas.
What Makes Row House Planning Different?
Typical Characteristics of a Row House Floor Plan
Unlike detached houses, row houses are directly connected to neighboring homes on both sides. This structural layout creates specific design challenges that must be addressed during the planning phase.
Common row house features include:
-
A narrow plot width with extended depth
-
Shared walls (party walls) on the left and right
-
Limited natural light from the sides – most windows are at the front and rear
-
Often built over 2 or 3 stories, depending on zoning and lot size
-
Usually no side access for maintenance, waste bins, or deliveries
These constraints mean that floor plans must be optimized for vertical use of space and smart zoning of public and private areas.
Functional Planning Priorities
When I planned a row house with Plan7Architect, I quickly realized that several priorities differ from conventional house planning. Here’s what I focused on:
-
Staircase placement: Since the layout is long and narrow, centrally placed staircases help divide the space effectively.
-
Light distribution: With only front and rear façades for windows, skylights, roof terraces, and open stairwells become crucial.
-
Noise insulation: Shared walls need to be well insulated—Plan7Architect lets you define wall types and thicknesses accordingly.
-
Room depth: I found it best to keep room depth moderate to avoid dark, tunnel-like areas in the middle of the house.
You also need to consider fire regulations for multi-level living and ensure that escape routes are clearly planned, especially for upstairs bedrooms.
Tip:
In Plan7Architect, you can simulate the sun path and light flow throughout the day to test different light strategies—even before construction begins.
How to Create a Row House Floor Plan in Plan7Architect
Step-by-Step Process
Creating a floor plan with Plan7Architect is straightforward. Below is a detailed workflow I followed when designing my own row house:
-
Select your measurement system
Choose whether you want to work in meters (European) or feet/inches (American). You can change this at any time. -
Define the lot and outer walls
Start by entering the overall dimensions of your plot and defining the two party walls that border neighboring units. For example, if your lot is 6 meters (approx. 20 feet) wide and 25 meters (approx. 82 feet) deep, set those as your base boundaries. -
Draw internal walls and layout rooms
Use the drag-and-drop tools to place interior walls. Assign rooms like kitchen, living area, bathrooms, bedrooms, and utility spaces by name. You can use snapping tools for precise alignment. -
Add upper floors
Most row houses have at least two floors. In Plan7Architect, you can duplicate the ground floor or build floors individually. I found it useful to stack bathrooms and utility lines vertically for efficient plumbing design. -
Place windows and doors
Insert openings on the front and back walls to maximize daylight. Skylights, roof windows, and narrow vertical openings in stairwells help with light and air flow. -
Furnish rooms and decorate
Use the extensive object library to furnish each room realistically. Beds, cabinets, sofas, and even bathtubs can be placed to scale. This helps you check if furniture fits comfortably within narrow spaces. -
Switch to 3D view
The 3D visualization updates automatically. You can walk through the model, view different levels, and even switch to night mode to see lighting effects. -
Export and print your plan
Once complete, export your row house design as a PDF, JPG, or 3D render. Plans are ready for contractors, city permits, or further editing.
Tip:
You can lock wall lengths and room proportions to maintain a consistent structure across different floor levels—ideal for modular design in row houses.
Important Considerations for Legal and Technical Accuracy
Even when planning on your own, it’s crucial to comply with local regulations. Plan7Architect allows you to:
-
Define wall construction types (e.g., solid, insulated, double brick)
-
Insert technical symbols for electrical, plumbing, and HVAC elements
-
Simulate roof pitch and gutter placement
-
Work with zoning boundaries and fire separation lines
These features are essential if you want to present your plan for municipal approval or hand it off to a certified builder.
Checklist: Technical Aspects to Review in Row House Plans
-
Fire escape routes on every level
-
Soundproofing of party walls
-
Plumbing and HVAC vertical shafts
-
Roof drainage planning
-
Stair railing and safety dimensions
-
Building code compliance (varies by country)
Conclusion
Plan7Architect makes it surprisingly easy to plan a professional, functional row house floor plan. Whether you’re designing your own new build, preparing a renovation, or just exploring layout possibilities, the software provides all the tools you need—from precise measurements to real-time 3D modeling. Thanks to support for both European and American units, it’s ideal for users worldwide.
If you’d like, I can now also write the final software recommendation paragraph for this article to motivate readers to purchase Plan7Architect. Would you like me to do that?
Plan your project with Plan7Architect

Plan7Architect Pro 5 for $99.99
You don’t need any prior experience because the software has been specifically designed for beginners. The planning process is carried out in 5 simple steps:
1. Draw Walls

2. Windows & Doors

3. Floors & Roof

4. Textures & 3D Objects

5. Plan for the Building Permit

6. Export the Floor Plan as a 3D Model for Twinmotion

- – Compliant with international construction standards
- – Usable on 3 PCs simultaneously
- – Option for consultation with an architect
- – Comprehensive user manual
- – Regular updates
- – Video tutorials
- – Millions of 3D objects available


