When you want to plan a split-level house floor plan yourself, Plan7Architect provides exactly the tools you need. The software allows you to easily create multiple levels within one house design, set flexible wall heights, and position stairs correctly between half-floors. You can work with either European units (meters) or American units (feet) without any problem, as the software allows you to switch units at any time.
Creating a split-level design with Plan7Architect is straightforward. You define separate floor levels with custom elevations and ceiling heights, insert stairs exactly where needed, and immediately visualize everything in 2D and 3D. The intuitive handling of different levels and building elements makes it ideal even for users without professional architectural experience.
Key Features You Need for a Split-Level Floor Plan
When I first started planning my own split-level design, I found these features in Plan7Architect particularly valuable:
-
Multi-Level Design: You can add as many levels as needed inside the same house model. Each floor or half-floor can have its own specific height and layout.
-
Flexible Wall Heights: Different levels often require customized wall heights. In Plan7Architect, you can set different wall heights for each floor individually.
-
Stair and Landing Planning: The software offers a wide range of stairs and landings, allowing you to connect half-floors logically and efficiently.
-
Visualization Tools: Switching between 2D floor plans and 3D visualizations helps you constantly check whether the split-level transitions work smoothly.
Tip:
Always use the 3D real-time view when adjusting stairs and levels. It makes it much easier to spot design errors early.
Step-by-Step: Planning a Split-Level Layout with Plan7Architect
1. Set Up Your Base Floor
Start by setting up the base floor as your “main level.” In Plan7Architect, you define the room layout, overall dimensions, and the standard ceiling height. For example, if you are planning in meters, you might choose a 2.5-meter ceiling, while in feet, it could be around 8 feet.
Set the unit system at the beginning of your project. You can choose between meters and feet at any time in the settings menu without losing or corrupting your work.
2. Add Intermediate Levels
Once the main floor is set up, you add intermediate split levels. In Plan7Architect, you can duplicate the existing floor or create a completely new floor with a slightly different elevation.
Typical elevation differences for split-level houses are:
| Split Level Type | Typical Height Difference |
|---|---|
| Half-floor up/down | 0.5 story (about 1.2–1.5 meters / 4–5 feet) |
| Quarter-floor up/down | 0.25 story (about 0.6–0.75 meters / 2–2.5 feet) |
You manually set the elevation (up or down) in the floor properties. Then, you adjust the rooms and walls according to the slightly shifted height.
Tip:
Name each level clearly (e.g., “Living Level +0.5 Story,” “Garage Level -0.5 Story”) to avoid confusion later during stair and wall placement.
3. Insert Stairs Correctly
After defining the levels, you insert stairs to connect them. Plan7Architect offers several stair types: straight, L-shaped, U-shaped, spiral, and custom-designed stairs.
Choose the stair type based on your space:
-
Straight stairs: best for small elevation changes.
-
L-shaped stairs: good for corner connections.
-
U-shaped stairs: ideal for greater height differences in compact space.
When placing a stair, make sure the start and end points align exactly with the different floor elevations. Plan7Architect automatically adapts the stair height if you set it up correctly.
| Stair Type | Recommended Use Case |
|---|---|
| Straight | Short level changes (e.g., half-floor) |
| L-shaped | Space-saving turns between levels |
| U-shaped | Higher floor differences, compact layout |
Important Note:
Always use the 3D view to check if the stair is properly connected between the two levels. Even small height mismatches can cause visual errors.
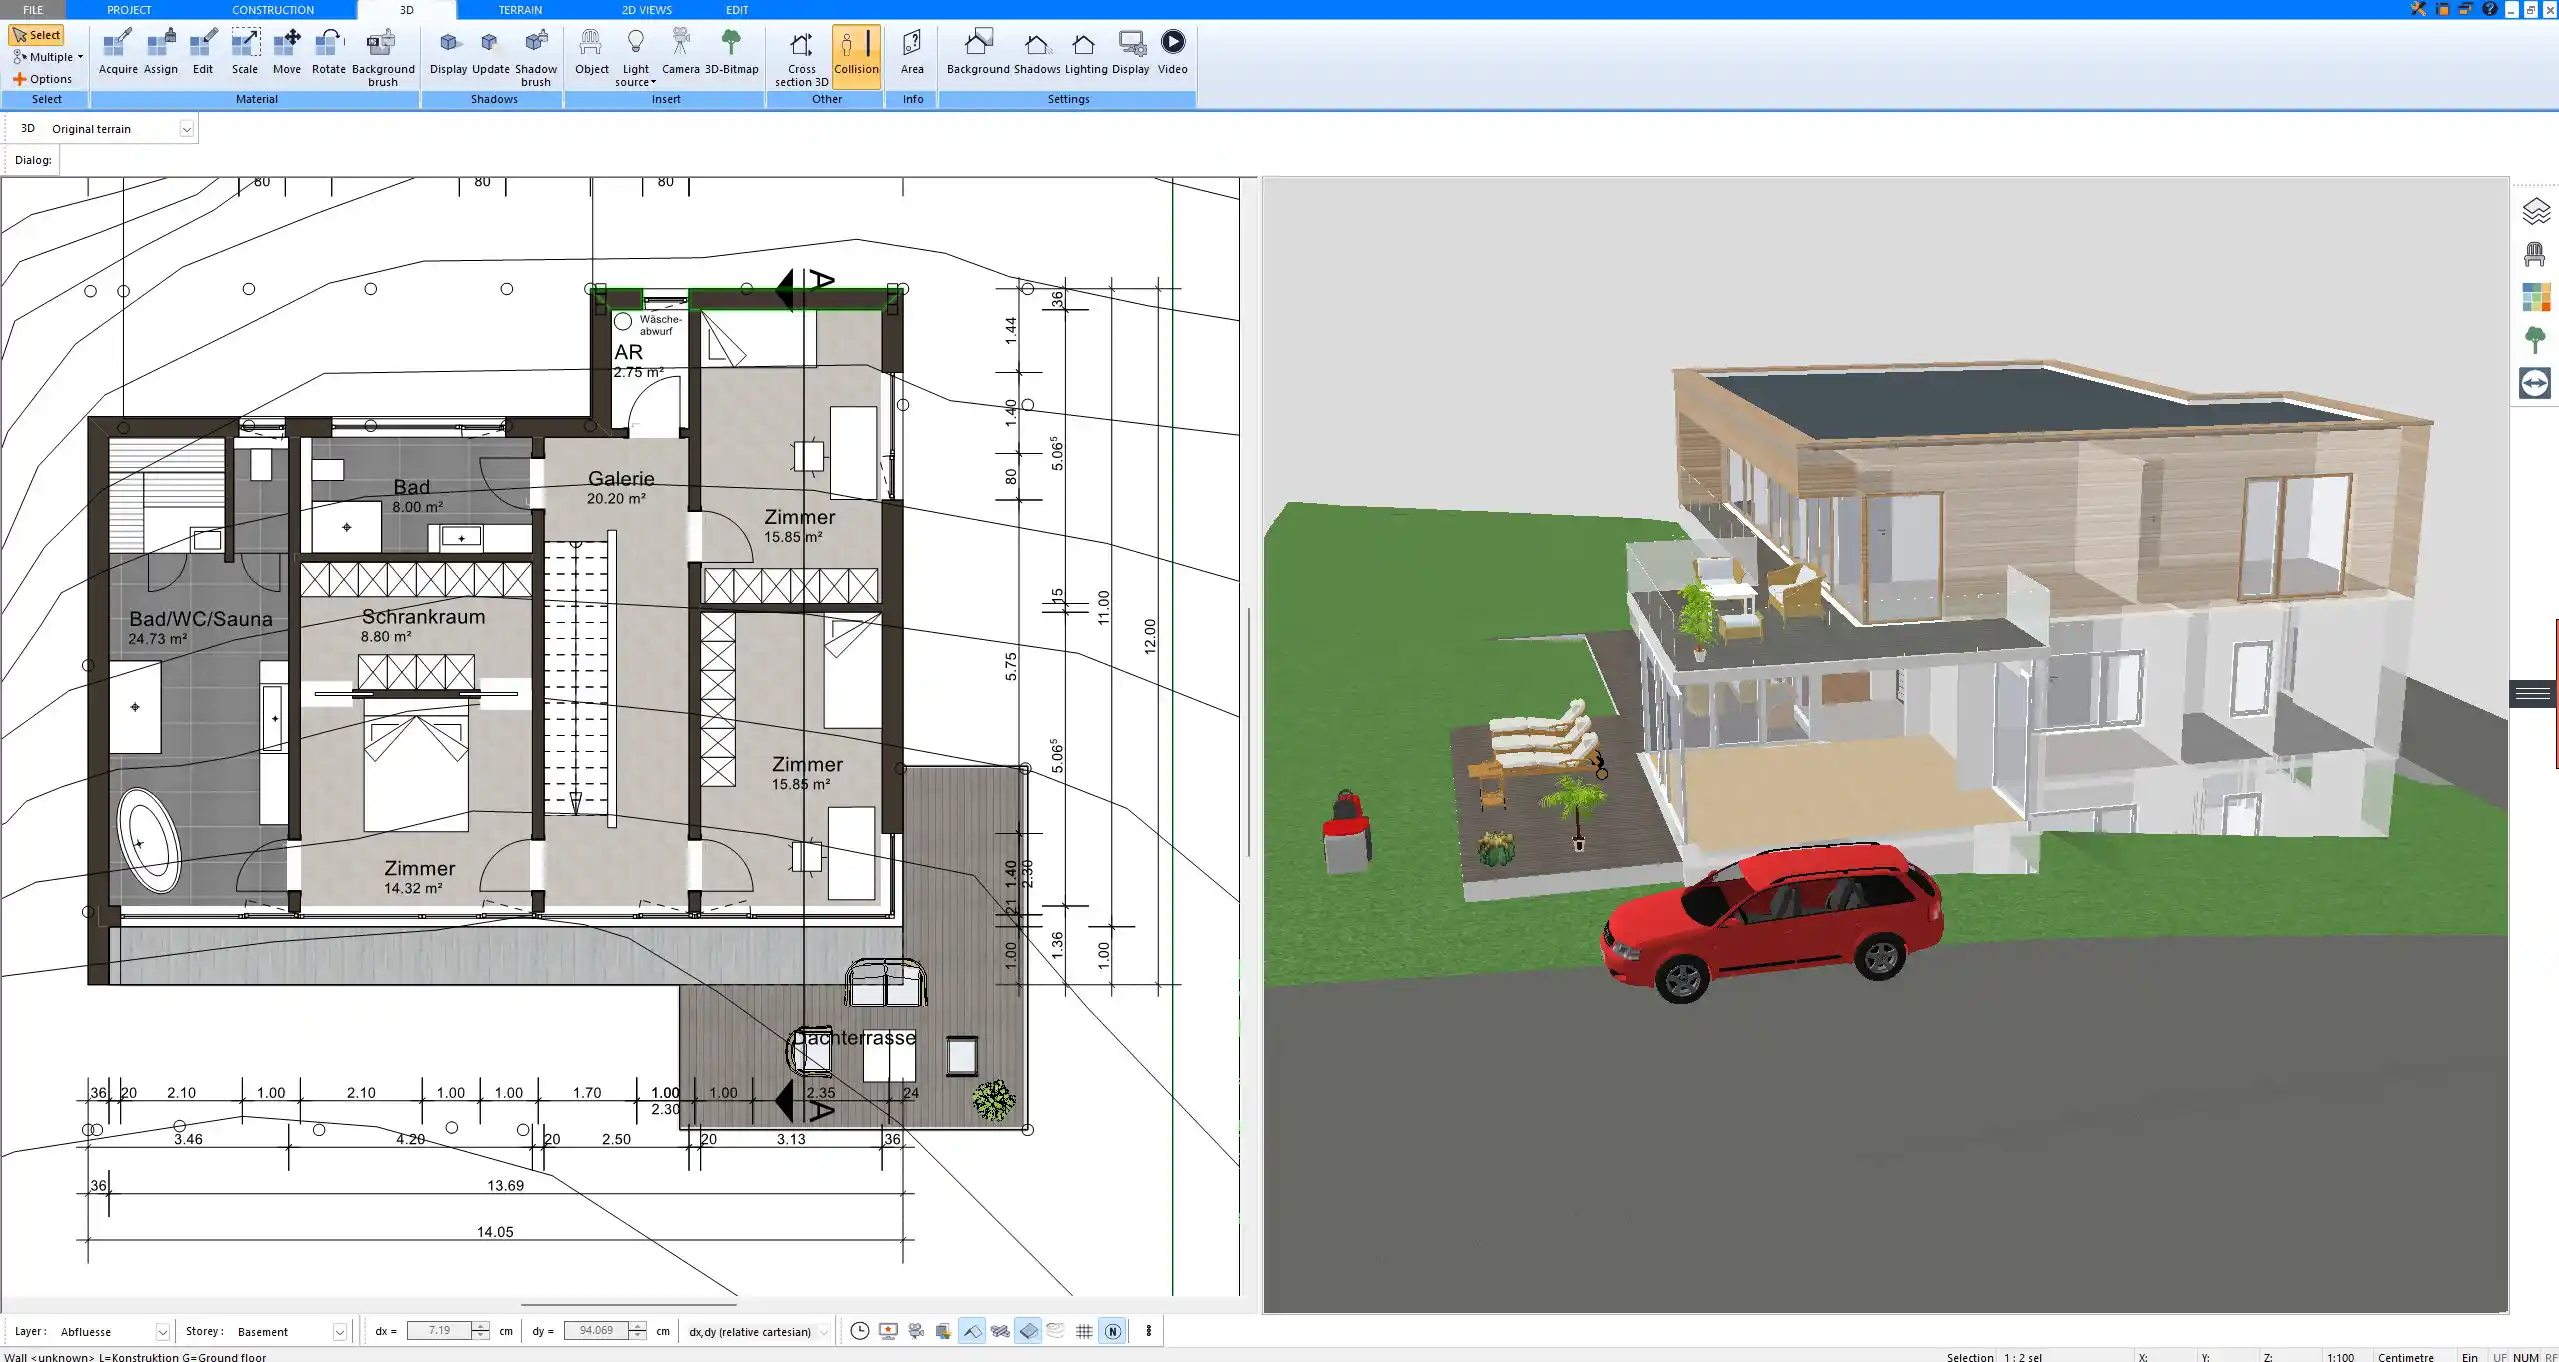
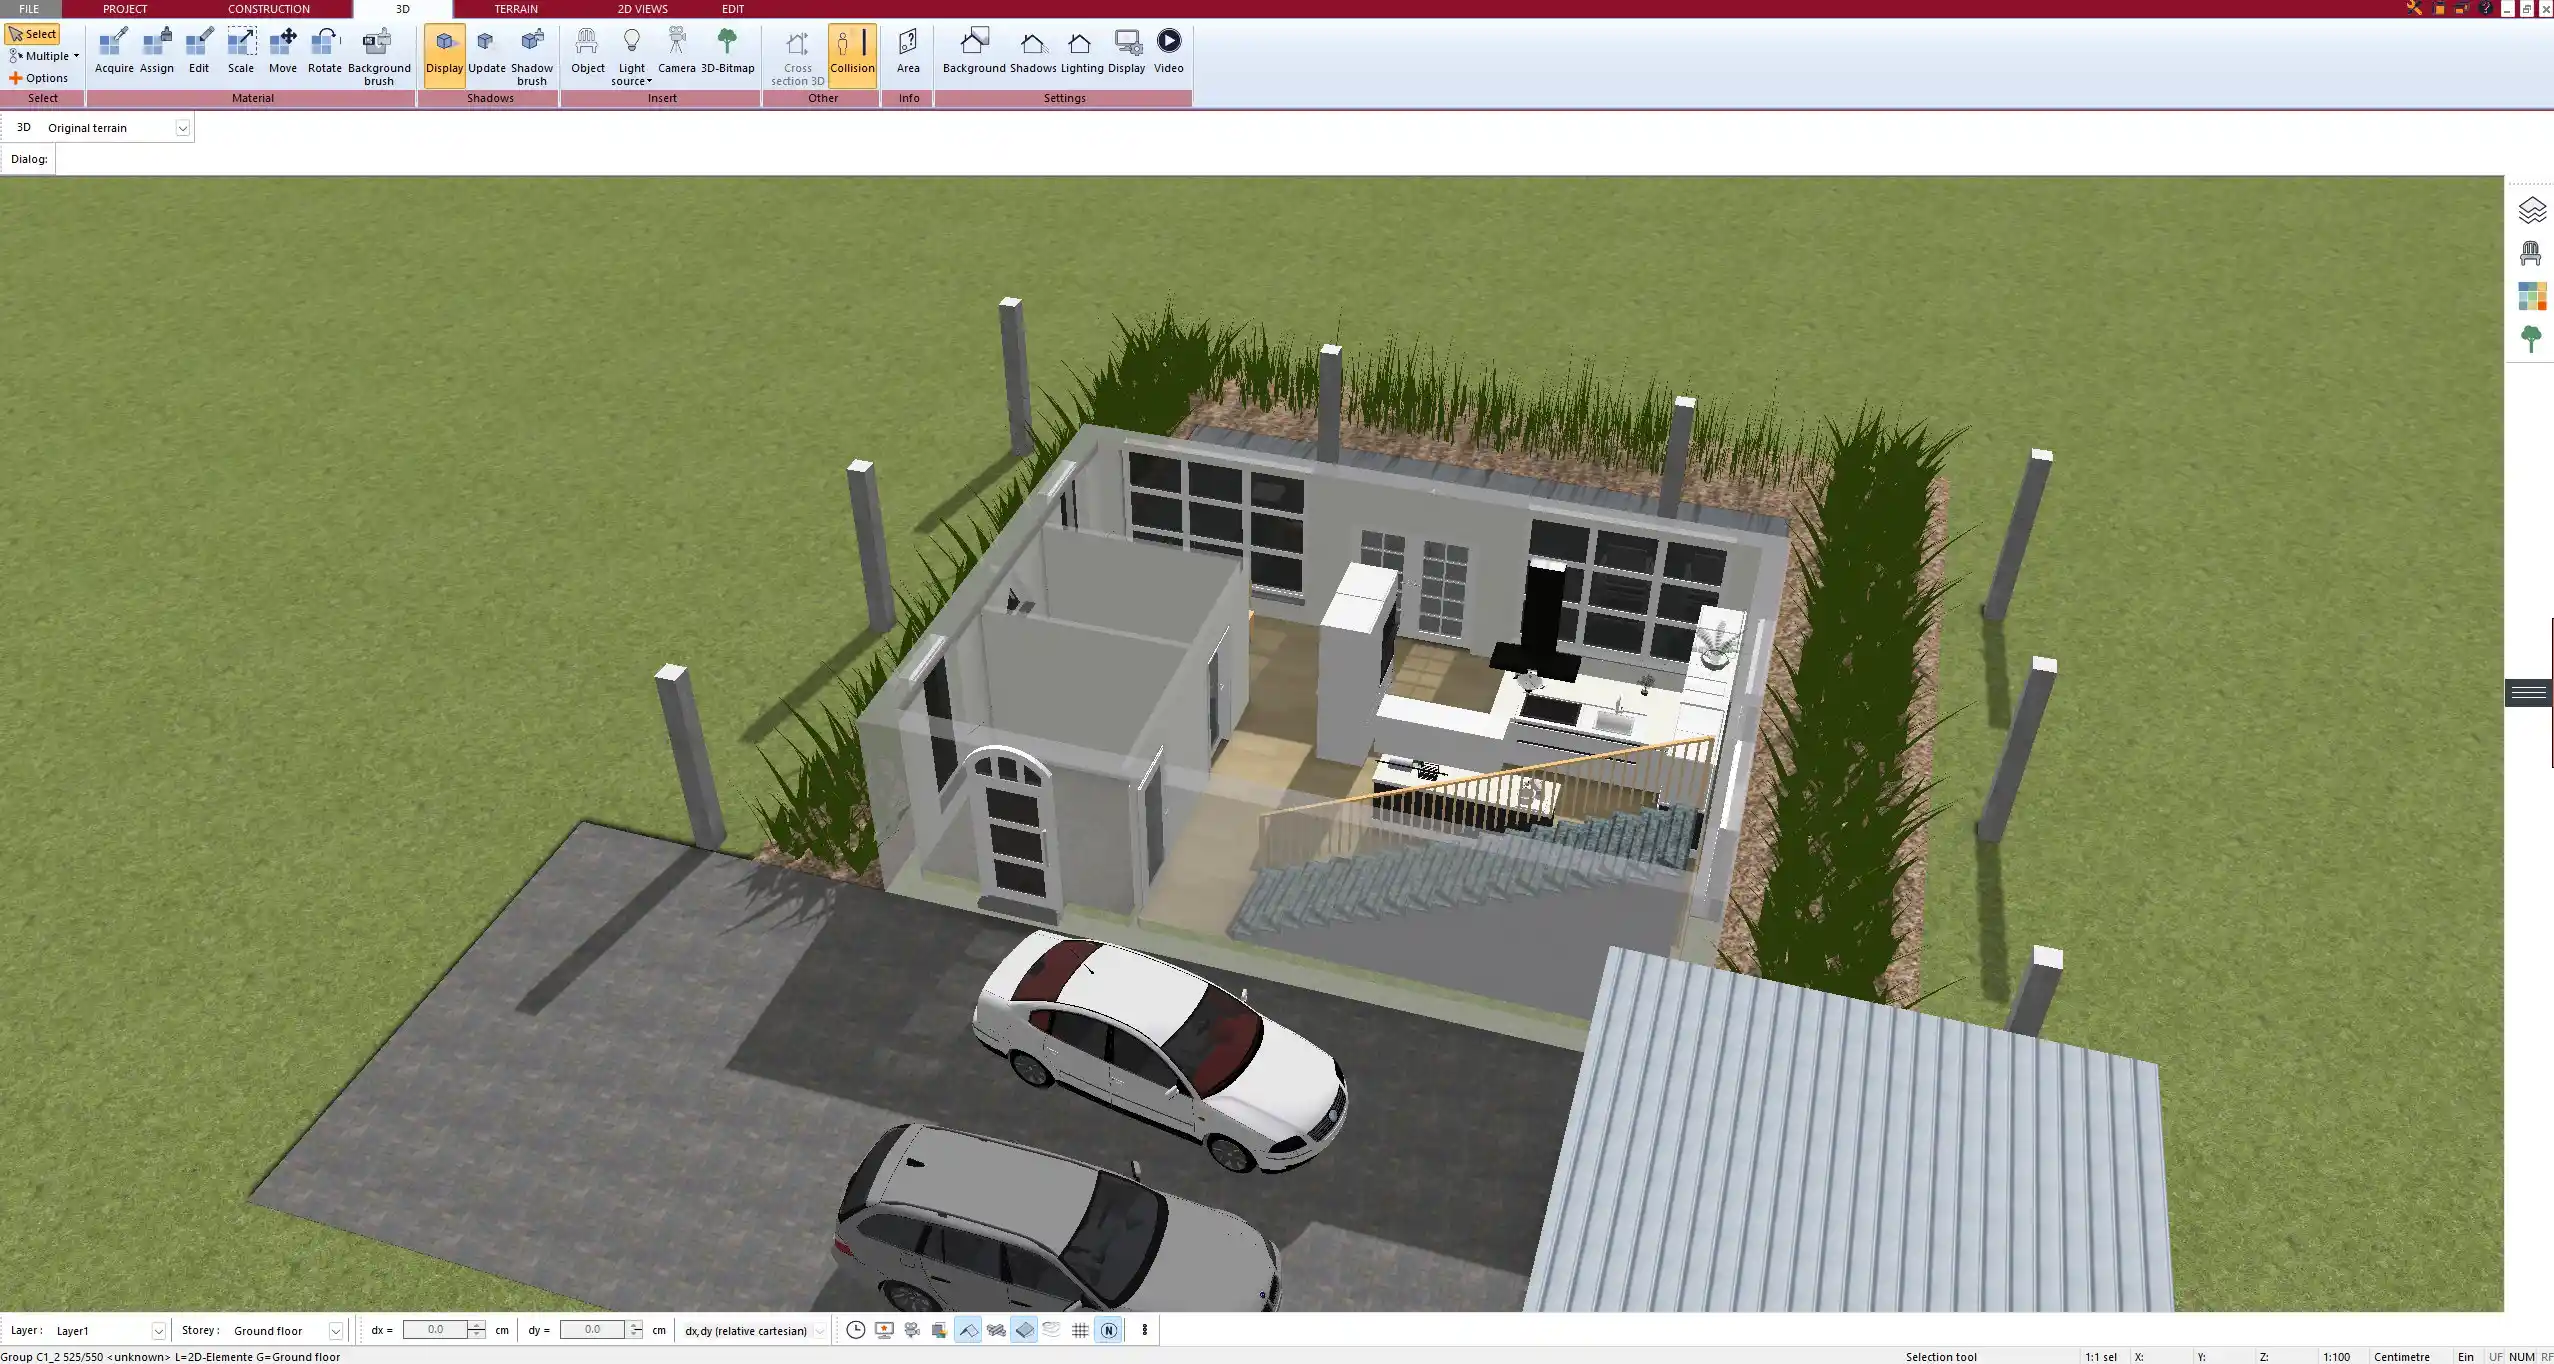
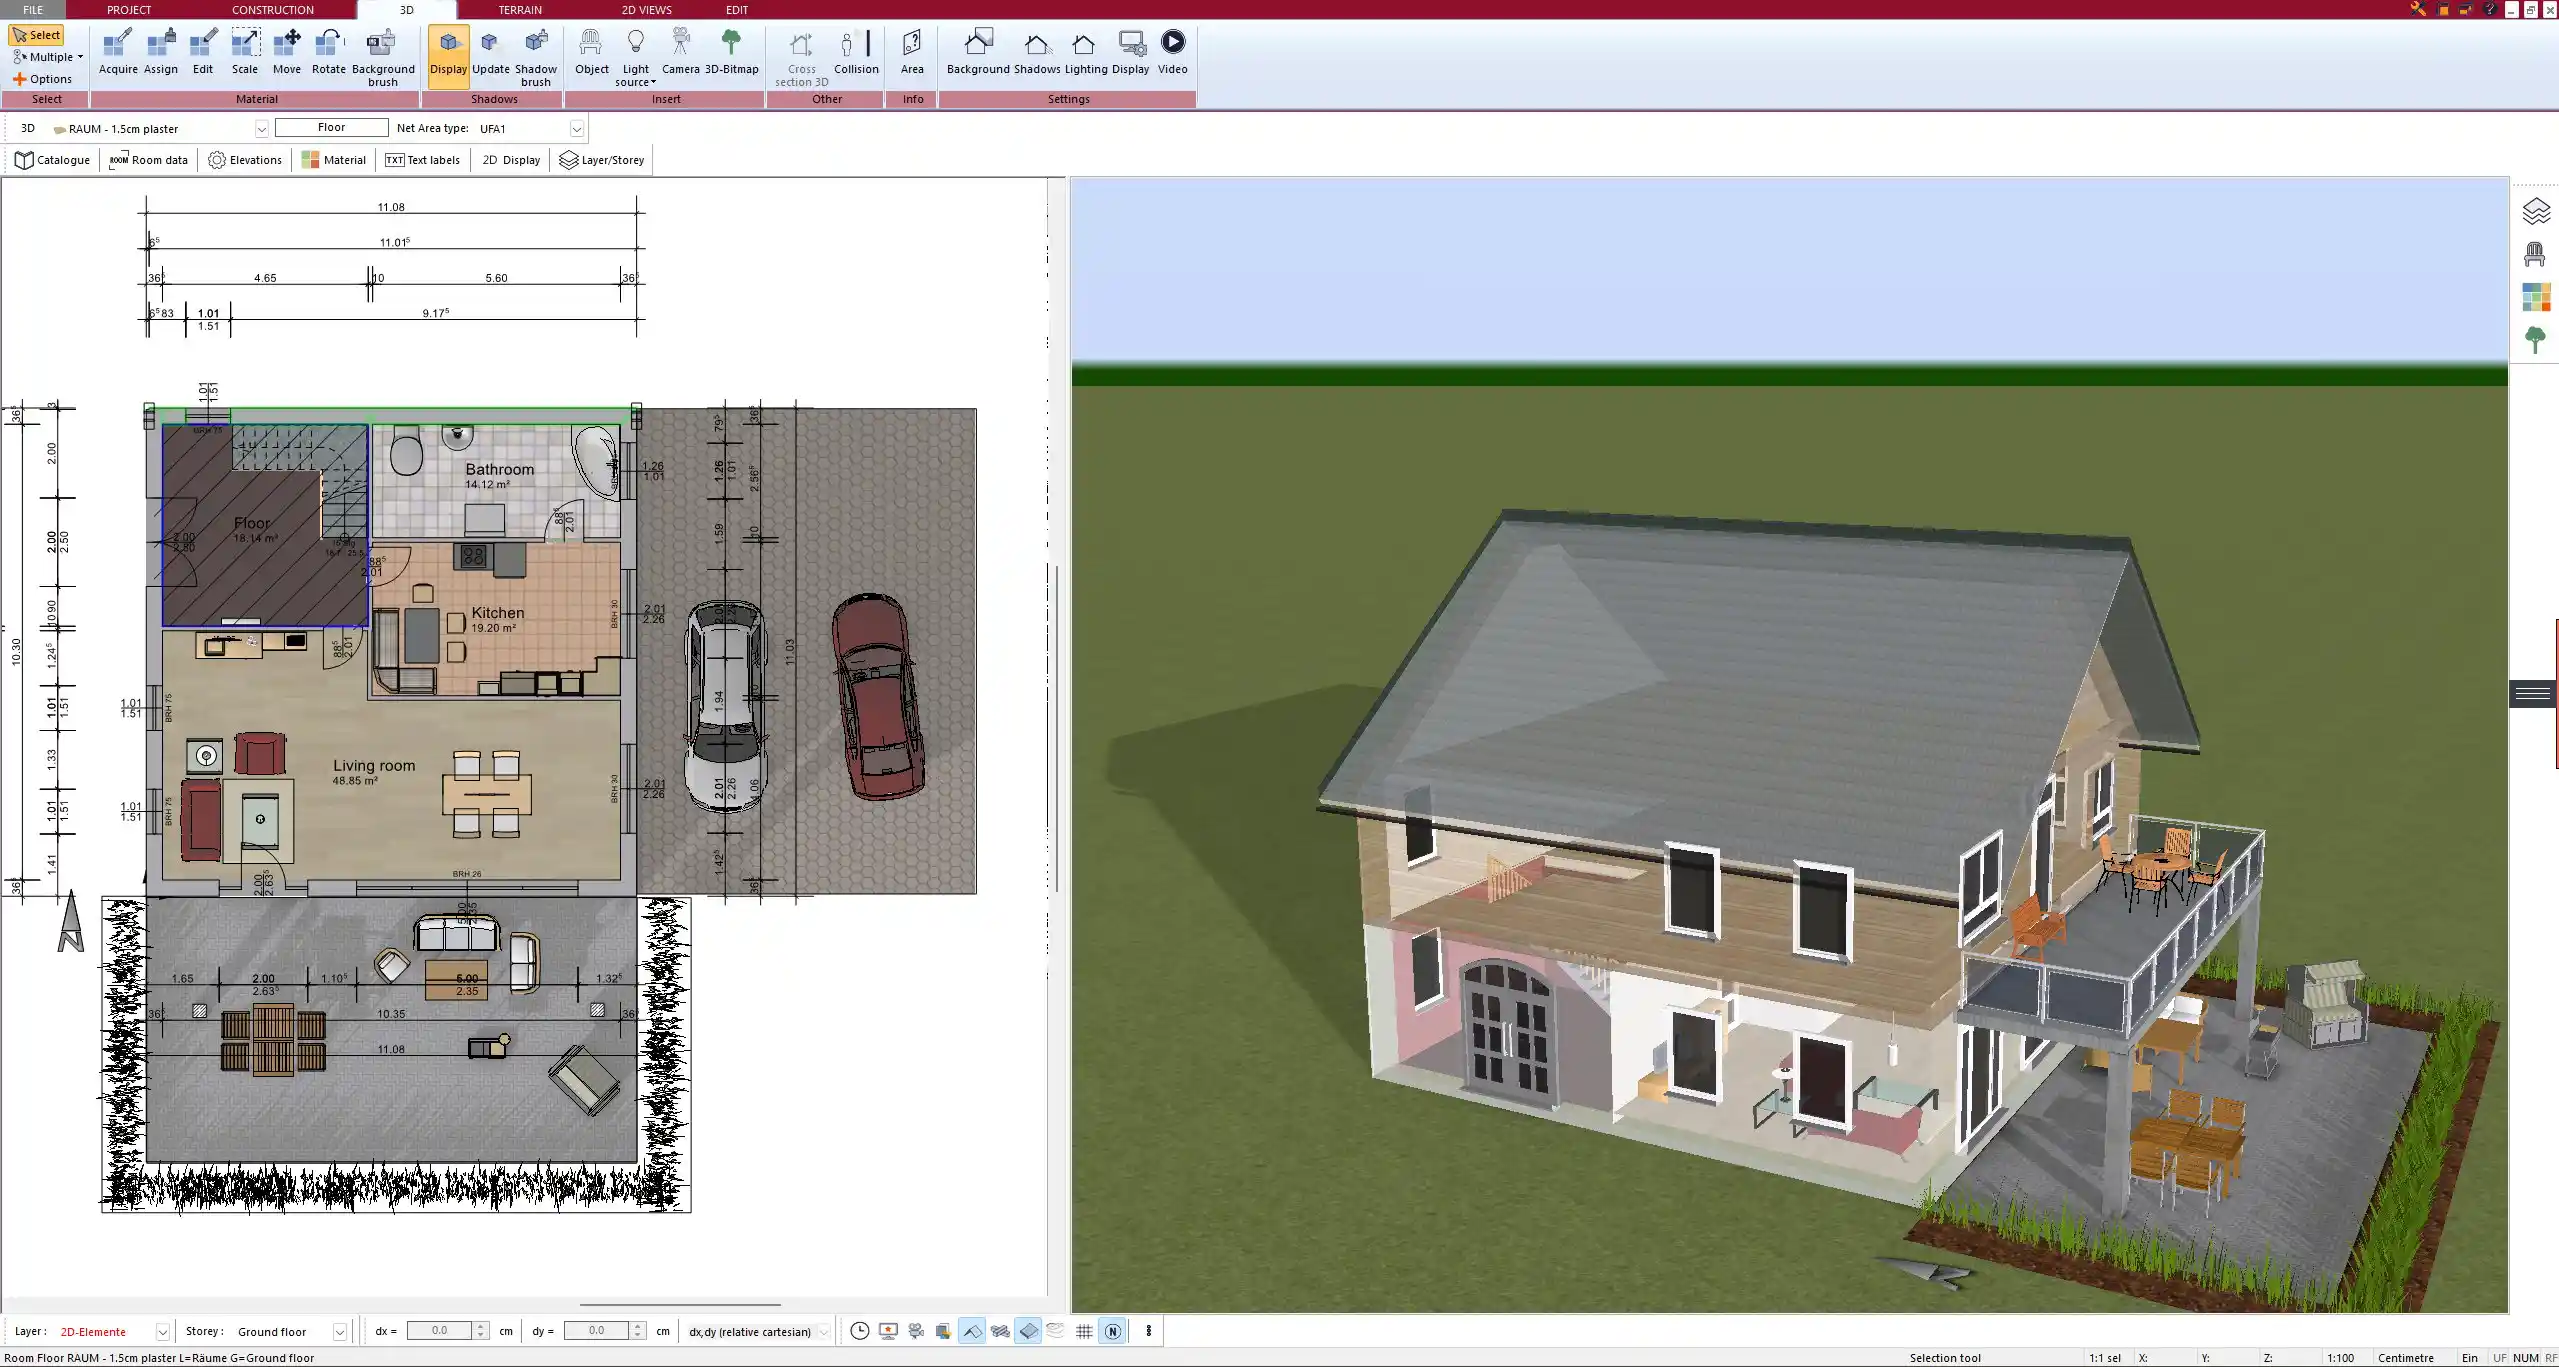
4. Check in 2D and 3D
After setting all levels and stairs, constantly check your design in both 2D and 3D. The 2D floor plan view helps you verify dimensions, walls, and room placements. The 3D visualization lets you walk through the house virtually and see if the split-level design feels natural.
Use section cuts in the 3D view to inspect how the levels are positioned relative to each other. You can easily detect whether all intermediate floors, ceiling heights, and stairs match your expectations.
Tips for an Efficient Split-Level House Plan
Designing a split-level house comes with some special considerations. Based on my own experiences, here are the most important tips:
-
Plan for Natural Light: Split-level homes often have staggered windows. Position windows cleverly to bring in as much daylight as possible at every level.
-
Logical Room Flow: Bedrooms should not be too far from bathrooms or living areas. Think vertically as well as horizontally when planning movement through the home.
-
Roof Design: Split-level homes often require different roof sections. In Plan7Architect, you can assign individual roof parameters to each level to create realistic and complex roof structures.
-
Consider Accessibility: If accessibility is a concern, design short ramps or mini-elevators to connect half-levels. Plan7Architect allows the placement of ramp elements as easily as stairs.
Tip:
Use color coding in your floor plan (available in Plan7Architect) to visually separate different levels during the design phase. It makes multi-level planning much easier.
Why Plan7Architect Is Ideal for Split-Level Home Design
When planning a split-level house, you need flexibility and precision. Plan7Architect offers exactly that. The software does not require professional CAD skills. It provides user-friendly drag-and-drop tools for creating multi-level structures.
Advantages of using Plan7Architect for split-level design include:
-
Simple handling of multiple levels with custom heights.
-
Easy stair planning between levels.
-
Real-time 2D and 3D visualizations for instant feedback.
-
Unit flexibility: Work with meters or feet as needed without starting a new project.
-
Professional quality output, suitable for construction or submission to architects and builders.
Having personally used the software for a split-level project, I can say it is perfectly suited to the needs of self-builders and professionals alike.
Conclusion: Design Your Split-Level House Plan Easily with Plan7Architect
With Plan7Architect, planning a split-level house is no longer a complicated task. You can design multiple floors, adjust wall heights, and insert stairs between levels intuitively. Thanks to the flexible unit system, you can create your house plan whether you prefer meters or feet, making it an excellent choice for builders around the world.
Plan your project with Plan7Architect

Plan7Architect Pro 5 for $119.99
You don’t need any prior experience because the software has been specifically designed for beginners. The planning process is carried out in 5 simple steps:
1. Draw Walls

2. Windows & Doors

3. Floors & Roof

4. Textures & 3D Objects

5. Plan for the Building Permit

6. Export the Floor Plan as a 3D Model for Twinmotion

- – Compliant with international construction standards
- – Usable on 3 PCs simultaneously
- – Option for consultation with an architect
- – Comprehensive user manual
- – Regular updates
- – Video tutorials
- – Millions of 3D objects available


