With Plan7Architect, you can virtually wallpaper any room—whether you’re starting from scratch or editing an existing design. The software allows you to select walls, ceilings, or any surface within your floor plan and apply digital wallpaper textures in just a few clicks. You can either choose from a wide library of pre-installed wallpaper patterns or upload your own design for full customization.
This feature works in both 2D and 3D views, so you can edit precisely and view results instantly. It’s a quick and realistic way to test wallpaper ideas without physically applying anything. Whether you’re planning a subtle accent wall or covering an entire room, this tool gives you full creative control.
Plan7Architect supports both metric (e.g., centimeters, meters) and imperial (e.g., inches, feet) units, which you can easily set based on your location or preference. This ensures that your wallpaper planning stays accurate, regardless of whether you’re in Europe, the US, or anywhere else in the world.
How the Virtual Wallpaper Feature Works
1. Select a Room or Wall
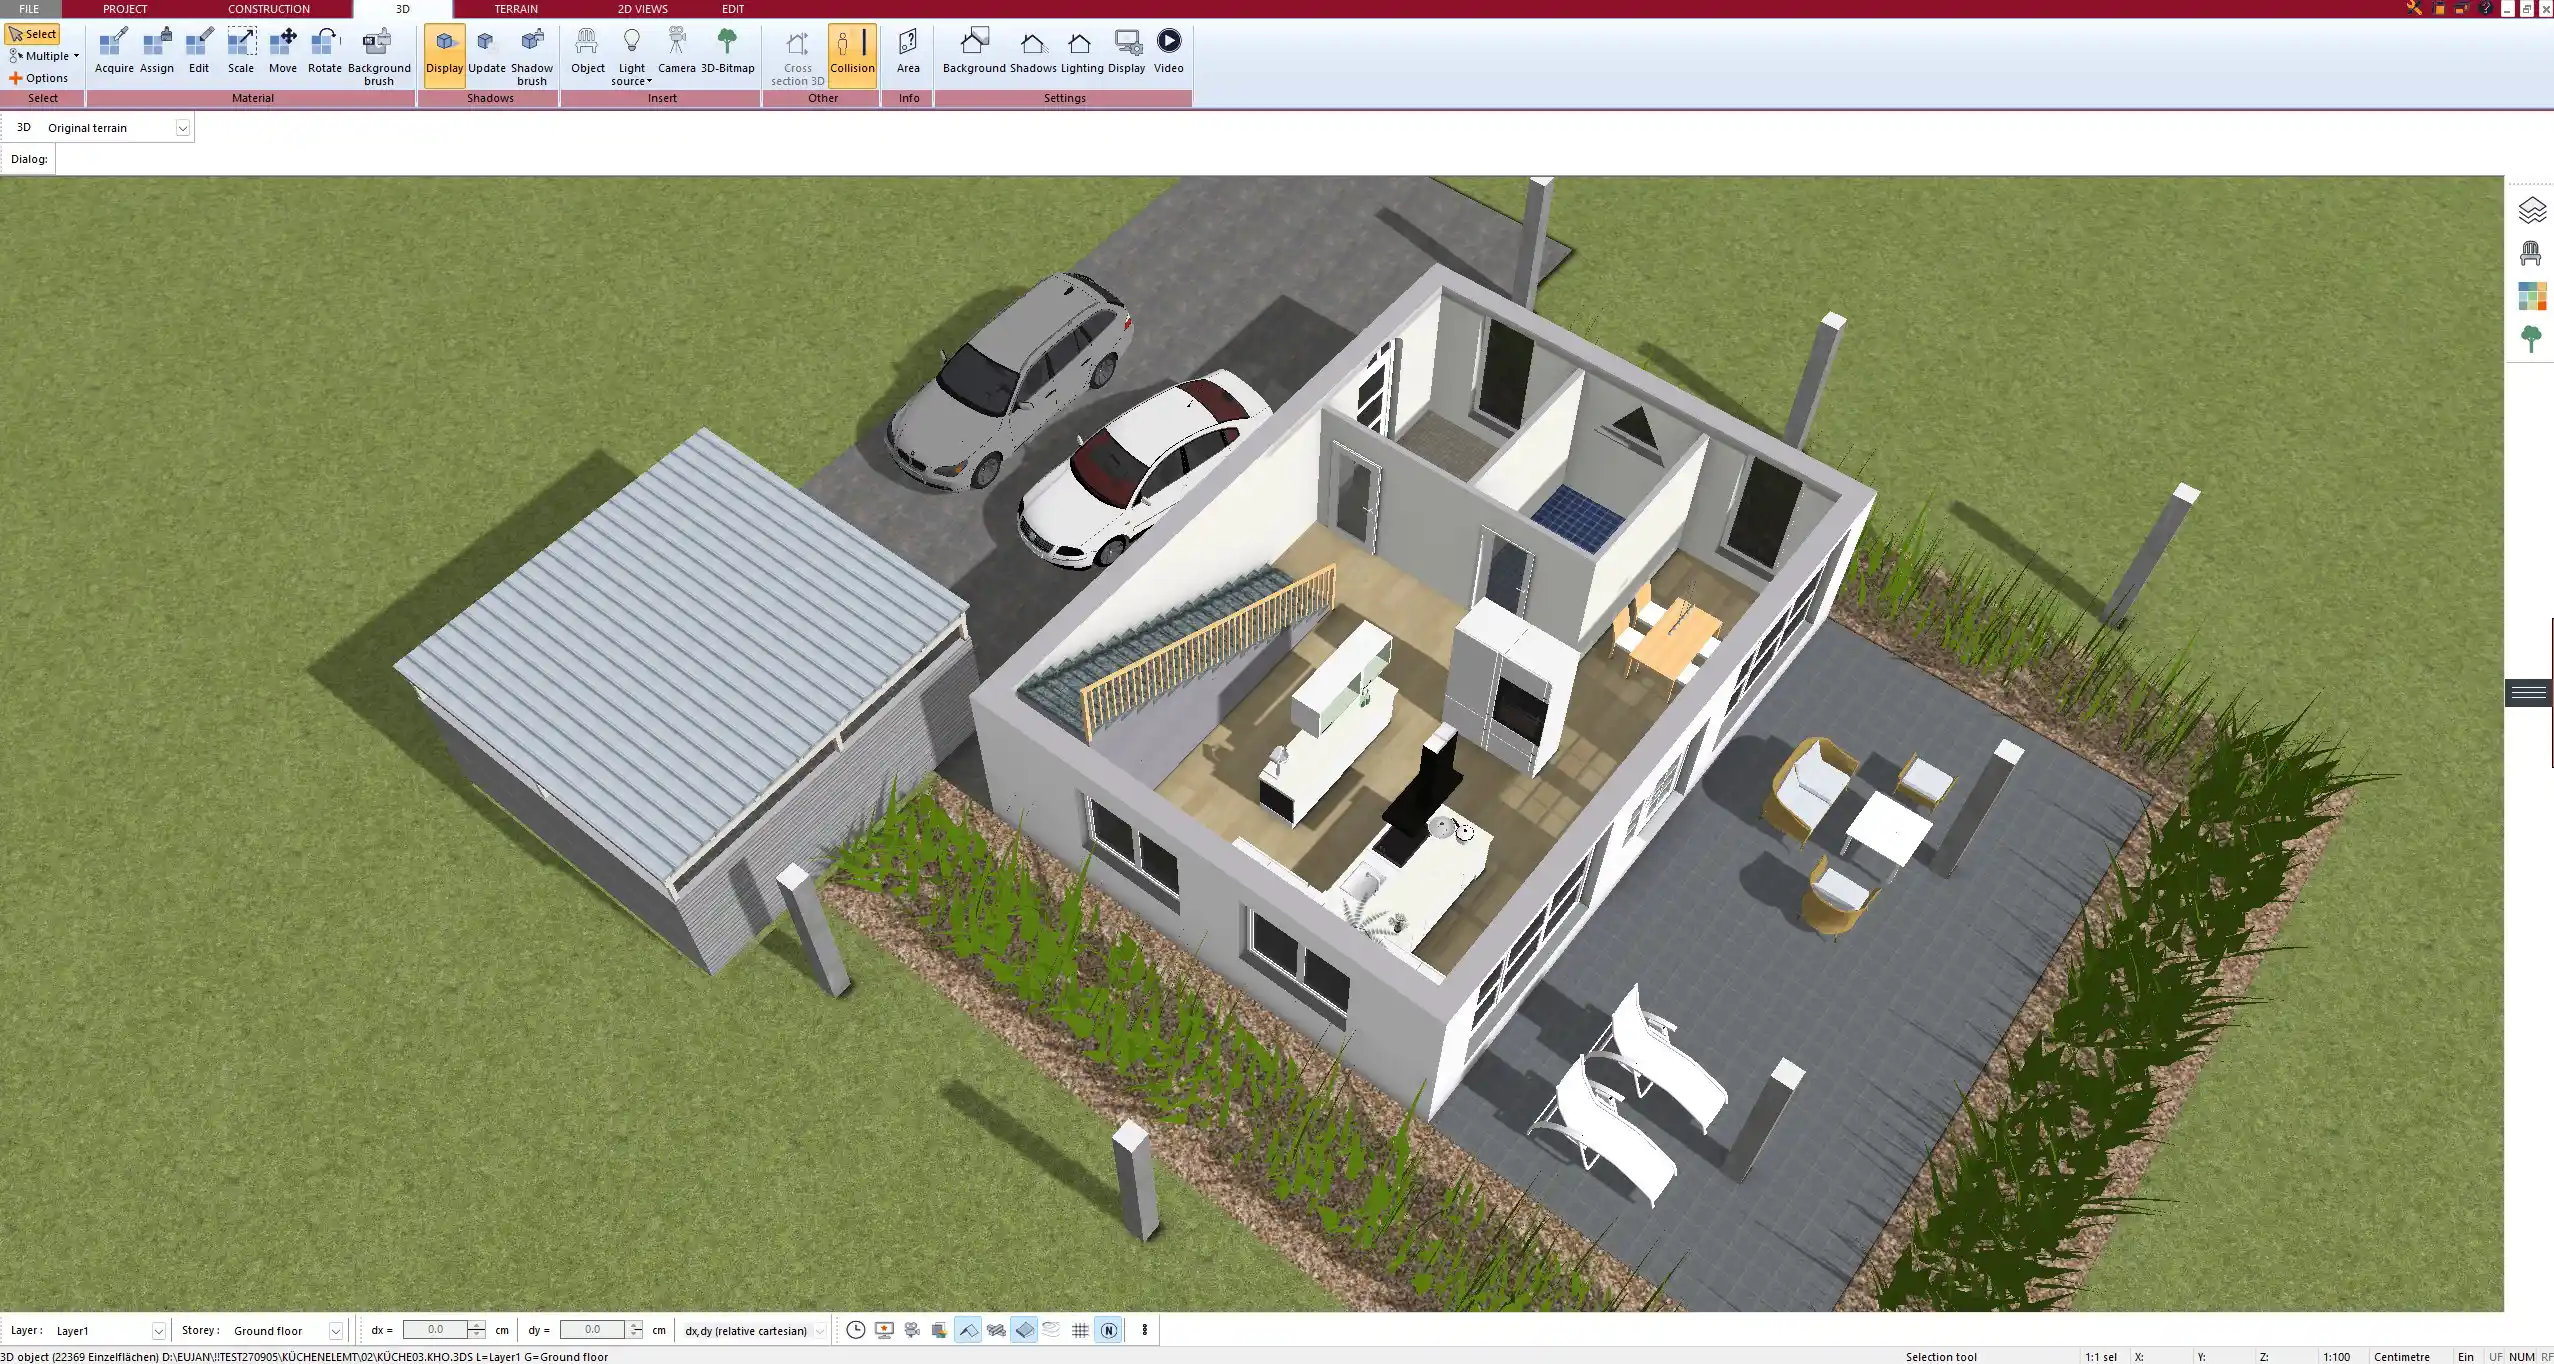
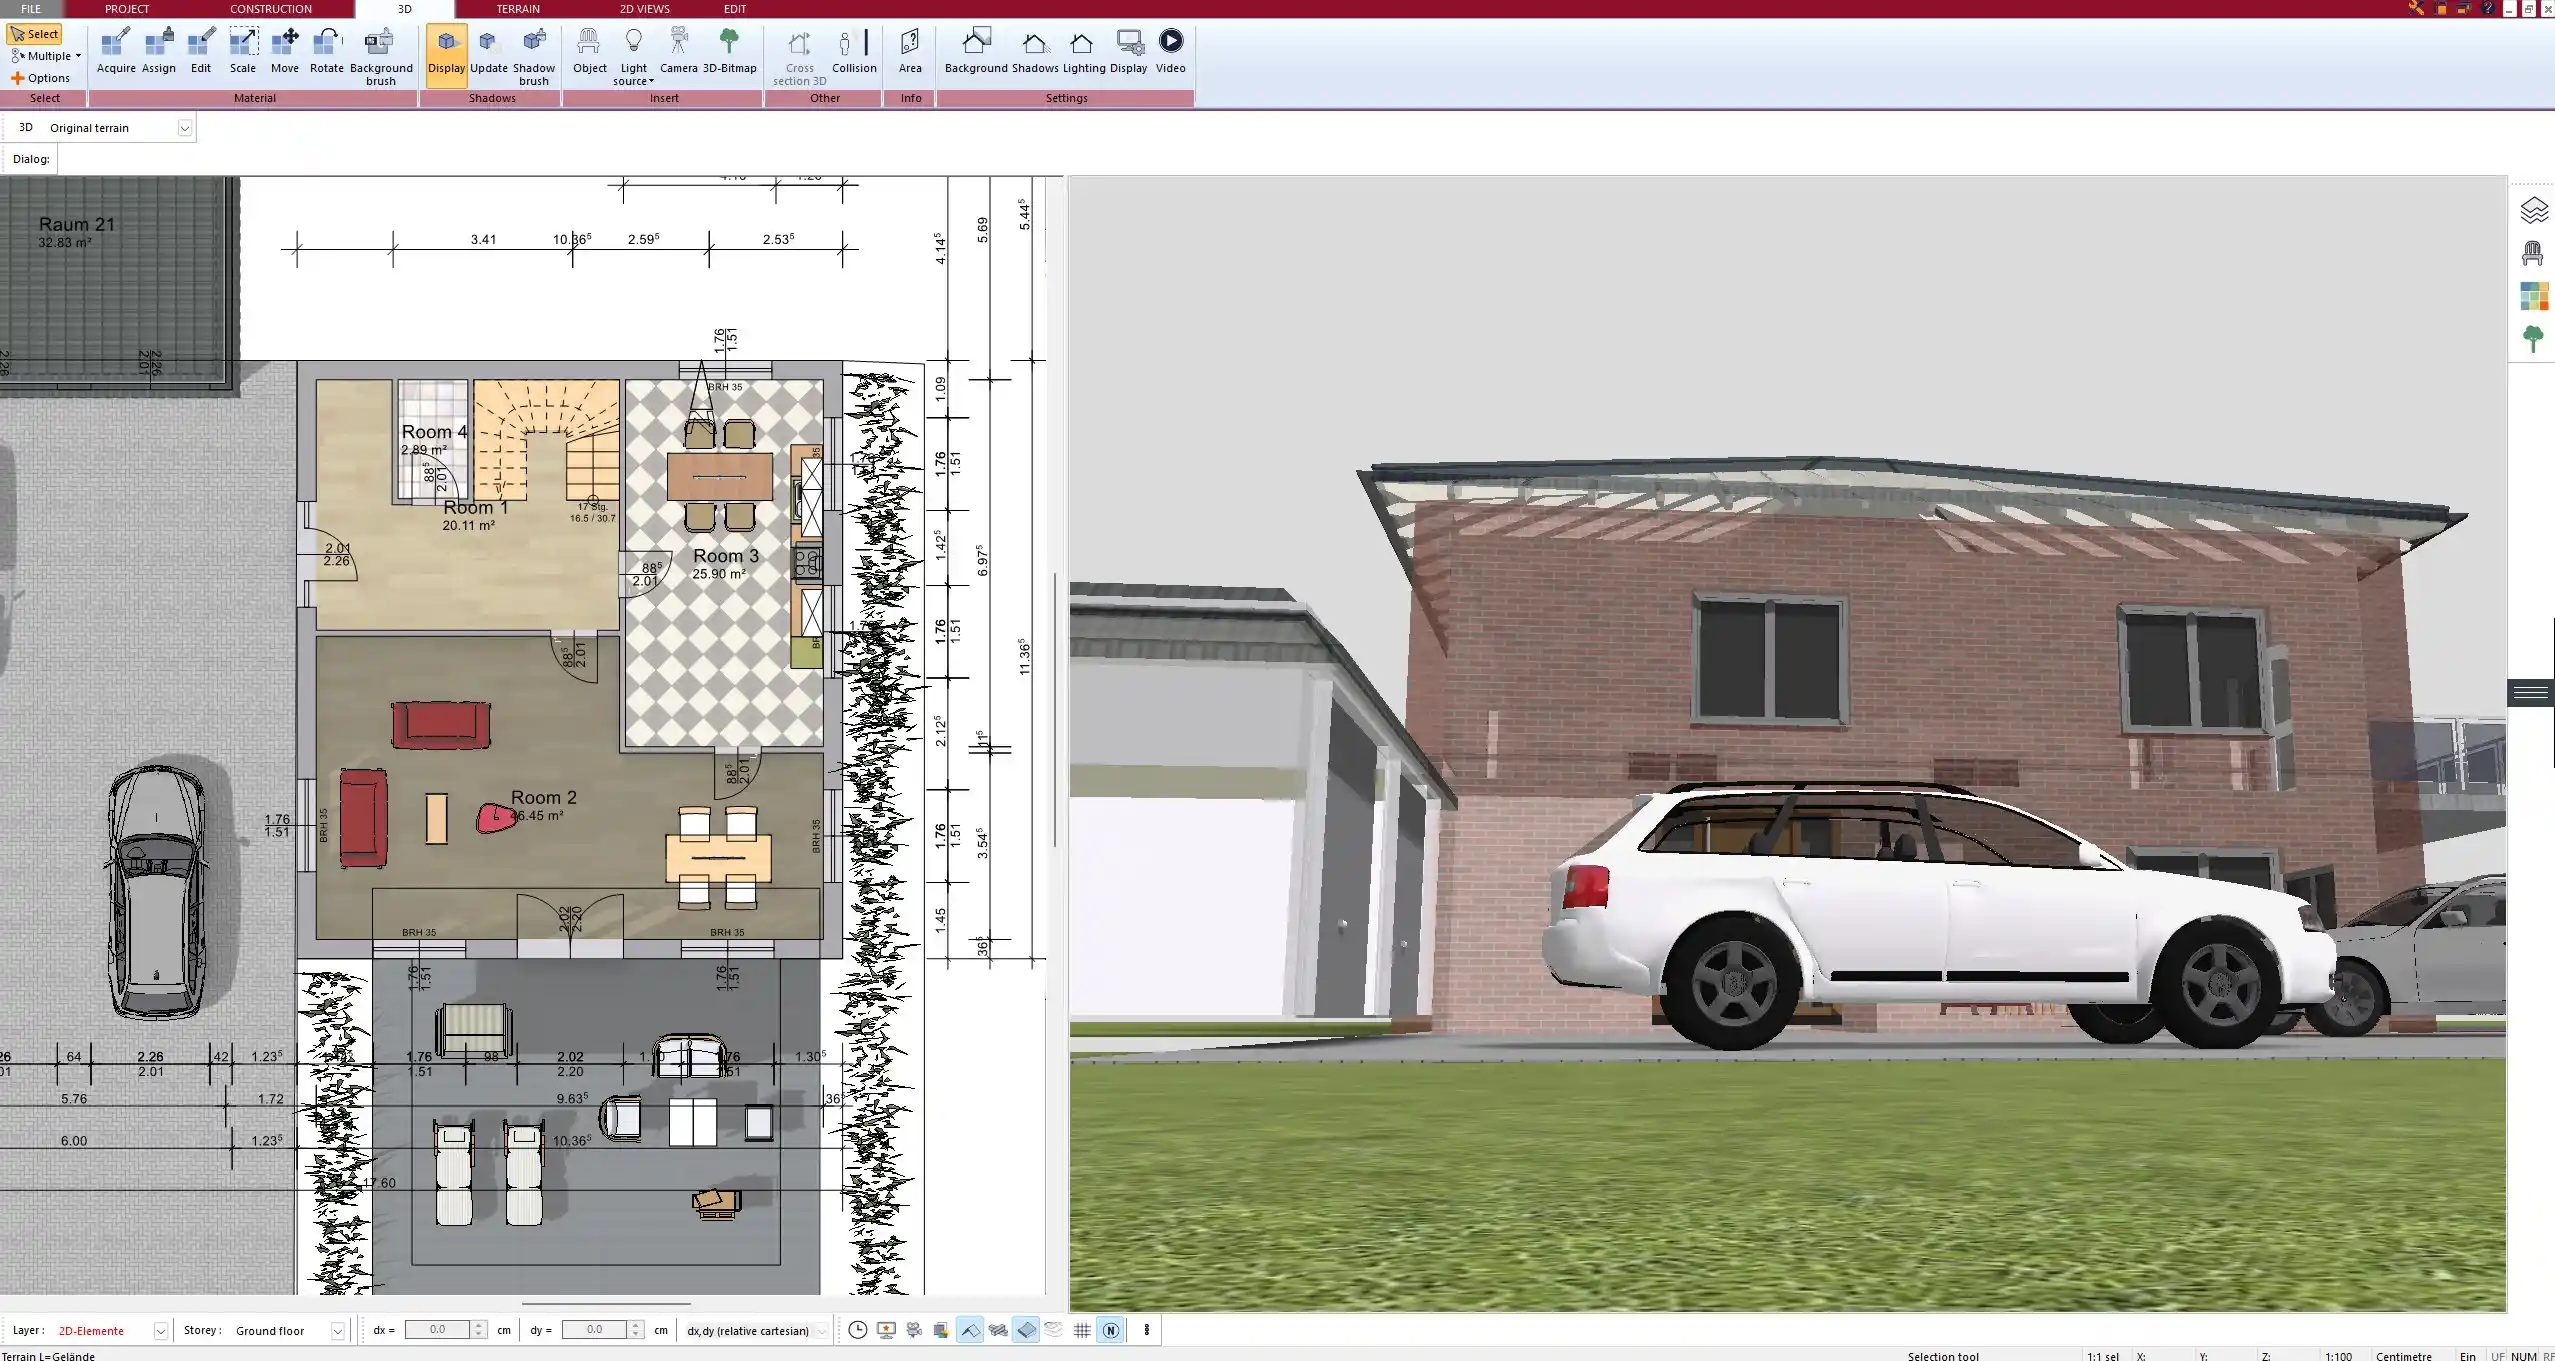
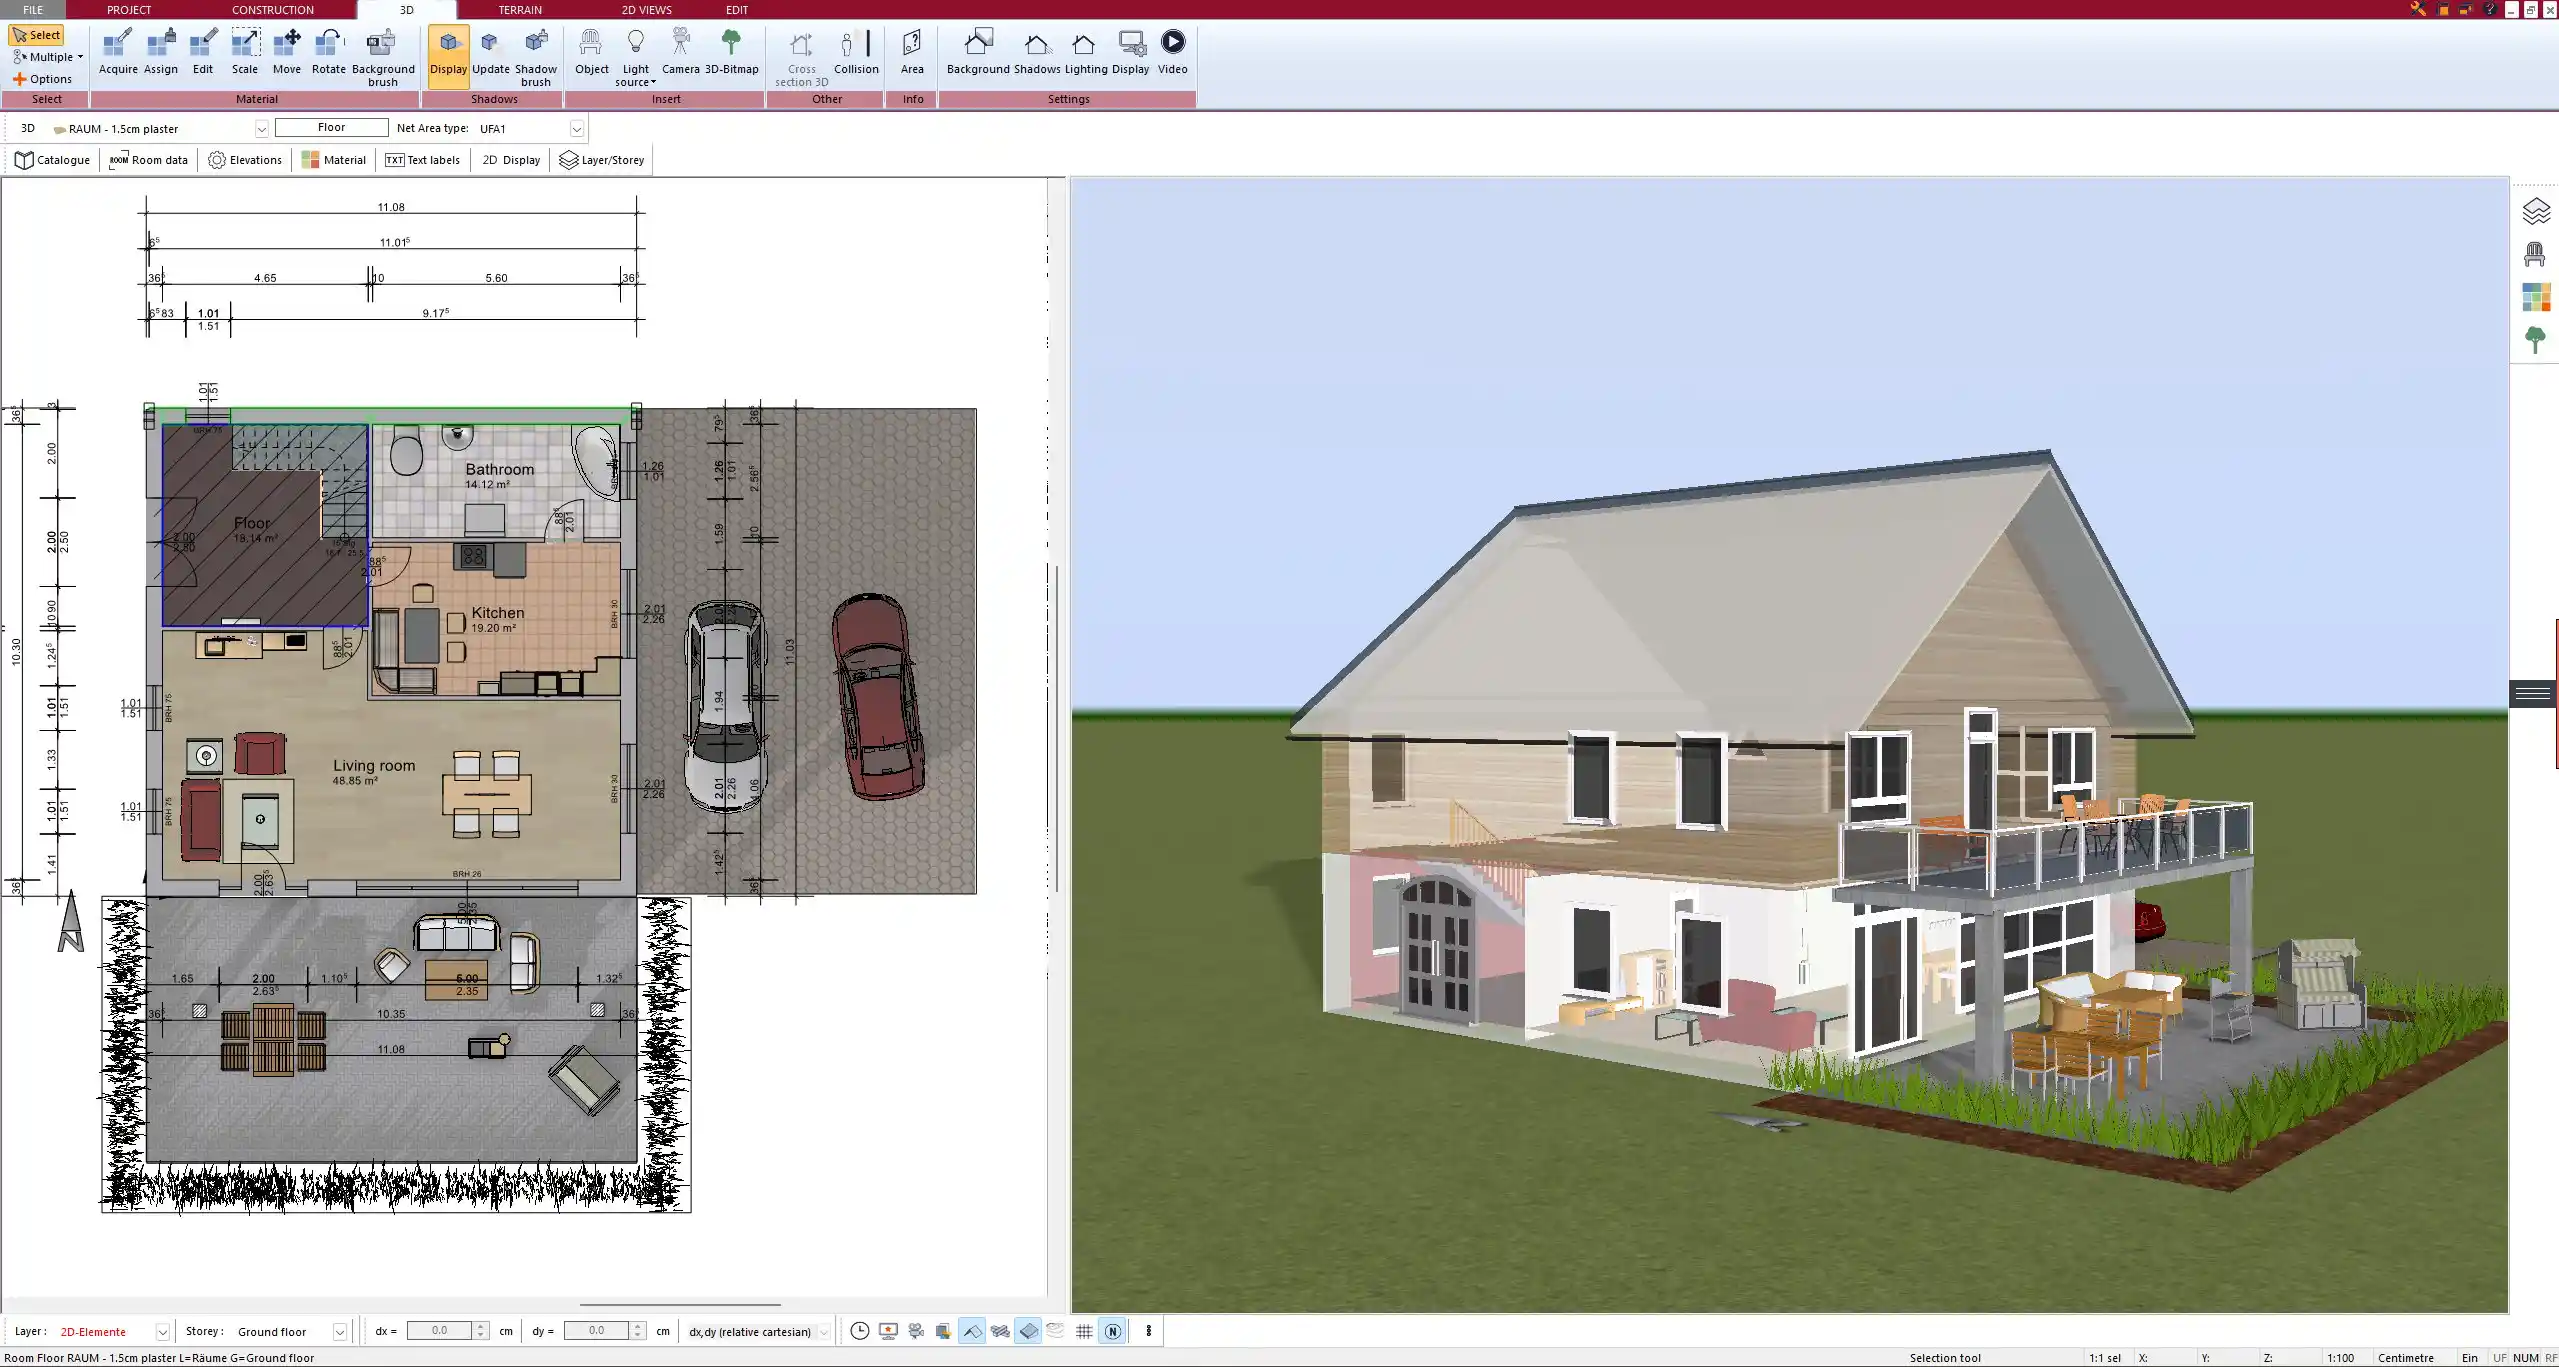
To get started, simply click on any wall in your 2D floor plan or switch to 3D mode for an interactive selection. You can highlight individual walls, entire rooms, or even ceilings if you’re planning decorative ceiling finishes.
In my experience, the 3D view makes it incredibly easy to see what you’re working with—especially when planning wallpaper transitions from one wall to another. It also helps to spot overlooked surfaces like small hallway walls or vertical room dividers.
2. Choose a Wallpaper Design
Plan7Architect comes with a built-in texture catalog containing a wide variety of wallpaper styles:
| Style Type | Examples |
|---|---|
| Classic Patterns | Damask, Toile, Victorian floral |
| Modern Textures | Concrete look, geometric patterns, stripes |
| Natural Looks | Woodgrain, stone textures, bamboo |
| Kids’ Designs | Animals, cartoons, colorful themes |
You also have the option to import your own wallpaper design. If you’ve downloaded a JPG or PNG file from a wallpaper manufacturer’s site, you can upload it directly and apply it to any surface. The software will automatically scale and repeat the image, but you can manually adjust these settings as needed.
3. Apply & View in 3D
Once your texture is selected, simply drag and drop it onto the chosen surface. The change is rendered in real time. If you’re using 3D mode, you’ll instantly see how the pattern looks with shadows, room lighting, and surrounding furniture.
You can walk through the space as if you were there and rotate the camera to inspect the wallpaper from every angle. This gives you a realistic sense of how the design works with the room’s proportions and layout.
Tip:
Use the lighting simulation in Plan7Architect to see how your wallpaper looks under different light sources—daylight, warm indoor light, or evening light.
Realistic Visualization for Interior Planning
When planning a room, it’s not enough to imagine how a pattern will look—you need to see it under realistic conditions. That’s exactly what Plan7Architect offers with its real-time 3D rendering engine.
The wallpaper is not just “painted” onto the wall in a flat way. The software considers:
-
Texture depth and realism
-
Lighting and shadows
-
Camera perspective
-
Wall height and shape
For me, one of the most impressive features is how accurate the shadow behavior is. You can simulate how a floor lamp affects a wallpaper with metallic shimmer or how natural daylight brings out subtle texture variations.
You can also tweak scaling, repeat frequency, rotation, and alignment of the pattern, which is particularly useful when using custom image files.
Customize Wallpaper for Each Wall Individually
Not every wall needs to look the same. Plan7Architect allows you to apply different wallpapers to different walls within the same room.
This is especially helpful in cases such as:
-
Creating accent walls behind beds, sofas, or TV units
-
Combining a solid paint on three walls with one patterned wallpaper
-
Designing feature strips in children’s rooms or hallways
-
Visually separating open-plan spaces
In practice, I like to use this function when working on living rooms with open dining areas. Applying a bold wallpaper to just one wall can visually divide the space without needing a physical barrier.
You can also split a wall horizontally and apply different designs to the upper and lower parts—useful for wainscoting, half-height paneling, or chair rail effects.
Use Both Metric & Imperial Units
Plan7Architect allows you to switch between metric and imperial units in the settings menu. Whether you’re working in meters and centimeters or feet and inches, all measurements will update accordingly across your entire project.
This is particularly useful when you’re working with wallpaper rolls that are specified in your local measurement system or if you’re collaborating with a client or contractor using a different unit system. You don’t need to do any conversions manually.
All wallpaper textures are scaled based on the wall’s real-life dimensions, regardless of the unit system you choose.
Other Interior Design Tools Included
The virtual wallpaper feature is just one part of Plan7Architect’s interior design toolkit. You can also:
-
Paint walls in any custom or predefined color
-
Apply tiles, wood paneling, or other materials to floors and walls
-
Add 3D furniture, curtains, and decorative elements
-
Insert lighting fixtures to test different room moods
-
Use photo backgrounds to simulate your real environment
Here’s an overview of available surface options:
| Surface Type | Finishes Available |
|---|---|
| Walls | Paint, wallpaper, tiles, panels |
| Floors | Wood, stone, carpet, vinyl |
| Ceilings | Paint, wallpaper, acoustic tiles |
| Outdoor walls | Brick, plaster, natural stone |
You can also export your designs as image files or video walkthroughs to share with others or use for presentation purposes.
Who Is This Feature Ideal For?
The virtual wallpaper function is extremely useful in a wide range of scenarios. Based on my own usage and the feedback from colleagues, the following groups benefit the most:
-
Homeowners and Renovators
Ideal for testing wallpaper ideas before committing to a purchase or DIY project. -
Interior Designers
Useful for presenting professional, visual concepts to clients. -
Real Estate Agents
Enhances empty or unfurnished properties with styled virtual staging. -
DIY Enthusiasts and Bloggers
Create tutorials or design showcases with visual accuracy.
Even if you’ve never used CAD software before, Plan7Architect is intuitive and beginner-friendly. The learning curve is minimal, and the features are clearly labeled.
Quick Tips for Virtual Wallpaper Planning
Here are a few helpful pointers I’ve learned along the way:
-
Use natural daylight settings to check if light-colored wallpapers appear washed out
-
Zoom in closely to inspect how patterns align at wall corners
-
Always upload high-resolution custom wallpapers for the sharpest look
-
Group walls by room or function for faster batch editing
-
Match wallpaper colors with the floor or furniture using the color picker tool
Tip:
If you’re unsure about a pattern, duplicate the room in your project and try several options side by side. This comparison makes decision-making much easier.
Plan Your Interior Design Virtually – With Plan7Architect
If you want to experiment with wallpapers, color concepts, and surface designs in a realistic and interactive way, Plan7Architect is an ideal solution. The software lets you create complete room plans with detailed interior surfaces—including custom wallpaper—without needing any design background.
You can easily switch between metric and imperial units, import your own materials, and walk through your virtual space before making a single physical change. And thanks to a 14-day cancellation policy, you can try it without any risk. If it doesn’t meet your expectations, just cancel via email.
Use Plan7Architect to test your ideas, present them visually, and avoid costly mistakes before buying or applying real wallpaper.
Plan your project with Plan7Architect

Plan7Architect Pro 5 for $99.99
You don’t need any prior experience because the software has been specifically designed for beginners. The planning process is carried out in 5 simple steps:
1. Draw Walls

2. Windows & Doors

3. Floors & Roof

4. Textures & 3D Objects

5. Plan for the Building Permit

6. Export the Floor Plan as a 3D Model for Twinmotion

- – Compliant with international construction standards
- – Usable on 3 PCs simultaneously
- – Option for consultation with an architect
- – Comprehensive user manual
- – Regular updates
- – Video tutorials
- – Millions of 3D objects available


