Yes, you can virtually paint rooms, entire houses or apartments using Plan7Architect. The software includes an intuitive tool for applying colors, wallpapers, and textures directly onto any surface in your 2D or 3D floor plan. You simply click on a wall, ceiling, or floor, select a paint or material, and see the result instantly in a realistic visualisation.
Whether you’re planning to renovate a single room or redesign an entire apartment, the virtual painting feature helps you test different styles before committing to them in real life. It’s an easy and effective way to visualize color combinations and interior finishes—no design experience required.
Plan7Architect supports both metric (meters, centimeters) and imperial (feet, inches) measurements, so you can work seamlessly regardless of your location. You can easily switch the unit system in the settings.
Step-by-Step: How to Virtually Paint with Plan7Architect
Start or Import Your Floor Plan
First, either create a new project or import an existing floor plan into Plan7Architect. You can use the integrated floor plan editor to draw rooms and walls manually or import construction drawings or scans as a base.
Once your layout is ready, assign correct room types to each area (such as living room, kitchen, bedroom) to make navigation and organization easier later on. Be sure to define wall heights and thicknesses for accurate 3D visualization.
Tip:
You can work in both metric and imperial units. If you’re more comfortable working in feet and inches or meters and centimeters, simply switch the measurement system in the software settings at any time.
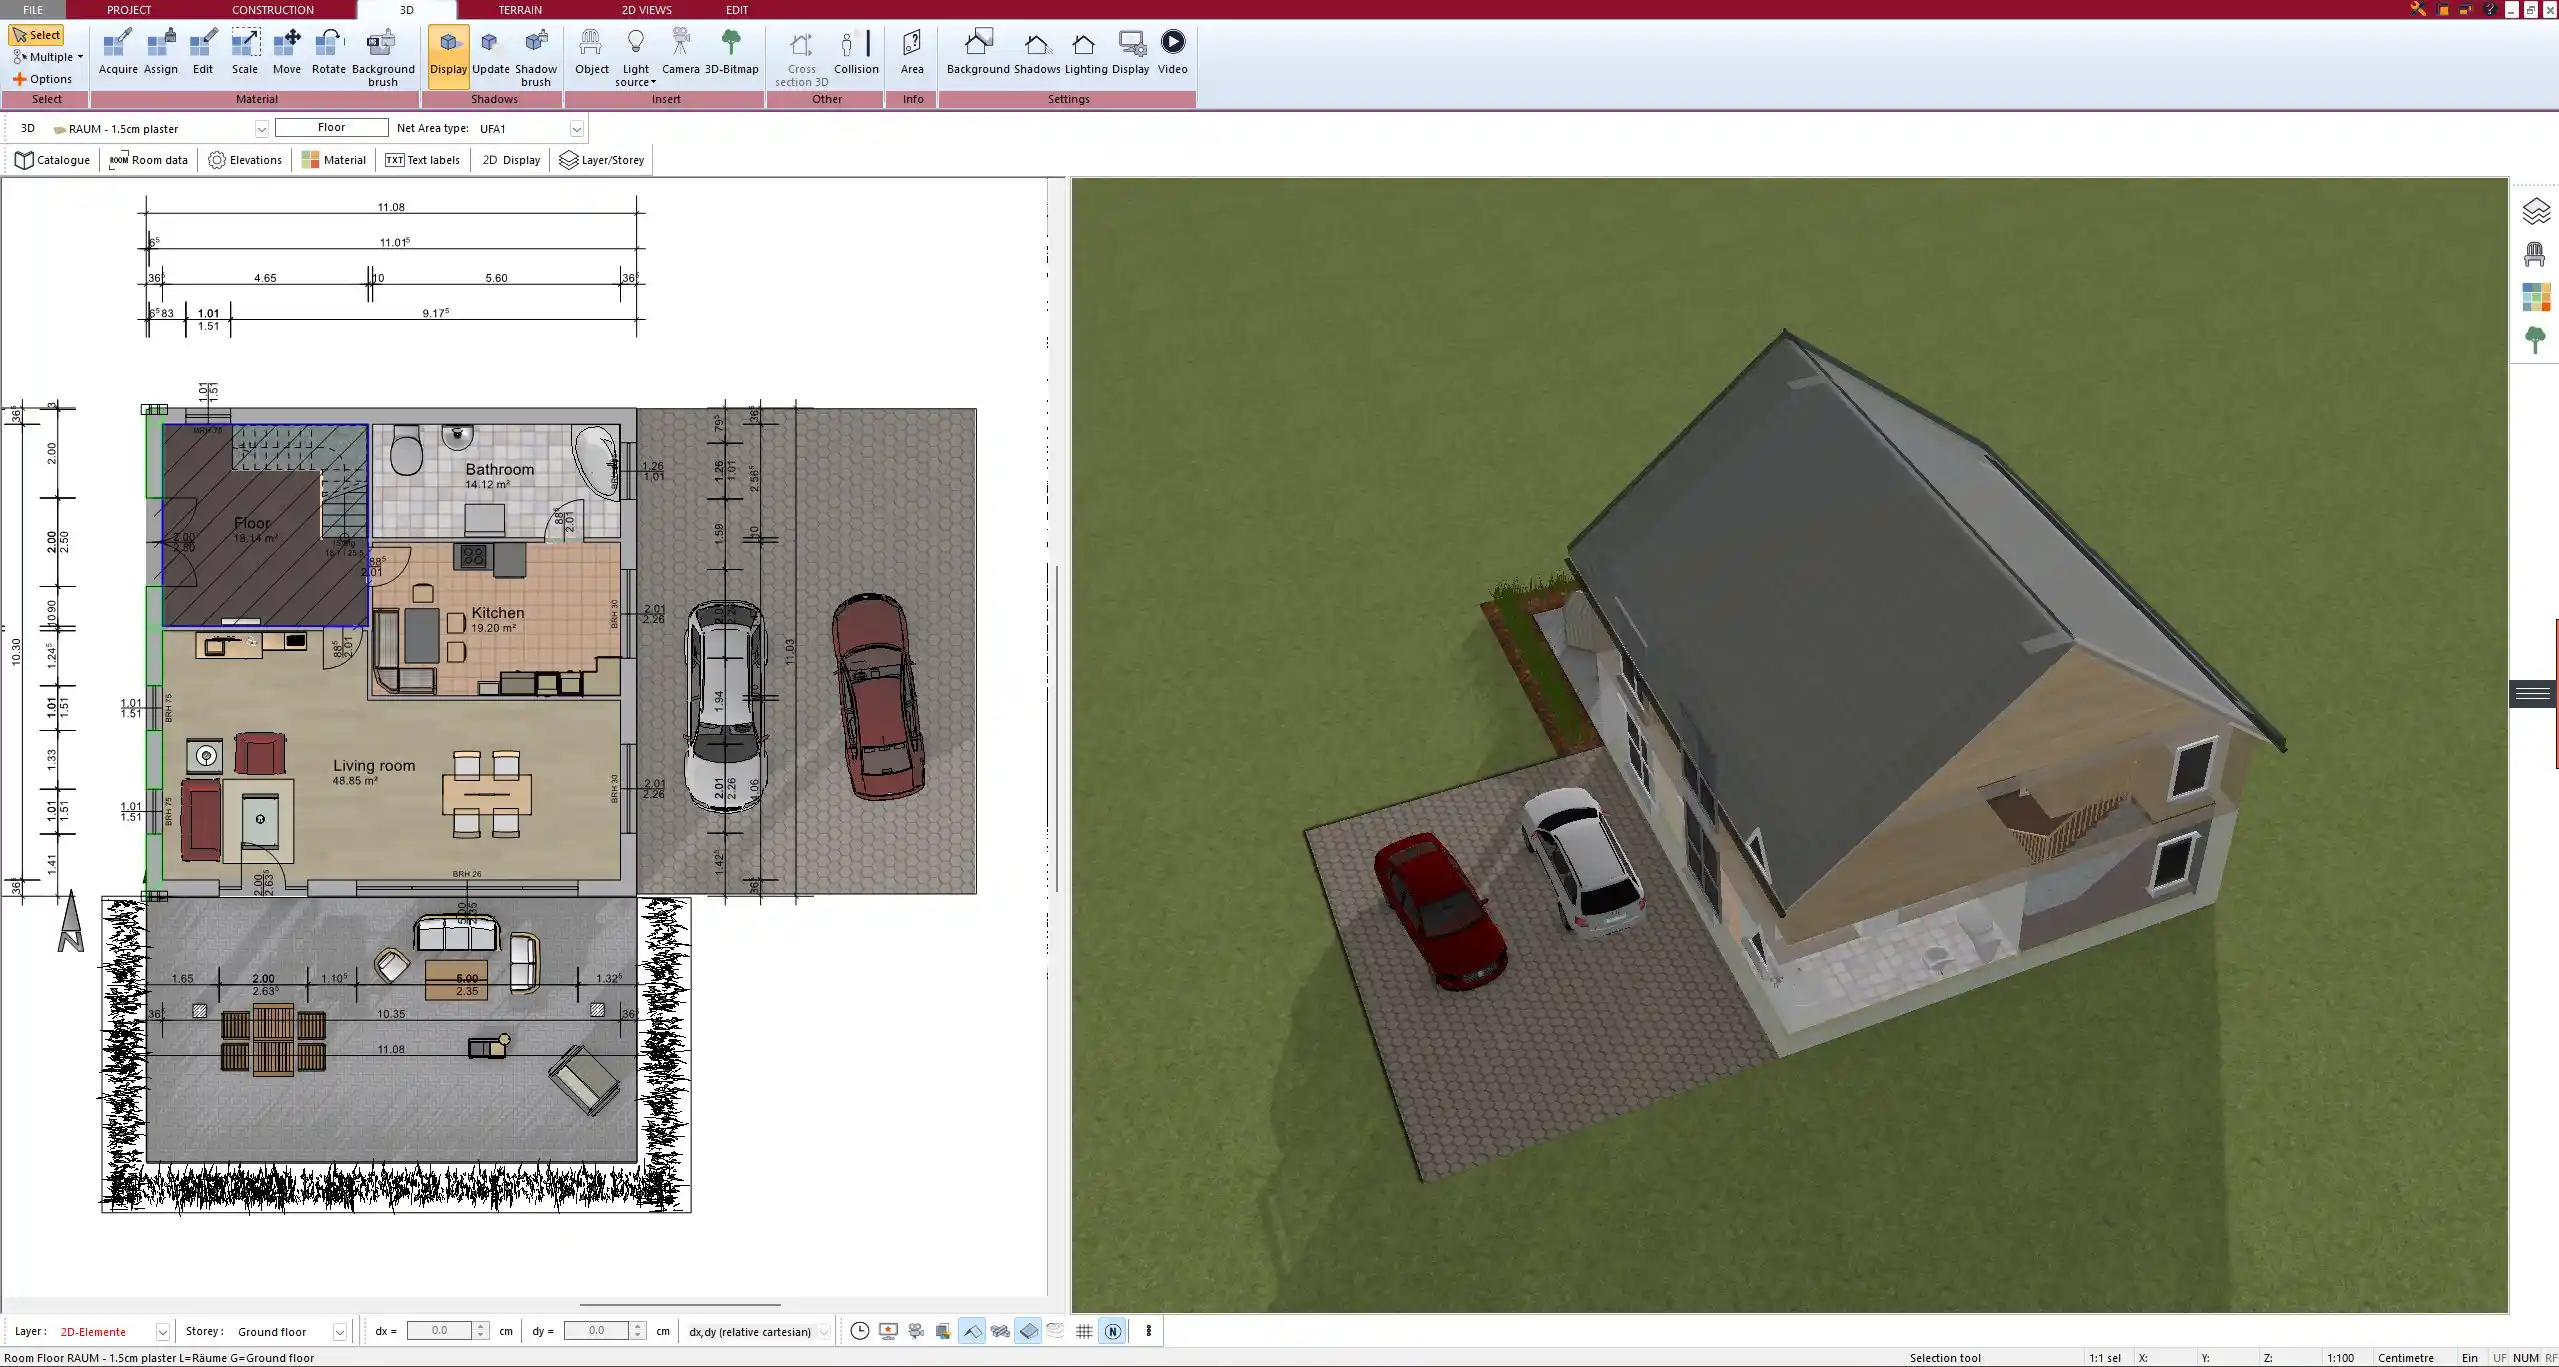
Switch to 3D or Virtual View
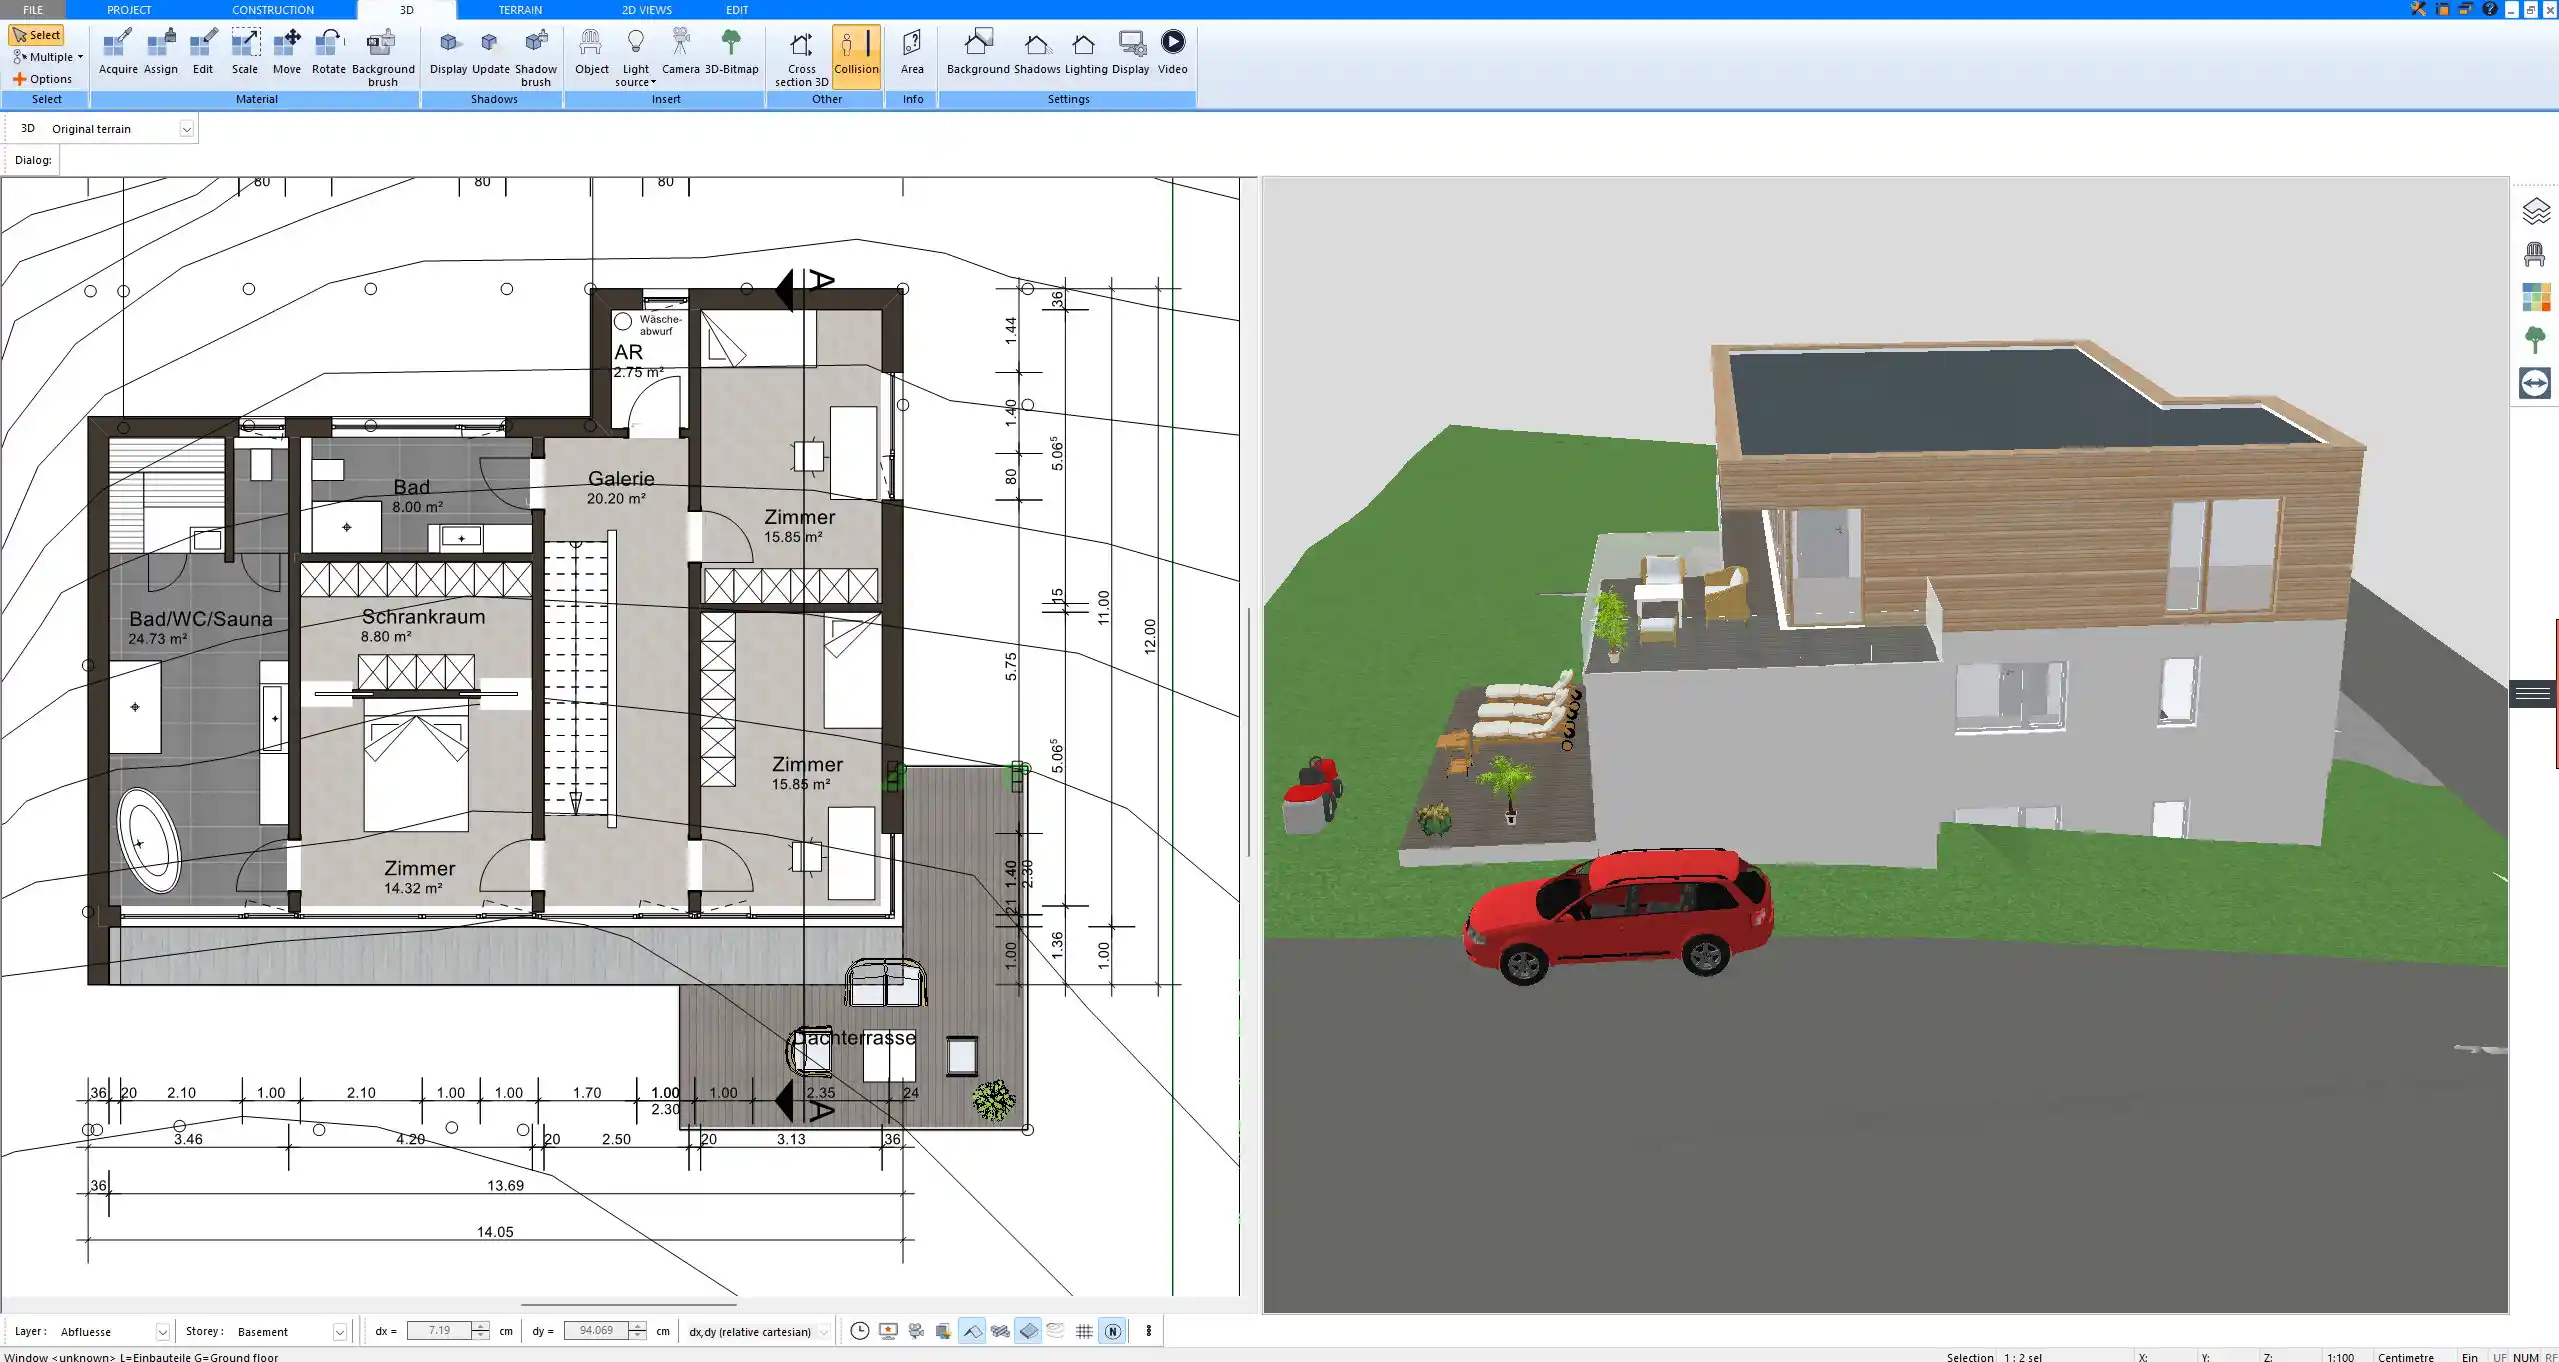
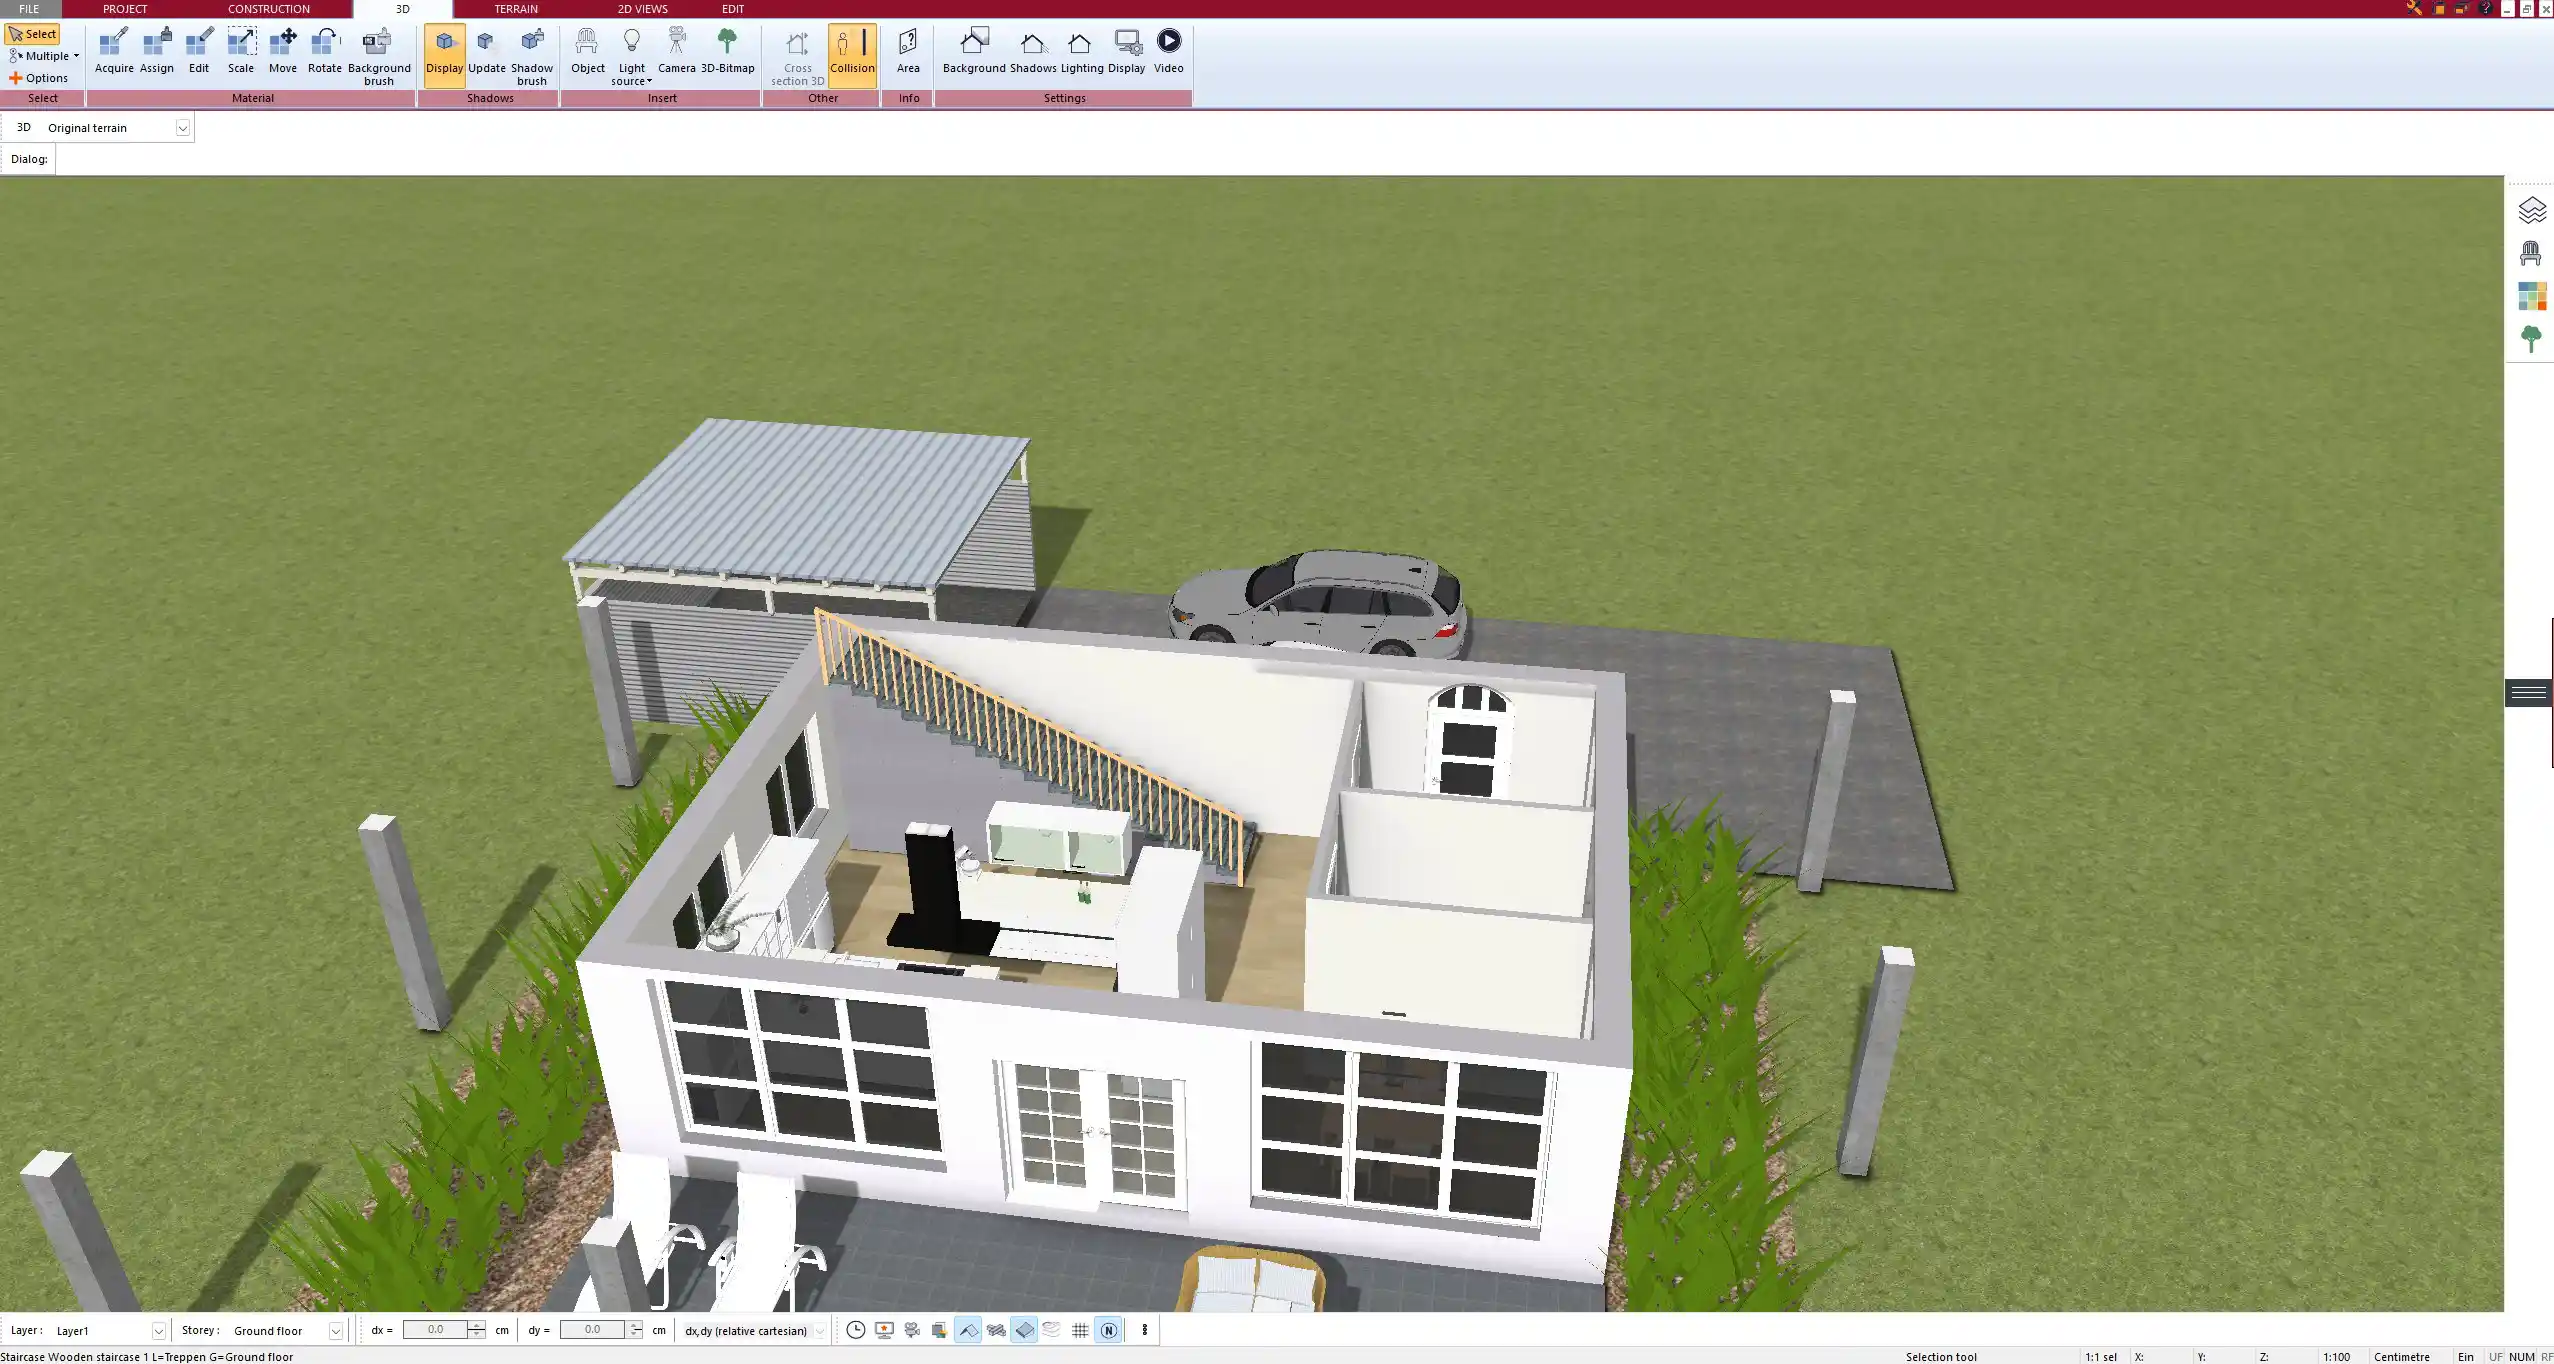
Once your layout is in place, change from the 2D design mode to the 3D or virtual tour mode. In this view, you can walk through your space, rotate the camera, and get a true feel for how rooms and surfaces connect.
Use the navigation tools to zoom, pan, and rotate. You can freely “walk” through the model, go upstairs or downstairs, and look around from a first-person perspective. This step is essential to accurately place and assess virtual paint colors.
Choose Paint or Material Tool
To begin virtual painting, select the design tool for materials or colors. This tool allows you to choose any visible surface in the model: walls, ceilings, floors, columns, doors, and even furniture surfaces.
Once selected, a panel opens where you can choose from:
-
Solid colors
-
Wallpaper patterns
-
Custom textures (e.g., stone, brick, wood)
-
Manufacturer-specific paint palettes (in selected versions)
All it takes is a single click to apply the new design to the chosen surface.
Apply Colors, Wallpapers, or Textures
After selecting a surface, choose the desired finish. You can pick from built-in categories or upload your own texture or color. The software supports:
| Surface Type | Available Finish Options |
|---|---|
| Walls | Paint, wallpaper, tile, stone |
| Ceilings | Paint, wood panels, plaster textures |
| Floors | Wood, tiles, carpet, concrete |
| Furniture | Wood colors, paint, textiles |
You can enter precise color codes (HEX, RGB) if you already have brand-specific shades in mind.
Tip:
Use the material groups to save favorite combinations. For example, you can create a “Modern Minimalist” set with white walls, light wood flooring, and gray accents, and apply this group across all rooms at once.
Preview, Adjust, and Save
Once colors and textures are applied, walk through your design to inspect the results from different angles. You can easily undo, replace, or fine-tune any color or material.
Use the lighting simulation to adjust daylight or artificial light and see how colors behave in different settings—especially important for darker shades or accent walls.
You can also export high-quality images or videos of your project to share with others or to evaluate later.
Tips for Virtual Room Painting
When virtually designing your rooms, it helps to consider a few professional tricks that can save you time and prevent design mistakes.
Lighting Makes All the Difference
Natural and artificial light affects how colors look. Always check colors in various lighting conditions using the built-in simulation. What looks warm and cozy at night may appear dull during the day.
Use Accent Walls Strategically
In Plan7Architect, you can paint a single wall in a contrasting color for a stylish effect. Accent walls work best behind beds, sofas, or dining tables.
Try Out Color Zones
Use different colors in connected spaces like open kitchens and living rooms to visually separate functional areas without using walls.
Match Furniture and Floor Finishes
Use the virtual furniture feature to test how your selected wall color interacts with existing or planned furniture, floors, and decor.
Don’t Overload Your Palette
Stick to 2–3 main colors per room to maintain a balanced and calm interior. Use the virtual view to test and refine before choosing anything in real life.
International Use: Imperial and Metric Units Supported
Plan7Architect is designed for international users. You can freely choose between metric (m/cm) and imperial (ft/in) units, depending on your preference or location.
This applies to all measurements:
-
Room dimensions
-
Paint coverage estimates
-
Object placement and alignment
-
Floor height and ceiling levels
The switch between units is available in the software settings and can be changed at any time, even after a project has started.
Who Is This Useful For?
Plan7Architect’s virtual painting tool is useful for a wide range of users, including:
-
Private homeowners who want to renovate without surprises
-
Tenants who plan temporary decoration
-
Interior designers who need to present color schemes to clients
-
Real estate agents who want to stage a property visually
-
DIY enthusiasts who enjoy experimenting with style and layout
The software allows non-professionals to test out ideas that previously required advanced software or expensive services.
Why Use Plan7Architect for Virtual Painting?
Plan7Architect combines ease of use with powerful features. You don’t need previous CAD or architectural experience to create a fully painted 3D model of your space.
Main advantages:
-
Realistic 3D preview of all paint and material changes
-
Huge selection of textures, materials, and colors
-
Drag-and-drop simplicity
-
Support for both room-level and full-house painting
-
Compatible with imperial and metric systems
It works on standard PCs and is optimized for smooth performance—even with larger homes or multi-story buildings.
Recommendation: Use Plan7Architect for Easy Virtual Painting
If you want to virtually test wall colors, textures, or wallpapers before touching a paintbrush, Plan7Architect is the ideal tool. You can plan and preview your entire interior visually—quickly and easily. No other tool offers this level of realism while still being accessible to beginners.
There’s no trial version, but you’re protected by a 14-day money-back guarantee. That means you can fully test the software and cancel your purchase via email if it’s not the right fit.
Download Plan7Architect today and bring your color ideas to life—virtually, and without risk.
Plan your project with Plan7Architect

Plan7Architect Pro 5 for $99.99
You don’t need any prior experience because the software has been specifically designed for beginners. The planning process is carried out in 5 simple steps:
1. Draw Walls

2. Windows & Doors

3. Floors & Roof

4. Textures & 3D Objects

5. Plan for the Building Permit

6. Export the Floor Plan as a 3D Model for Twinmotion

- – Compliant with international construction standards
- – Usable on 3 PCs simultaneously
- – Option for consultation with an architect
- – Comprehensive user manual
- – Regular updates
- – Video tutorials
- – Millions of 3D objects available


