With the Plan7Architect software, you can easily design a hip roof (also known as a pyramid roof or tent roof) in both 2D and 3D. The process is intuitive, detailed, and offers full control over angles, slopes, roof height, overhangs, materials, and additional components. Whether you’re designing a simple square house or a complex layout with multiple roof sections, the software provides the tools you need.
All measurements can be displayed and entered in either metric (meters, centimeters) or imperial units (feet, inches), depending on your regional preferences. You can switch units at any time in the software settings.
The roof tool includes a ready-made hip roof option, which makes it easy to get started without needing to construct the shape from scratch.
Step-by-Step: How to Design a Hip Roof in Plan7Architect
1. Start Your Roof Design in 2D View
Begin by opening your project or creating a new one. Draw your house outline using the wall tool, or import an existing floor plan. Once the walls are in place, switch to the roof tool.
In the roof settings, choose “Hip Roof” from the preset roof types. The software will automatically generate a basic hip roof over the entire floor plan. This layout is ideal for square or rectangular buildings but can be adapted to custom shapes as well.
Tip:
If you have extensions or L-shaped buildings, you can assign individual roof sections or create intersecting hip roofs for a more complex layout.
2. Define Roof Parameters
Once the basic hip roof is applied, adjust the roof parameters using the detailed options panel. Here, you can control all structural aspects of the roof.
Adjustable settings include:
| Parameter | Description |
|---|---|
| Roof pitch | Set the slope angle of the roof |
| Roof height | Define the maximum ridge height |
| Overhang | Control how far the roof extends beyond the walls |
| Symmetry | Decide whether the slopes are equal on all sides |
| Ridge position | Move the ridge to create asymmetry if desired |
| Eaves height | Adjust where the roof meets the wall |
All values can be entered in either meters/centimeters or feet/inches.
If your building isn’t a perfect square, you can adjust each roof section individually. This is particularly useful for designs with extensions or attached garages.
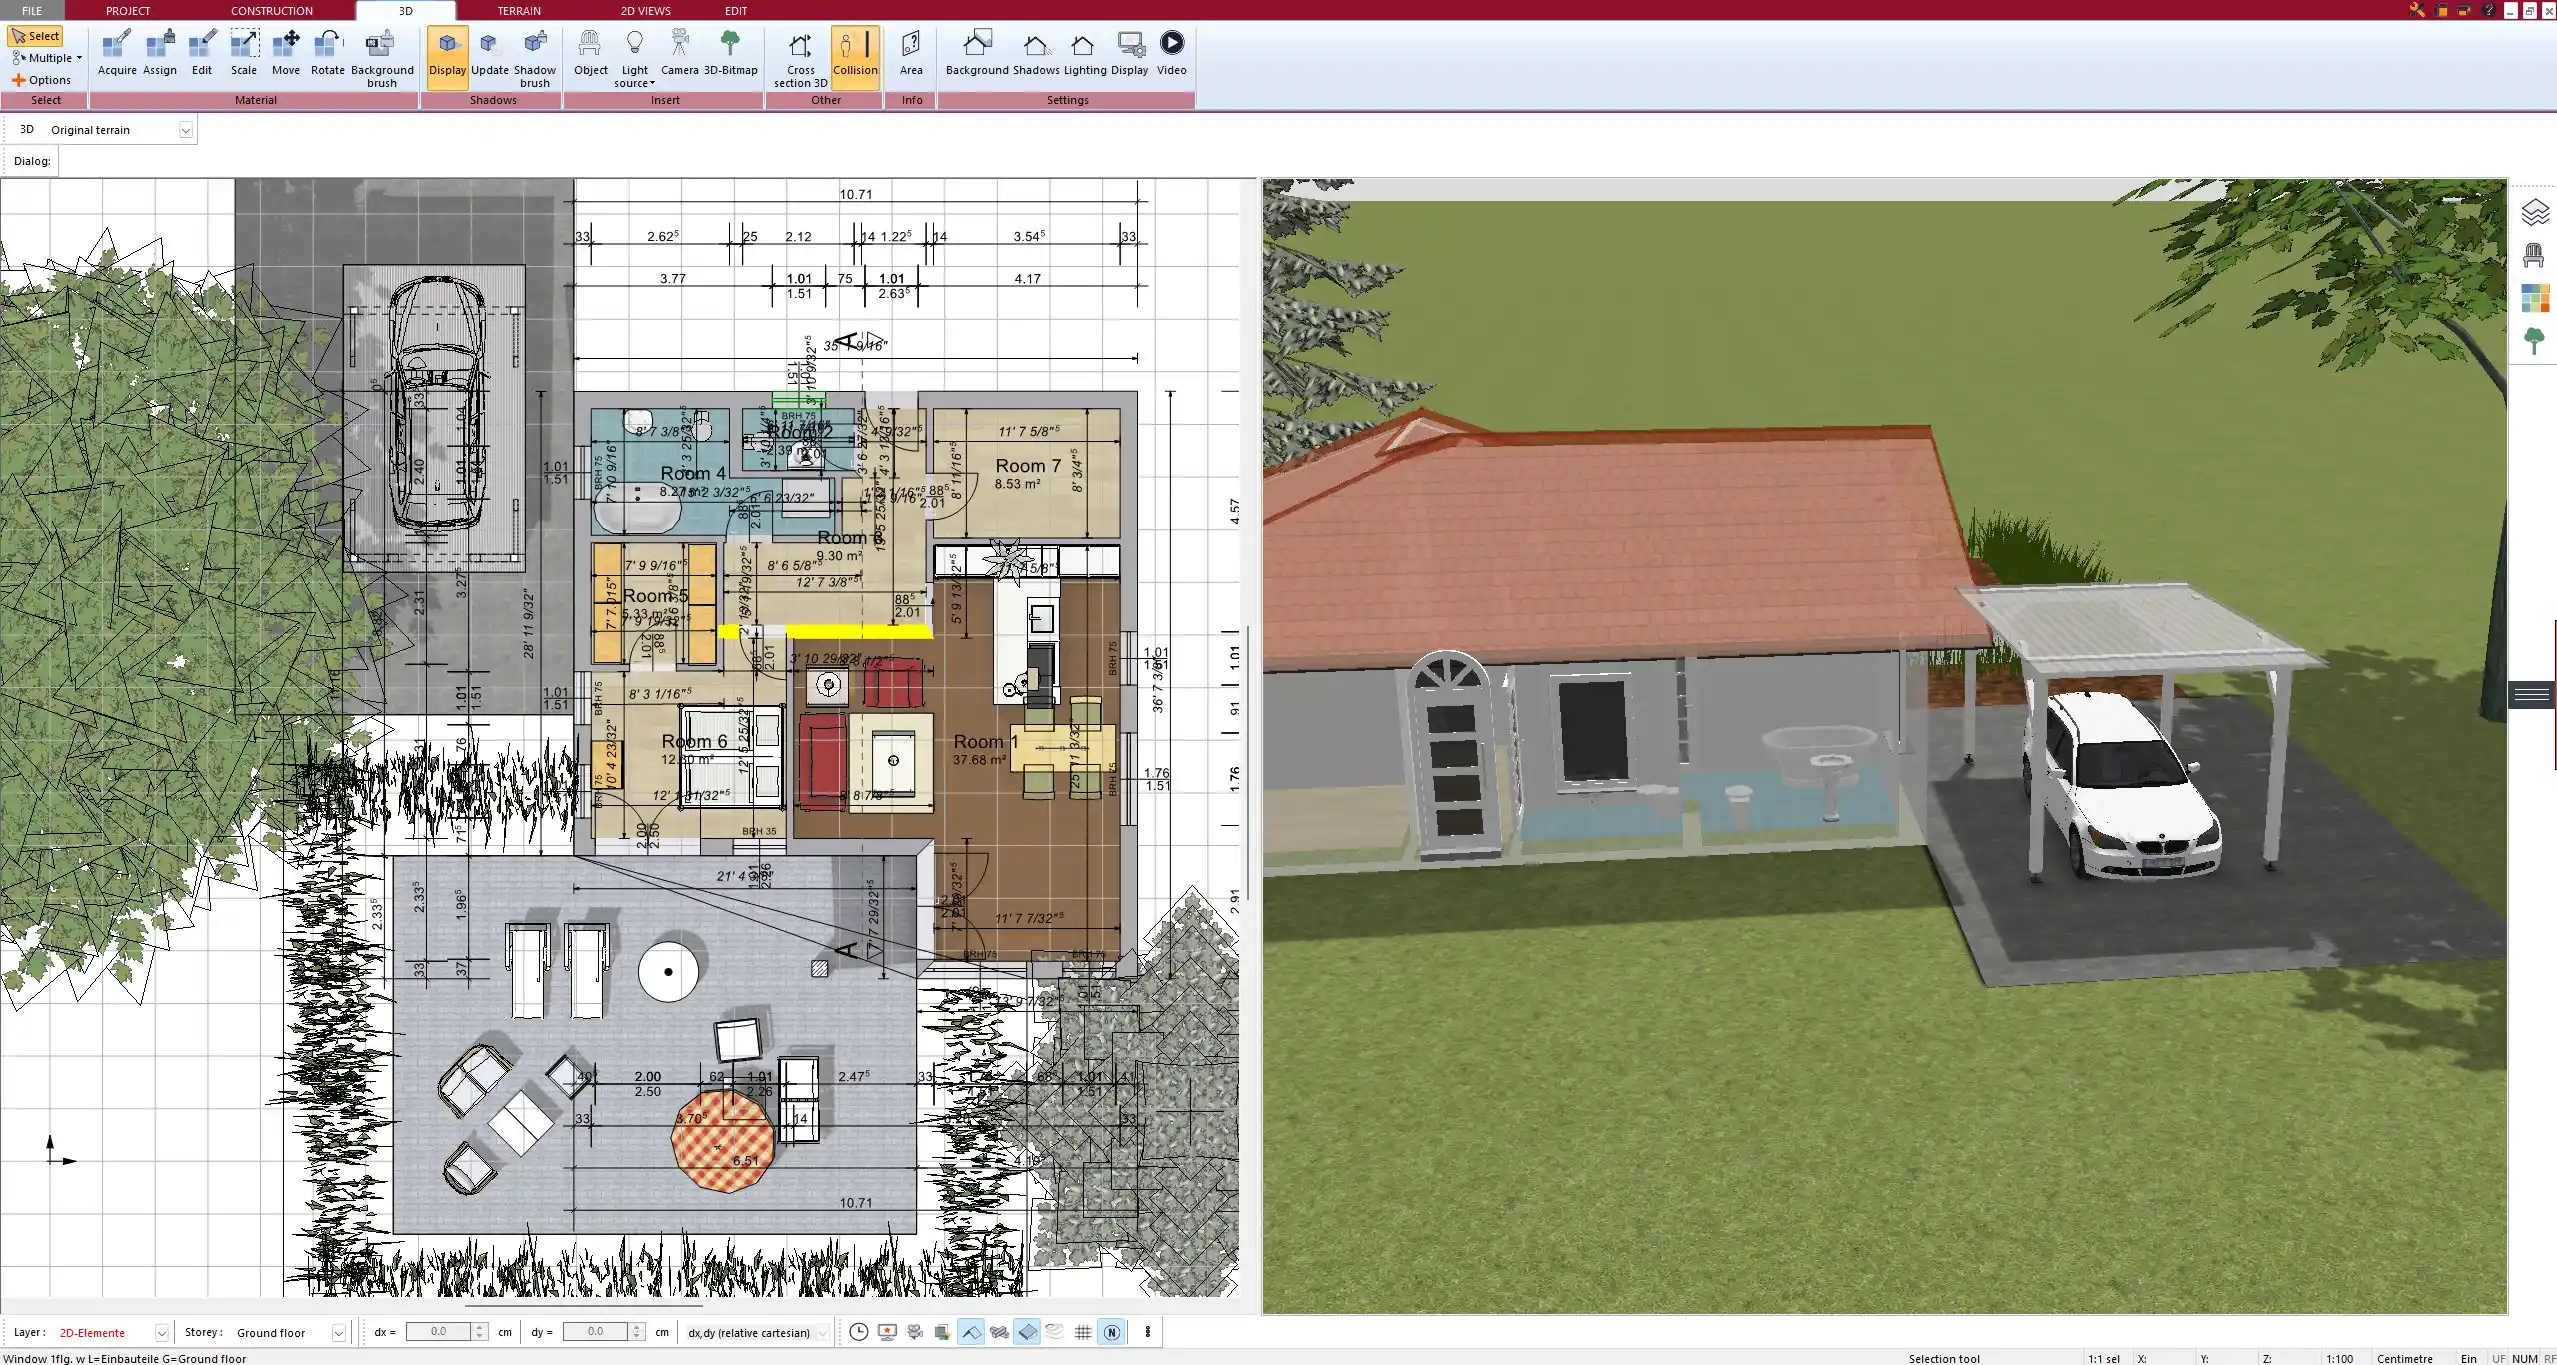
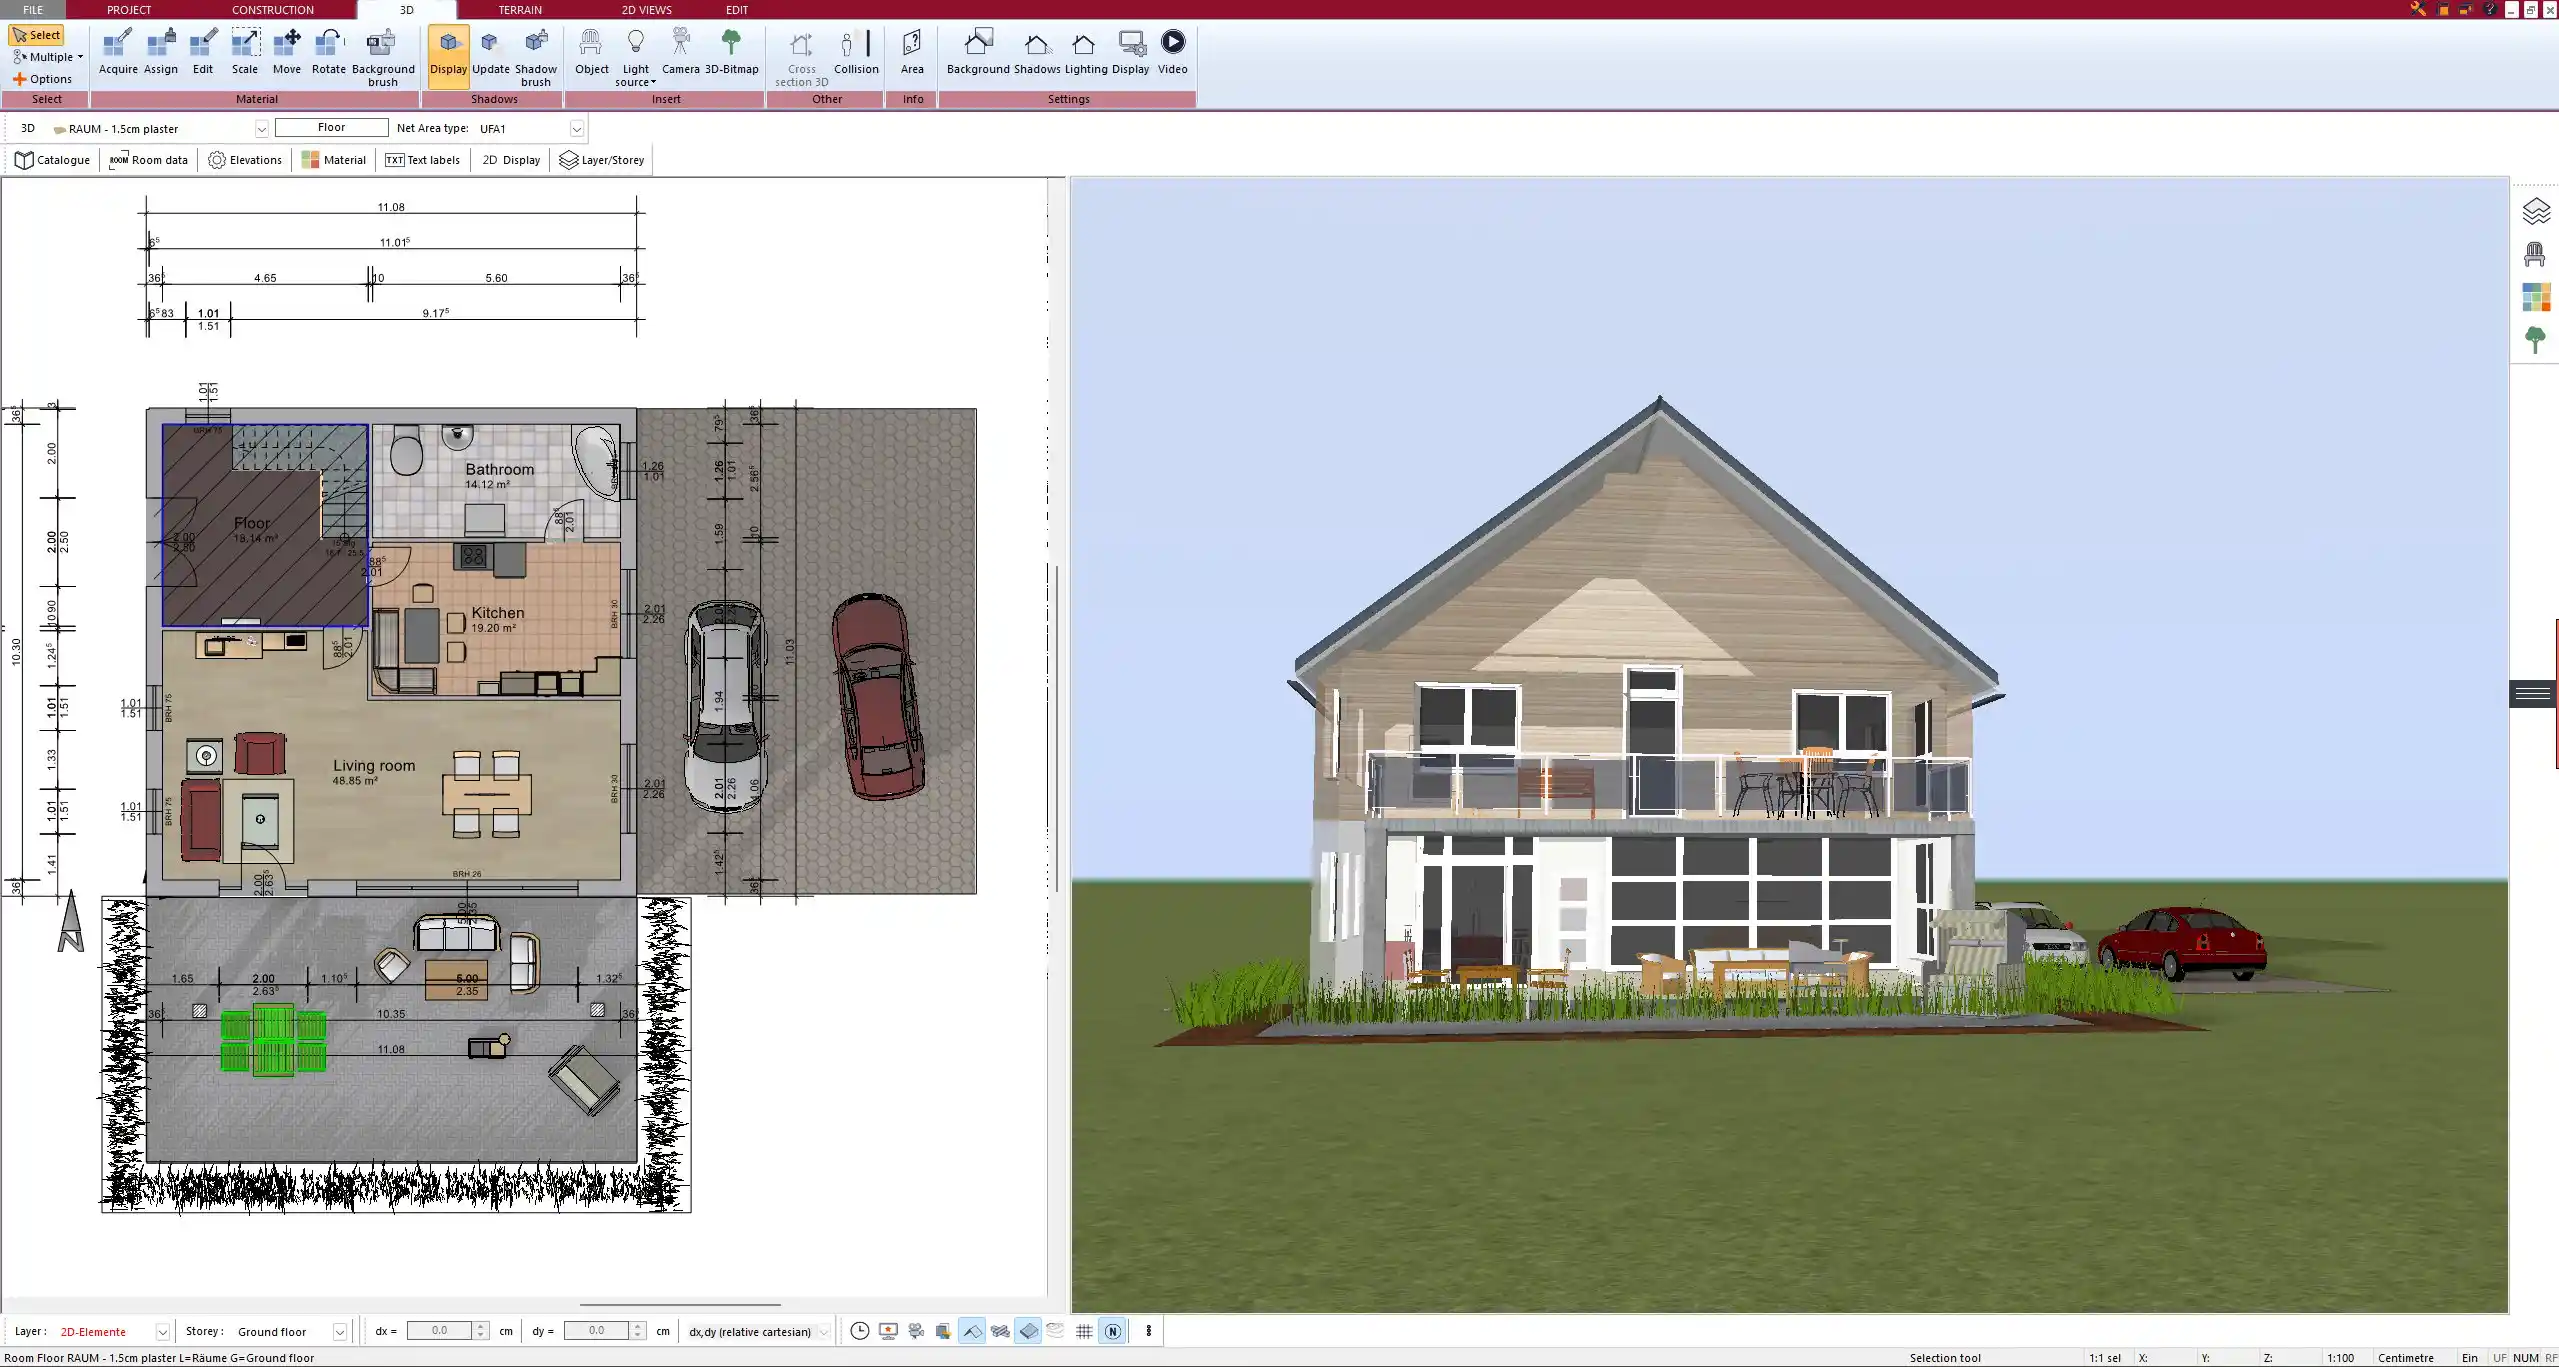
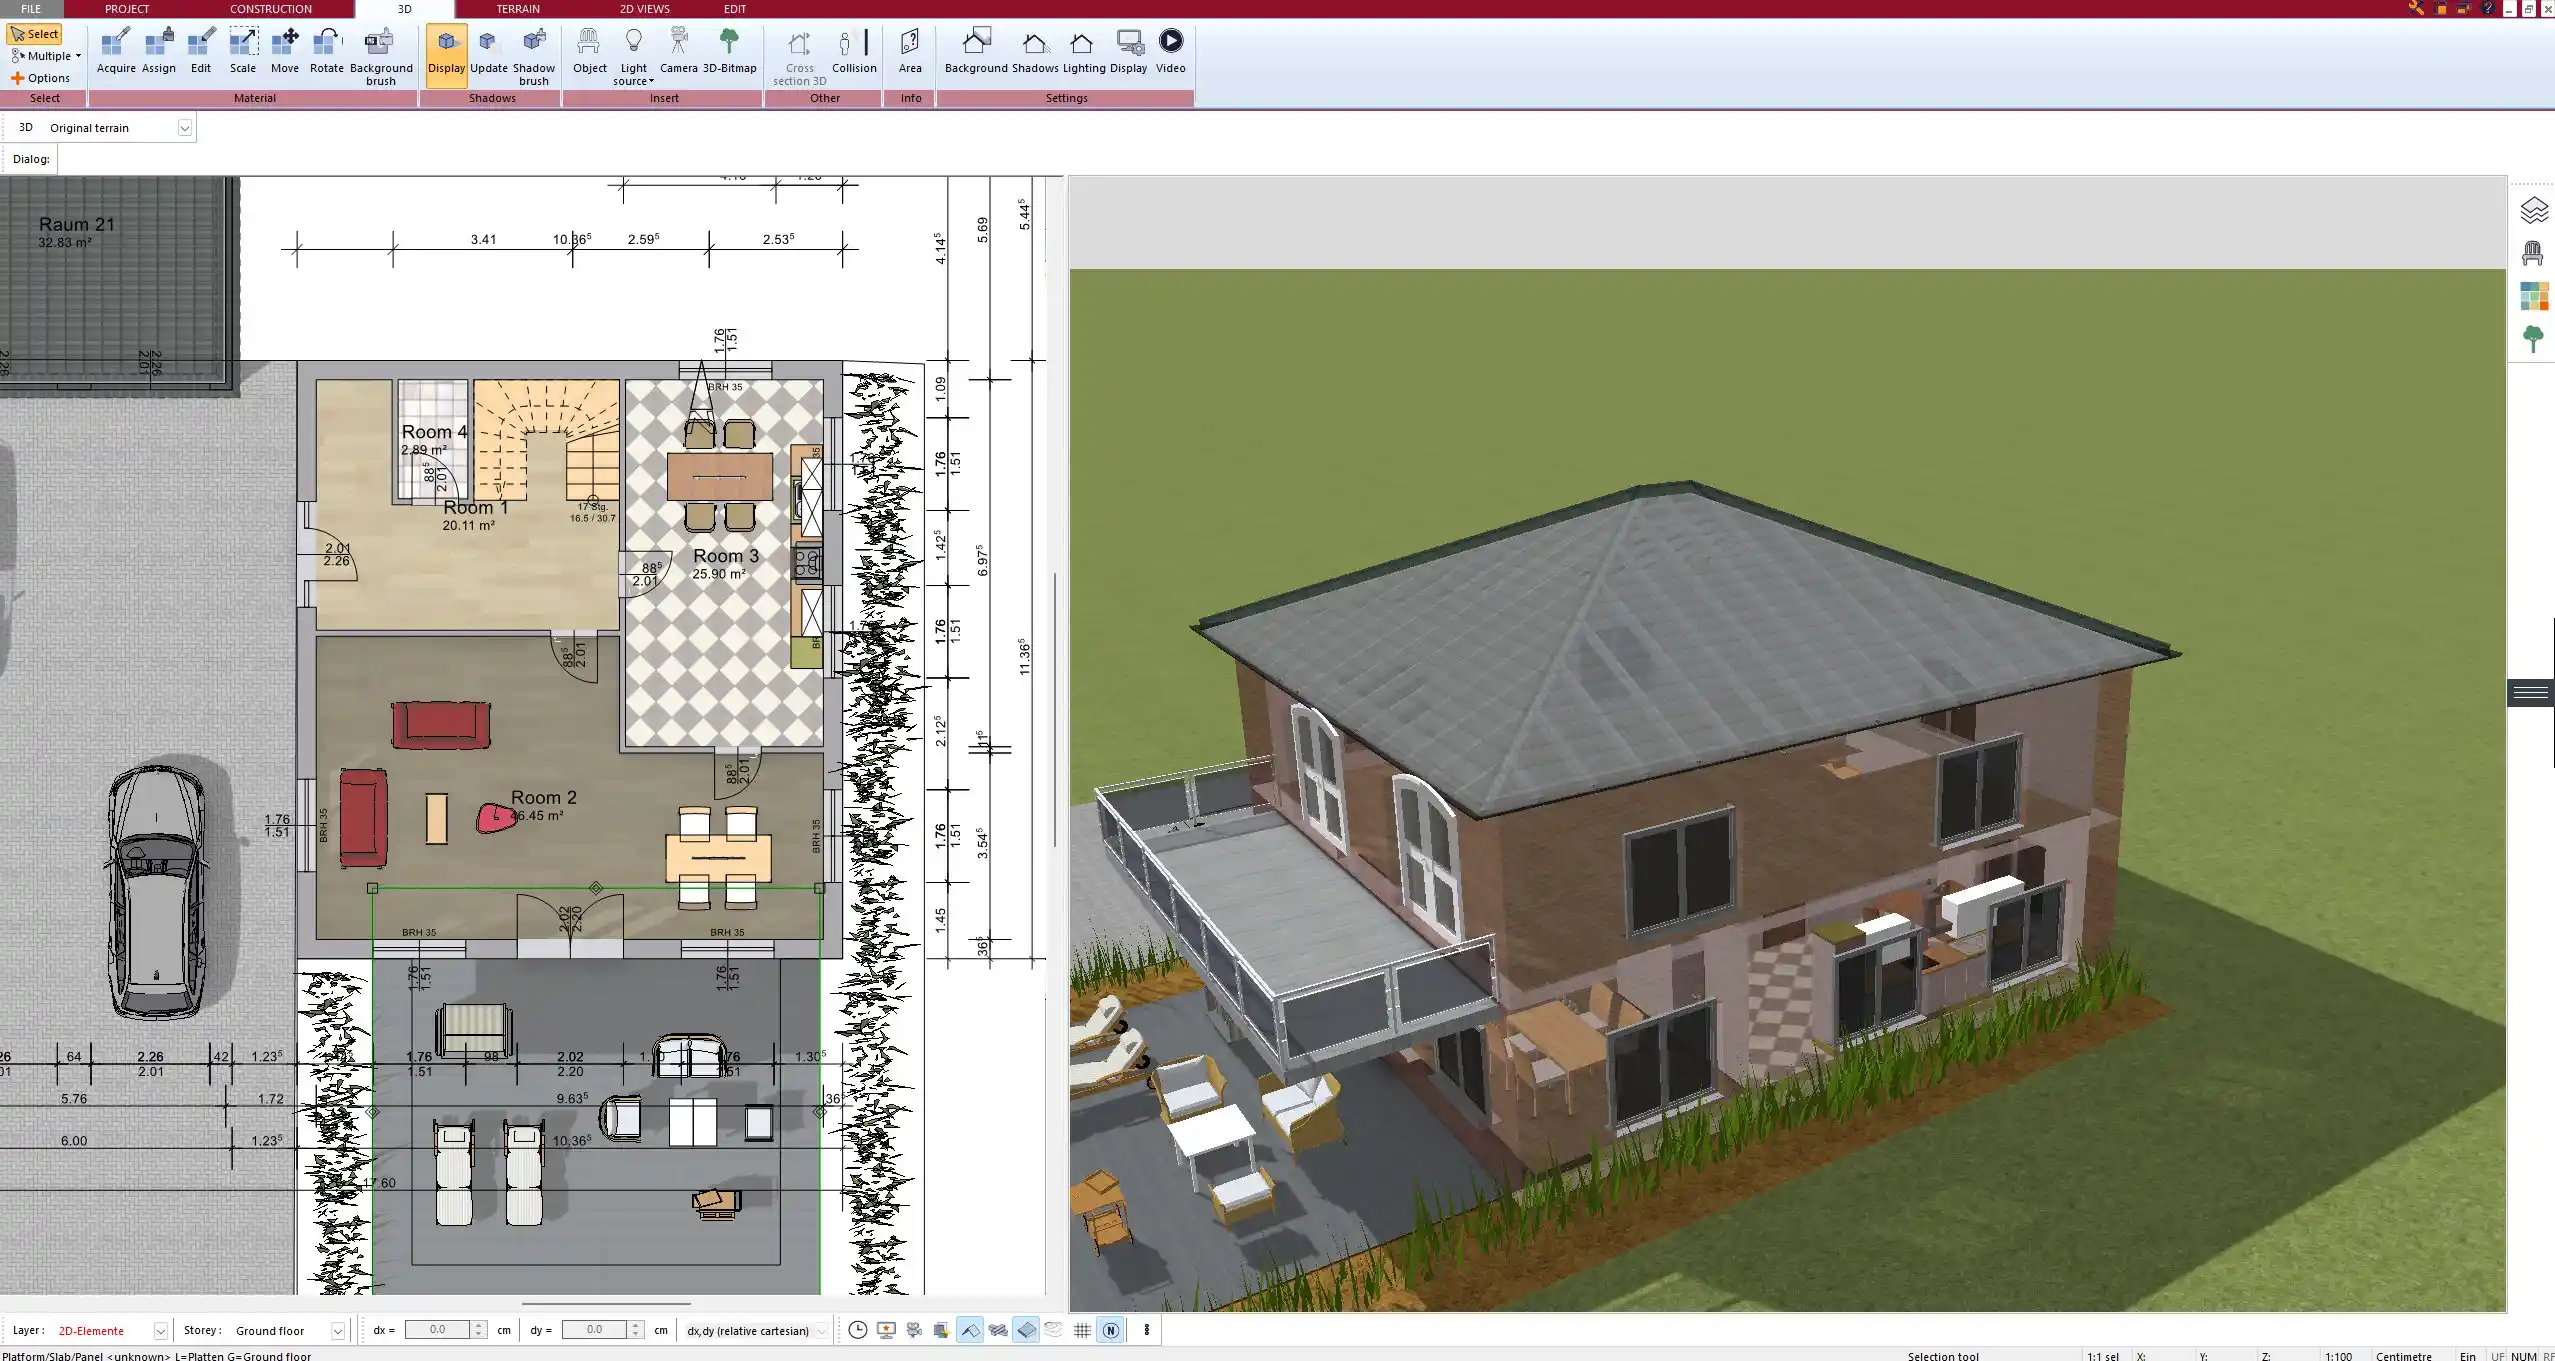
3. Switch to 3D Mode for Real-Time Visualization
Once the basic form is set in 2D, switch to 3D mode. The software provides a real-time, rotatable 3D view of your building including the roof.
You can orbit around the model, zoom in for detail, and activate sectional views to see the structure inside the roof. This helps identify intersections, ridgelines, and potential conflicts early in the design process.
As you make adjustments in 2D, the 3D model updates automatically. This live feedback is especially helpful when testing different roof angles or trying out modern architectural styles.
Tip:
Use the layer manager to isolate the roof for better visibility when editing complex models.
4. Add Roofing Materials and Textures
Once the roof shape is finalized, apply materials from the software’s built-in library. You can test different options visually in 3D:
-
Clay tiles (classic red, natural tones)
-
Asphalt shingles (various colors)
-
Metal roofing (matte or glossy)
-
Wooden shakes
-
Flat or modern textured finishes
Textures automatically scale to the roof size and align with the slope direction. You can also upload your own custom textures or colors if needed.
Use the lighting simulation tool to preview how the material looks in daylight, sunset, or overcast conditions.
5. Add Details: Gutters, Solar Panels, Skylights
To complete your roof, add components like:
-
Rain gutters and downpipes (select placement and style)
-
Skylights or roof windows (freely placeable and rotatable)
-
Solar panels (flat or tilted based on sun angle)
-
Chimneys or ventilation shafts
All of these elements are available in the object catalog and can be dragged directly onto the roof in either 2D or 3D view.
Tip:
You can activate the sun simulation to evaluate the solar exposure of your roof. This is especially useful when positioning skylights or planning solar installations.
Helpful Tips for Planning a Hip Roof
Hip roofs are structurally stable and distribute loads evenly across all four walls, making them ideal for regions with high wind or snow. To get the most out of your design, consider the following:
Dos:
-
Use consistent roof pitches to maintain symmetry
-
Place the ridge centrally unless an asymmetrical design is intended
-
Allow sufficient overhangs to protect walls from weather
-
Verify ventilation needs (especially in warm or humid climates)
Don’ts:
-
Avoid overly steep slopes if you’re adding skylights
-
Don’t forget to adjust the eaves height to match wall height precisely
-
Don’t apply uniform settings on L-shaped buildings without checking intersections
Recommended Roof Pitches by Region (approximate):
| Region | Suggested Roof Pitch |
|---|---|
| Northern Europe / Snow-heavy zones | 35° – 45° |
| Central Europe / Moderate climates | 30° – 40° |
| Southern US / Warm climates | 20° – 30° |
| Coastal areas / Wind zones | 25° – 35° |
These ranges are general recommendations. Always check with local building codes or a structural engineer for your specific location.
Use Cases: Why Hip Roofs Are Popular in 2D/3D Planning
Hip roofs are highly versatile and suit a wide range of architectural styles, from traditional houses to modern bungalows. Their geometry is clean, their load distribution is efficient, and their design integrates well into both urban and rural environments.
Benefits in 3D Design:
-
Visually balanced from all angles
-
No sharp vertical gables, making them easier to integrate with solar panels
-
Look great in aerial views and photorealistic renders
-
Combine well with dormers and extensions
Common building types that use hip roofs:
-
Single-family homes
-
Villas and bungalows
-
Farmhouses
-
Multi-unit developments
-
Garden or pool houses
In Plan7Architect, you can copy one roof style across multiple buildings or units in the same plan, which is ideal when working on multi-home projects or comparing layout variations.
Export and Share Your Roof Plan
Once your hip roof design is finalized, you can export your plan for further use or collaboration.
Available export formats:
| Format | Purpose |
|---|---|
| 2D PDF | For printing, blueprinting, or annotation |
| DXF/DWG (CAD) | For collaboration with architects or engineers |
| 3D model (OBJ, 3DS) | For visualization or integration into other 3D tools |
| Screenshot/image | For client presentations or marketing |
You can also use the software’s presentation mode to walk clients or stakeholders through your design in a virtual tour format.
Plan7Architect Supports Global Standards
No matter where you’re designing, Plan7Architect adapts to your needs. The software supports both metric and imperial unit systems and allows you to switch between them at any time.
That means you can work comfortably whether you’re in Germany, the US, the UK, Canada, Australia, or any other region with its own measurement standards. You’ll also find that the materials, design styles, and roof settings are relevant for both European and international building trends.
This makes Plan7Architect a reliable tool for private builders, designers, and professionals around the world.
Plan your project with Plan7Architect

Plan7Architect Pro 5 for $99.99
You don’t need any prior experience because the software has been specifically designed for beginners. The planning process is carried out in 5 simple steps:
1. Draw Walls

2. Windows & Doors

3. Floors & Roof

4. Textures & 3D Objects

5. Plan for the Building Permit

6. Export the Floor Plan as a 3D Model for Twinmotion

- – Compliant with international construction standards
- – Usable on 3 PCs simultaneously
- – Option for consultation with an architect
- – Comprehensive user manual
- – Regular updates
- – Video tutorials
- – Millions of 3D objects available


