A well-planned winter garden enhances your living space, providing a bright, nature-connected environment throughout the year. With Plan7Architect, designing a precise and functional winter garden floor plan is straightforward. The software enables detailed 2D and 3D visualization, allowing you to define the structure, materials, and dimensions effortlessly. Whether you use metric or imperial units, Plan7Architect supports both systems, making planning easy regardless of your location.
To start, define your available space, set up structural elements, and use the 3D mode to refine details. From selecting roofing materials to optimizing insulation, Plan7Architect simplifies the entire process, ensuring a professional result.
Key Considerations for a Winter Garden Floor Plan
Purpose & Use Case
Before starting your design, consider how you plan to use your winter garden. The following table compares key aspects of different winter garden types:
| Feature | Year-Round Living Space | Seasonal Use |
|---|---|---|
| Insulation | High-quality, well-insulated walls and glazing | Lighter insulation, unheated |
| Heating & Cooling | Integrated heating, underfloor heating, ventilation | Minimal or no heating, natural ventilation |
| Roofing | Solid or hybrid (glass with shading options) | Mostly glass |
| Cost & Complexity | Higher due to insulation and systems | Lower, simpler construction |
Legal & Regulatory Aspects
- Building Permits: Check local regulations, as winter gardens may require permits, particularly for extensions.
- Energy Efficiency Standards: In some regions, thermal insulation standards apply, especially for year-round winter gardens.
- Property Boundaries: Ensure compliance with setbacks and zoning laws before finalizing the design.
Step-by-Step: Creating a Winter Garden Floor Plan with Plan7Architect
Step 1: Define the Dimensions & Layout
Using Plan7Architect, you can set up precise dimensions that fit your available space. Select the width, depth, and height of the winter garden while ensuring it aligns with existing structures. The software allows adjustments in both metric and imperial units, depending on your preference.
- Consider sunlight exposure: South-facing for warmth, North-facing for shade.
- Check connection points to your house for seamless integration.
- Ensure space for proper door and window placement.
Step 2: Set the Structure & Materials
Winter gardens can have various structures depending on durability and insulation requirements. Common materials include:
| Component | Options & Benefits |
| Roofing | Glass (maximum light), polycarbonate (budget-friendly), insulated panels (energy efficiency) |
| Walls | Full glass (panoramic views), half-wall with windows (better insulation) |
| Frames | Aluminum (modern, durable), Wood (aesthetic, requires maintenance), uPVC (affordable, good insulation) |
Step 3: Configure Openings & Ventilation
Proper ventilation prevents overheating in summer and maintains a comfortable indoor climate. Plan7Architect allows placement of:
- Doors: Sliding, bi-fold, or swing doors for easy access.
- Windows: Fixed, tilt-and-turn, or automated openings for ventilation.
- Roof vents: Essential for warm climates to release excess heat.
Tip: A combination of sliding doors and automated vents improves airflow and prevents condensation buildup.
Step 4: Design the Flooring & Foundation
Flooring must be durable, resistant to temperature changes, and visually appealing. Consider:
- Material Choices: Tiles (easy to clean), hardwood (warm, requires sealing), concrete (modern, durable).
- Underfloor Heating: Ideal for year-round winter gardens to ensure comfort.
- Drainage Considerations: If incorporating plants, ensure proper drainage to prevent moisture damage.
Step 5: Integrate Heating & Cooling
A winter garden requires climate control solutions based on usage:
| System | Pros & Cons |
| Underfloor Heating | Even warmth, energy-efficient but higher initial cost |
| Radiators | Quick heating, but may take up space |
| Heat Pump | Efficient cooling and heating but requires installation |
| Shading Systems | Reduces overheating, can be automated |
Step 6: Interior Design & Furniture Layout
Plan the interior to maximize functionality. Plan7Architect enables you to test layouts with virtual furniture placement:
- Dining Area: Needs a stable floor and good lighting.
- Lounge Space: Cozy seating, soft furnishings, and heating sources.
- Greenhouse Integration: Raised beds or vertical gardens for year-round plants.
Tip: Use retractable shades or curtains to create a comfortable environment during summer.
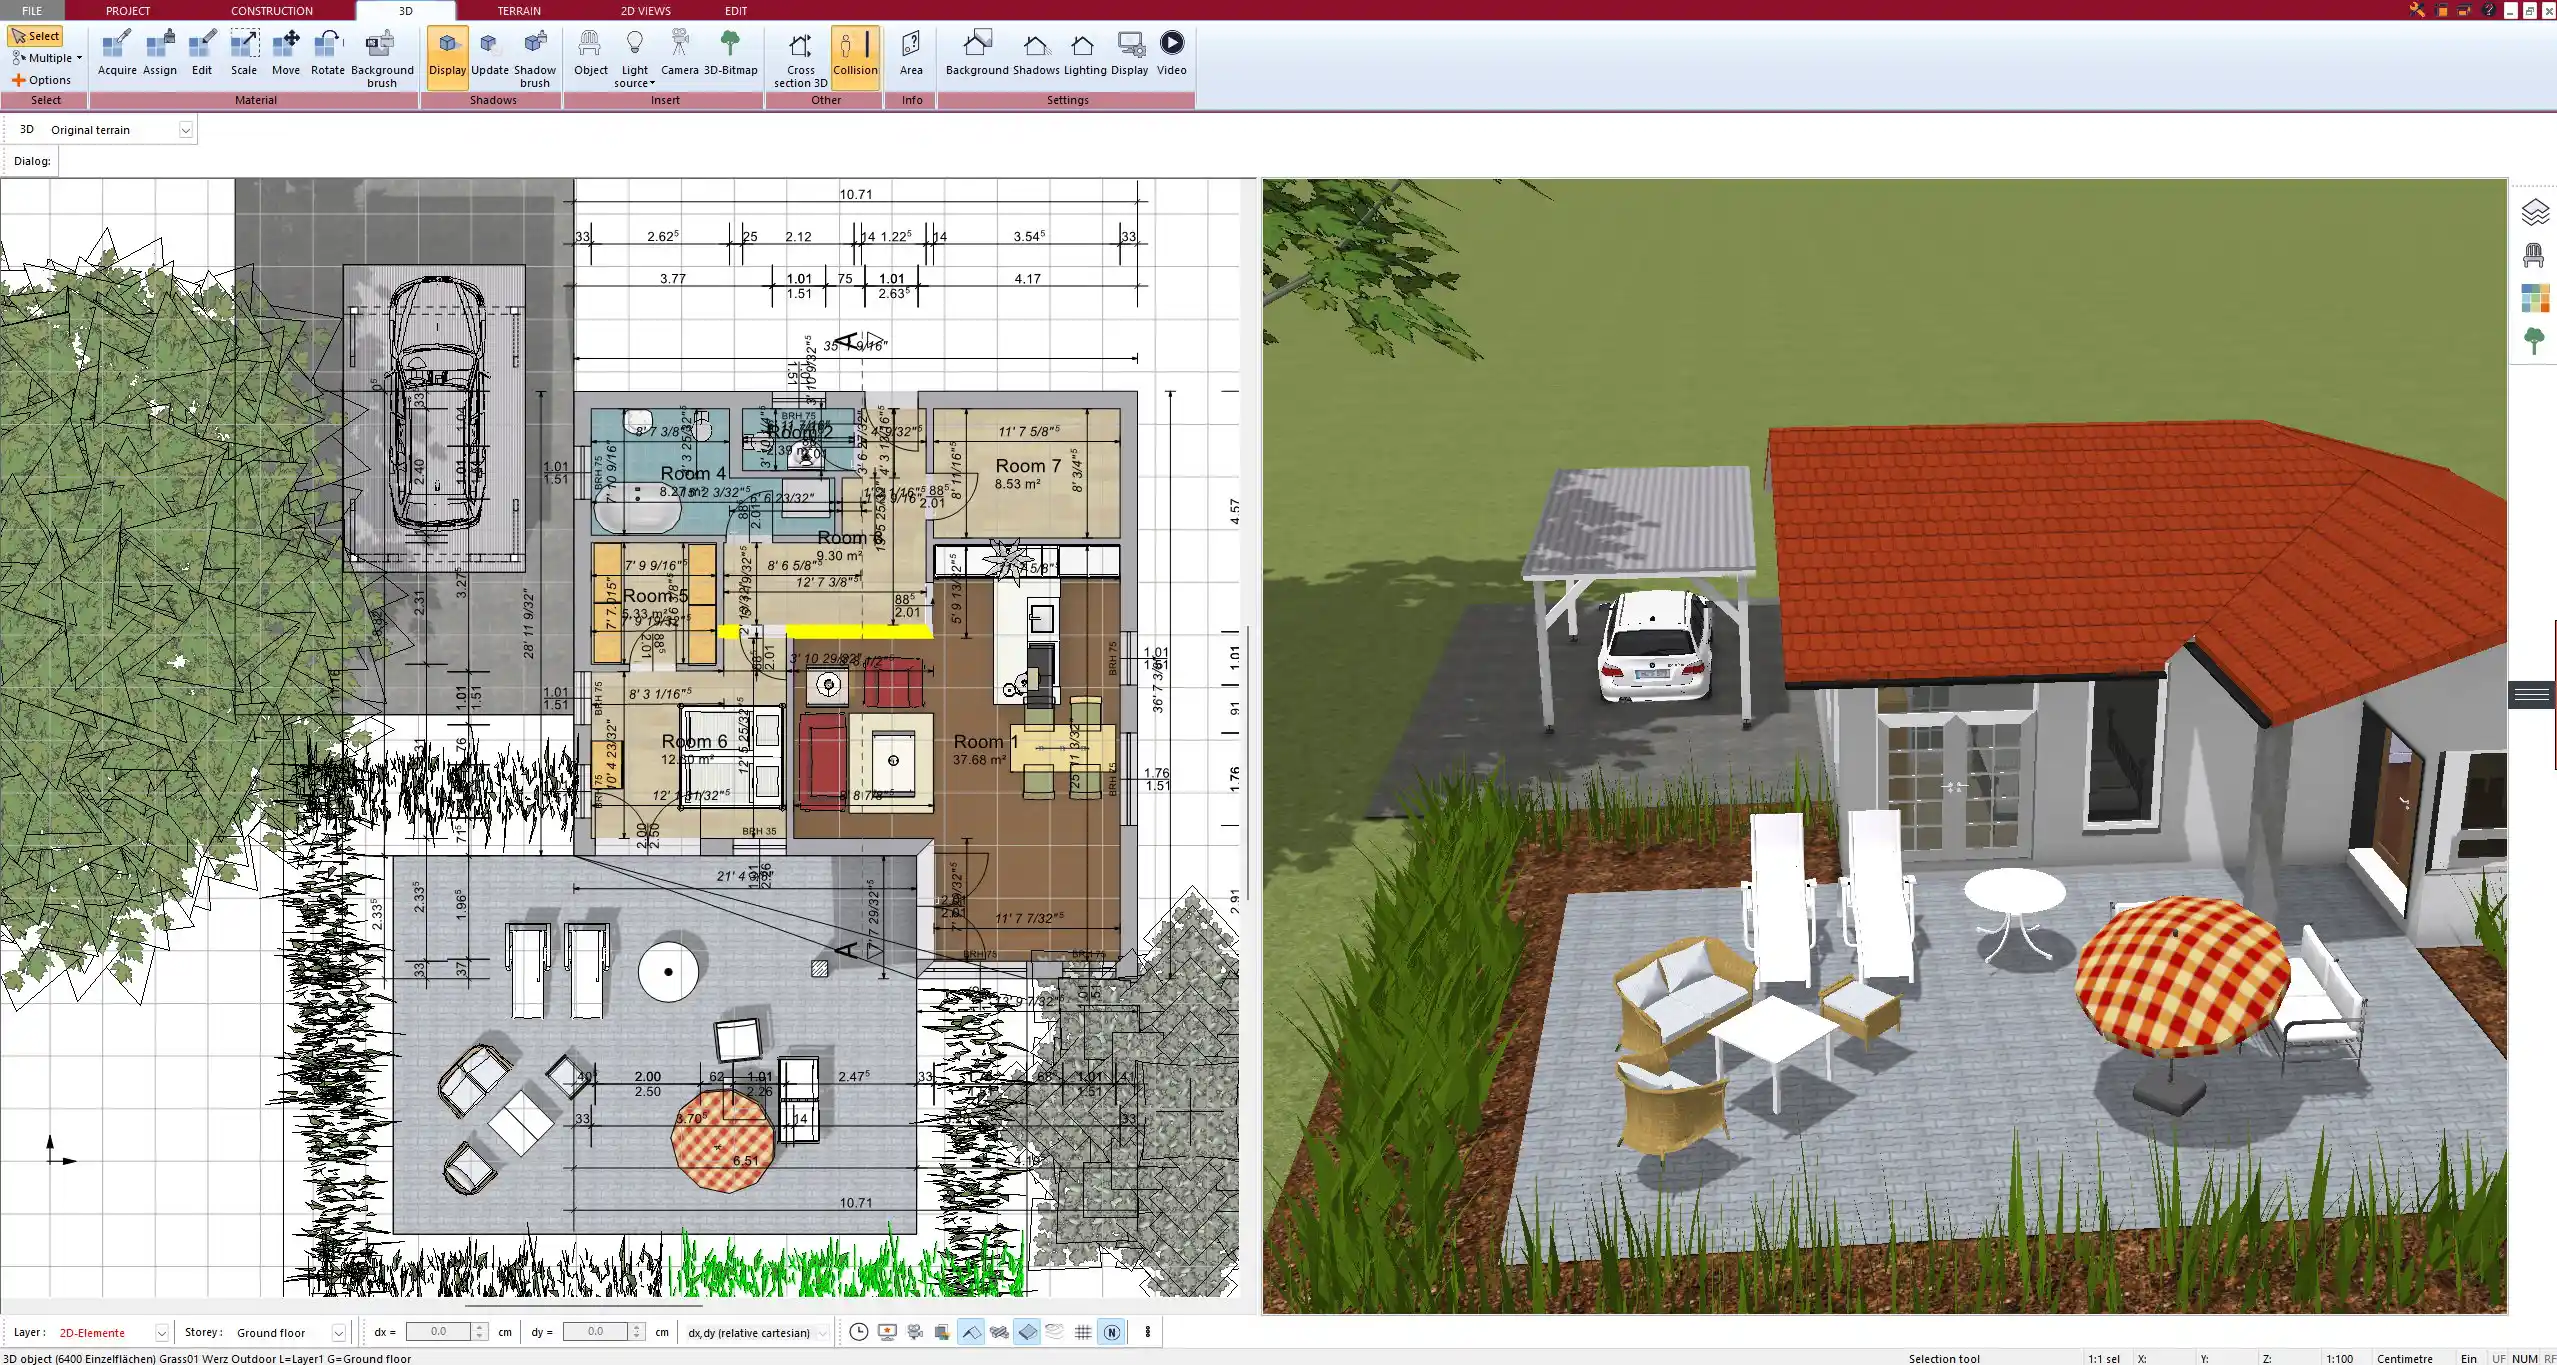
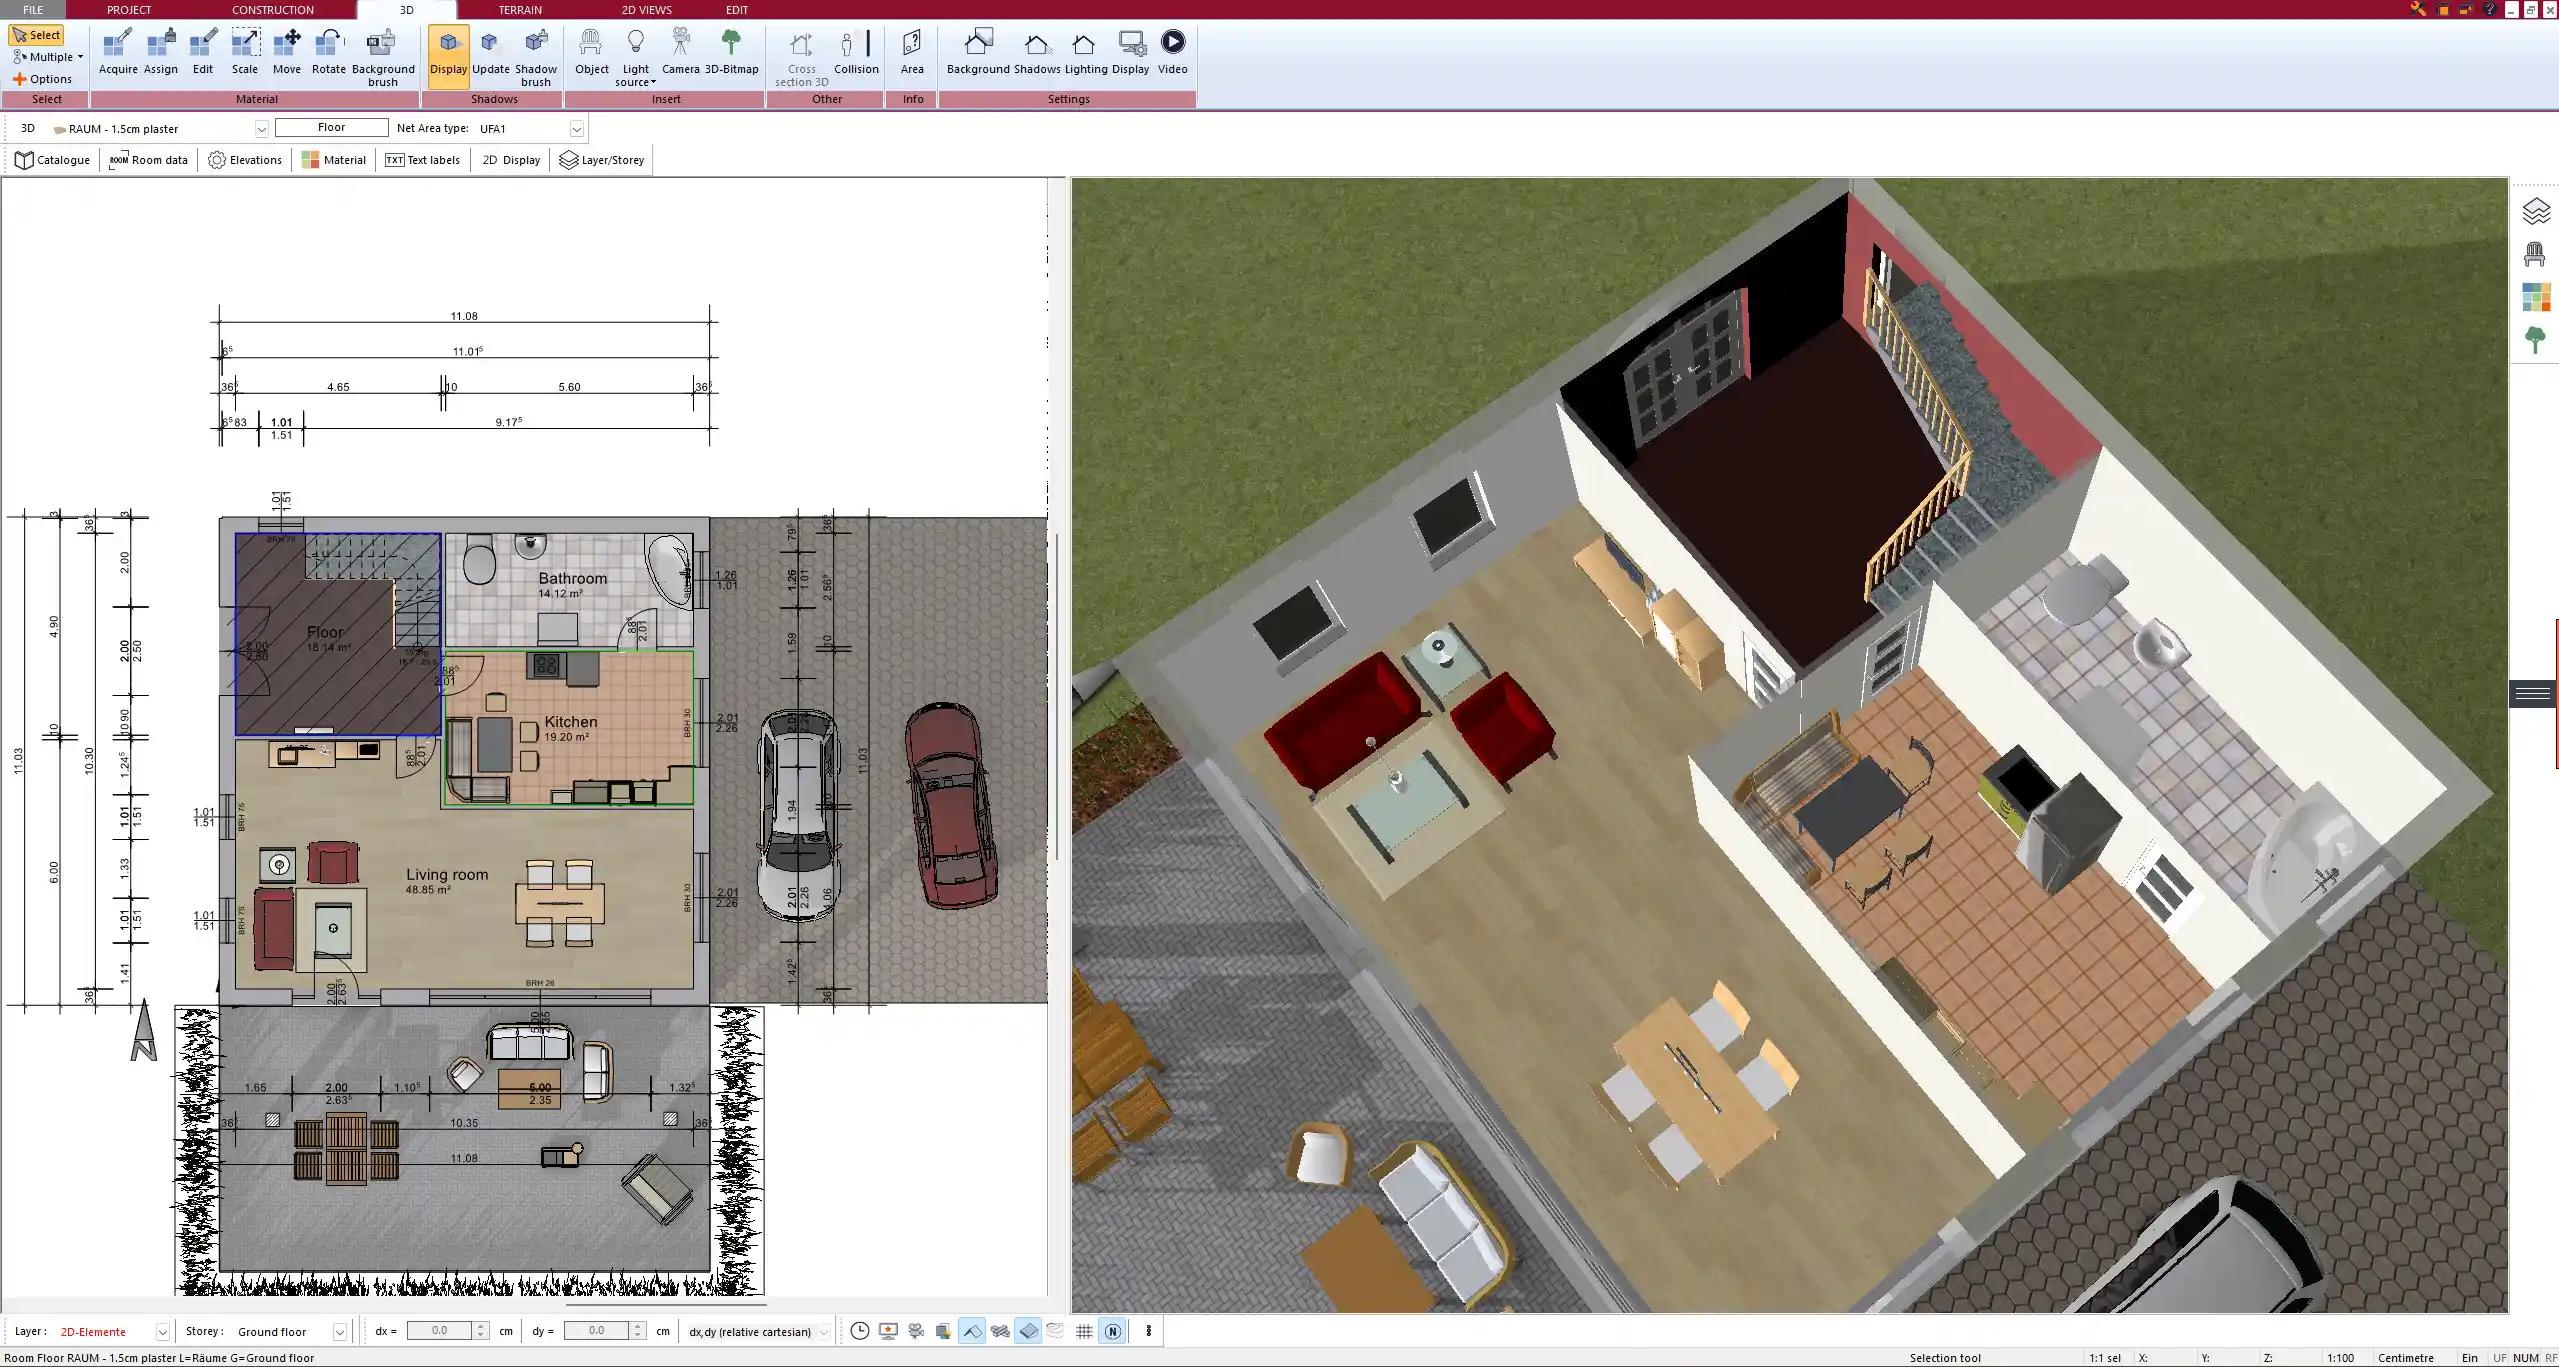
Visualizing and Adjusting the Design in 3D
Plan7Architect allows a full 3D visualization of your winter garden, helping you adjust lighting, materials, and space arrangements before construction. Features include:
- Real-time walkthrough mode: See your design as if it were already built.
- Sunlight simulation: Test different angles and orientations to optimize natural light.
- Layering options: Compare multiple design variations without starting over.

Exporting and Finalizing Your Winter Garden Plan
Once your design is complete, Plan7Architect provides various export options:
- Blueprints: Ready-to-print plans for contractors.
- 3D Views: For presentation or approval.
- Editable Files: Allowing last-minute modifications if needed.
Ensure your plan meets building codes before proceeding with construction.
Conclusion: Why Plan7Architect is the Best Choice
Designing a winter garden requires precision, from structural planning to material selection. Plan7Architect simplifies the process with intuitive tools for both 2D and 3D planning, ensuring an accurate and professional outcome. The software supports both metric and imperial measurement units, making it adaptable for users worldwide.
Your Winter Garden Starts Here! Plan7Architect helps you create a professional floor plan with ease. With a 14-day refund policy, you can test the software risk-free and start designing today.
Plan your project with Plan7Architect

Plan7Architect Pro 5 for $99.99
You don’t need any prior experience because the software has been specifically designed for beginners. The planning process is carried out in 5 simple steps:
1. Draw Walls

2. Windows & Doors

3. Floors & Roof

4. Textures & 3D Objects

5. Plan for the Building Permit

6. Export the Floor Plan as a 3D Model for Twinmotion

- – Compliant with international construction standards
- – Usable on 3 PCs simultaneously
- – Option for consultation with an architect
- – Comprehensive user manual
- – Regular updates
- – Video tutorials
- – Millions of 3D objects available


