With Plan7Architect, you can easily design your own roof in 2D and 3D, defining angles, shapes, and materials according to your needs. The software provides an intuitive interface that allows you to adjust all roof parameters, ensuring precise planning whether you’re working on a gable, hip, flat, or custom roof structure. A key advantage is that you can switch between metric (meters, centimeters) and imperial (feet, inches) measurement units, making it suitable for users worldwide.
Step-by-Step Guide to Roof Planning in Plan7Architect
- Select the roof type – Choose from standard roof styles like gable, hip, mansard, flat, or shed.
- Define the dimensions – Set the roof span, pitch, and overhangs based on your design preferences.
- Adjust structural elements – Modify ridge height, supporting beams, and rafter placement.
- Preview in 3D – Visualize the roof to ensure proper proportions and fit with the building.
- Export and refine – Save your design as a PDF or 3D model for further modifications or contractor use.
Choosing the Right Roof Type
The type of roof you select depends on factors like aesthetics, durability, and regional weather conditions.
| Roof Type | Features | Best for |
|---|---|---|
| Gable Roof | Simple, effective water drainage, easy to construct | Traditional houses, colder regions |
| Hip Roof | More stable in strong winds, no gable walls | High-wind areas, hurricanes, aesthetic preference |
| Flat Roof | Modern look, potential for rooftop terrace | Minimalist designs, commercial buildings |
| Mansard Roof | Maximizes attic space, steep lower slope | Houses needing additional living space |
| Shed Roof | One sloped surface, simple construction | Extensions, contemporary homes |
When designing in Plan7Architect, selecting a roof type is straightforward. The software automatically calculates angles and structural adjustments based on your inputs, which can be fine-tuned later.
Setting Up Roof Parameters in Plan7Architect
Once the roof type is selected, configuring key structural parameters ensures stability and a functional design.
Roof Pitch and Angle
- The standard pitch for gable roofs ranges from 30° to 45°, ensuring proper water runoff.
- Flat roofs generally have a minimal slope of 1° to 5° to avoid water accumulation.
- Roof pitch adjustments can be made interactively in Plan7Architect, allowing instant feedback on structural integrity.
Roof Span and Overhangs
- Overhangs typically range from 30 cm to 1 m (1 ft to 3 ft) to provide protection from rain and sun.
- The software enables customizing overhang lengths to balance design and practicality.
Defining the Roof Structure
- Rafters, beams, and trusses can be placed manually or automatically configured.
- You can adjust ridge height, eaves height, and the number of support beams.
- Material selection (wood, steel, reinforced concrete) affects weight load and durability.
Roof Insulation and Ventilation Considerations
Proper insulation and ventilation are essential to avoid condensation, mold growth, and energy inefficiency.
Insulation
- Roof insulation should be planned depending on climate and house type.
- Common insulation materials include mineral wool, spray foam, and rigid foam boards.
- In Plan7Architect, you can define insulation layers for realistic thermal performance calculations.
Ventilation
- Ridge vents, soffit vents, and gable vents help maintain airflow, preventing excess moisture.
- The software allows placement of vent openings in both the 2D and 3D design phases.
Tip: Always consider regional building codes when planning insulation and ventilation, as they can differ significantly.
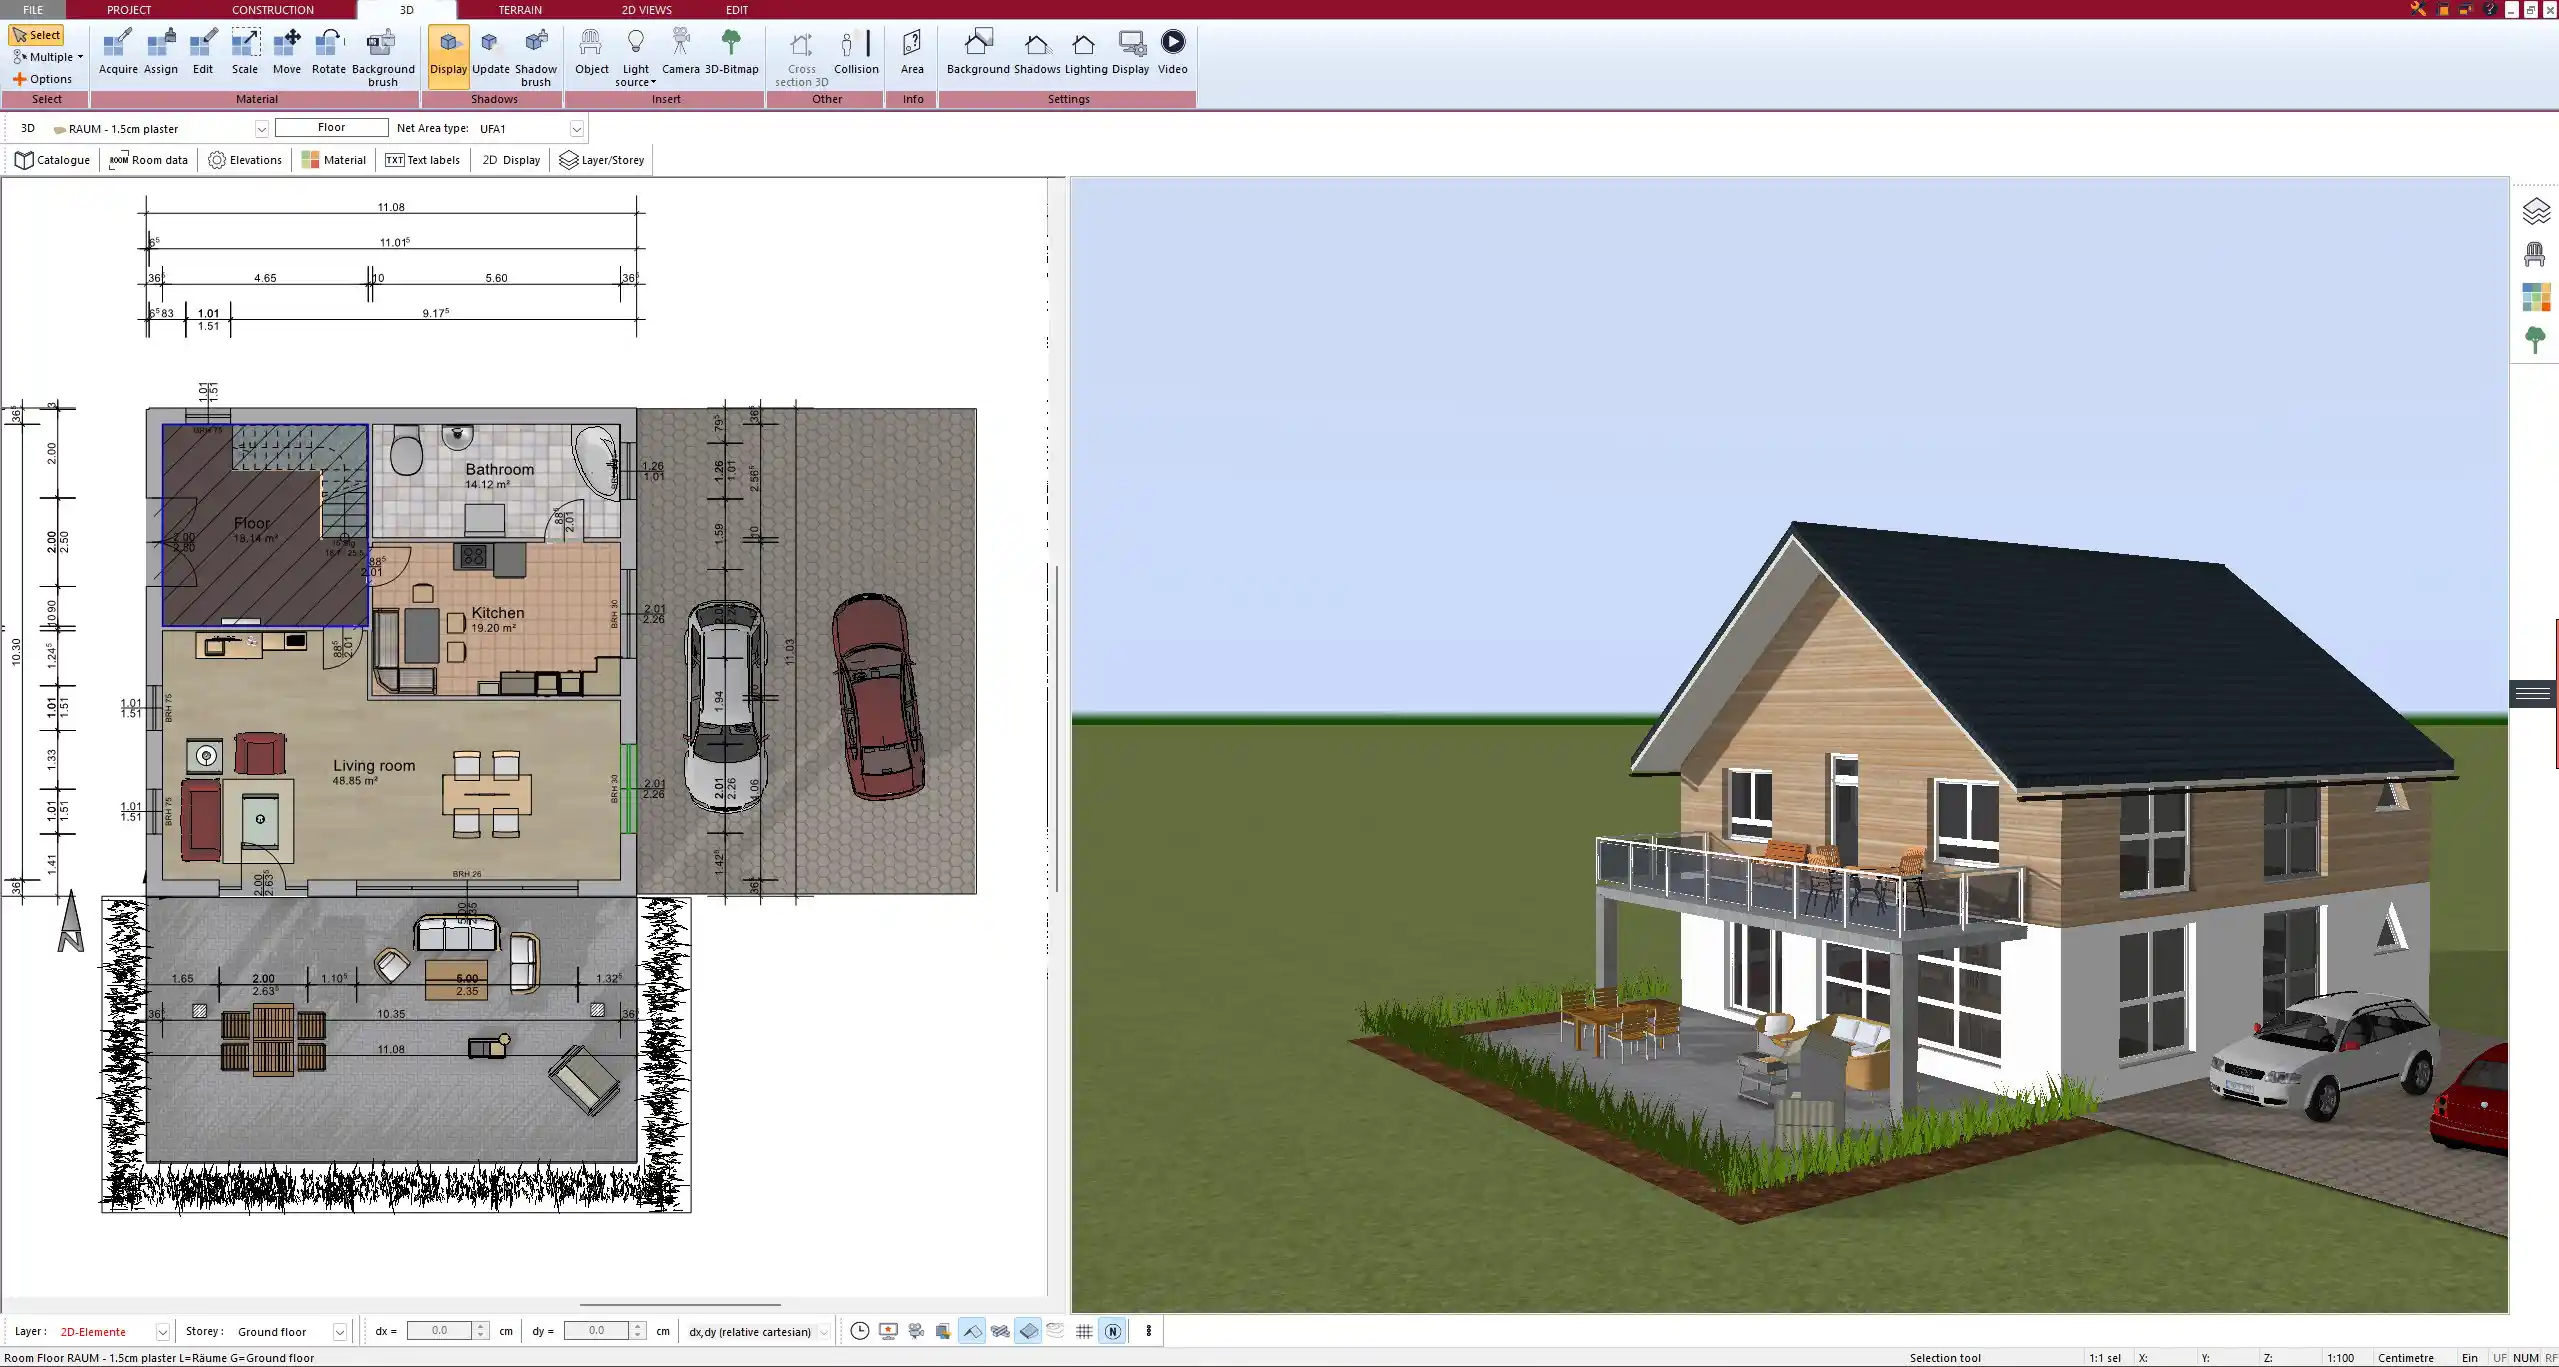
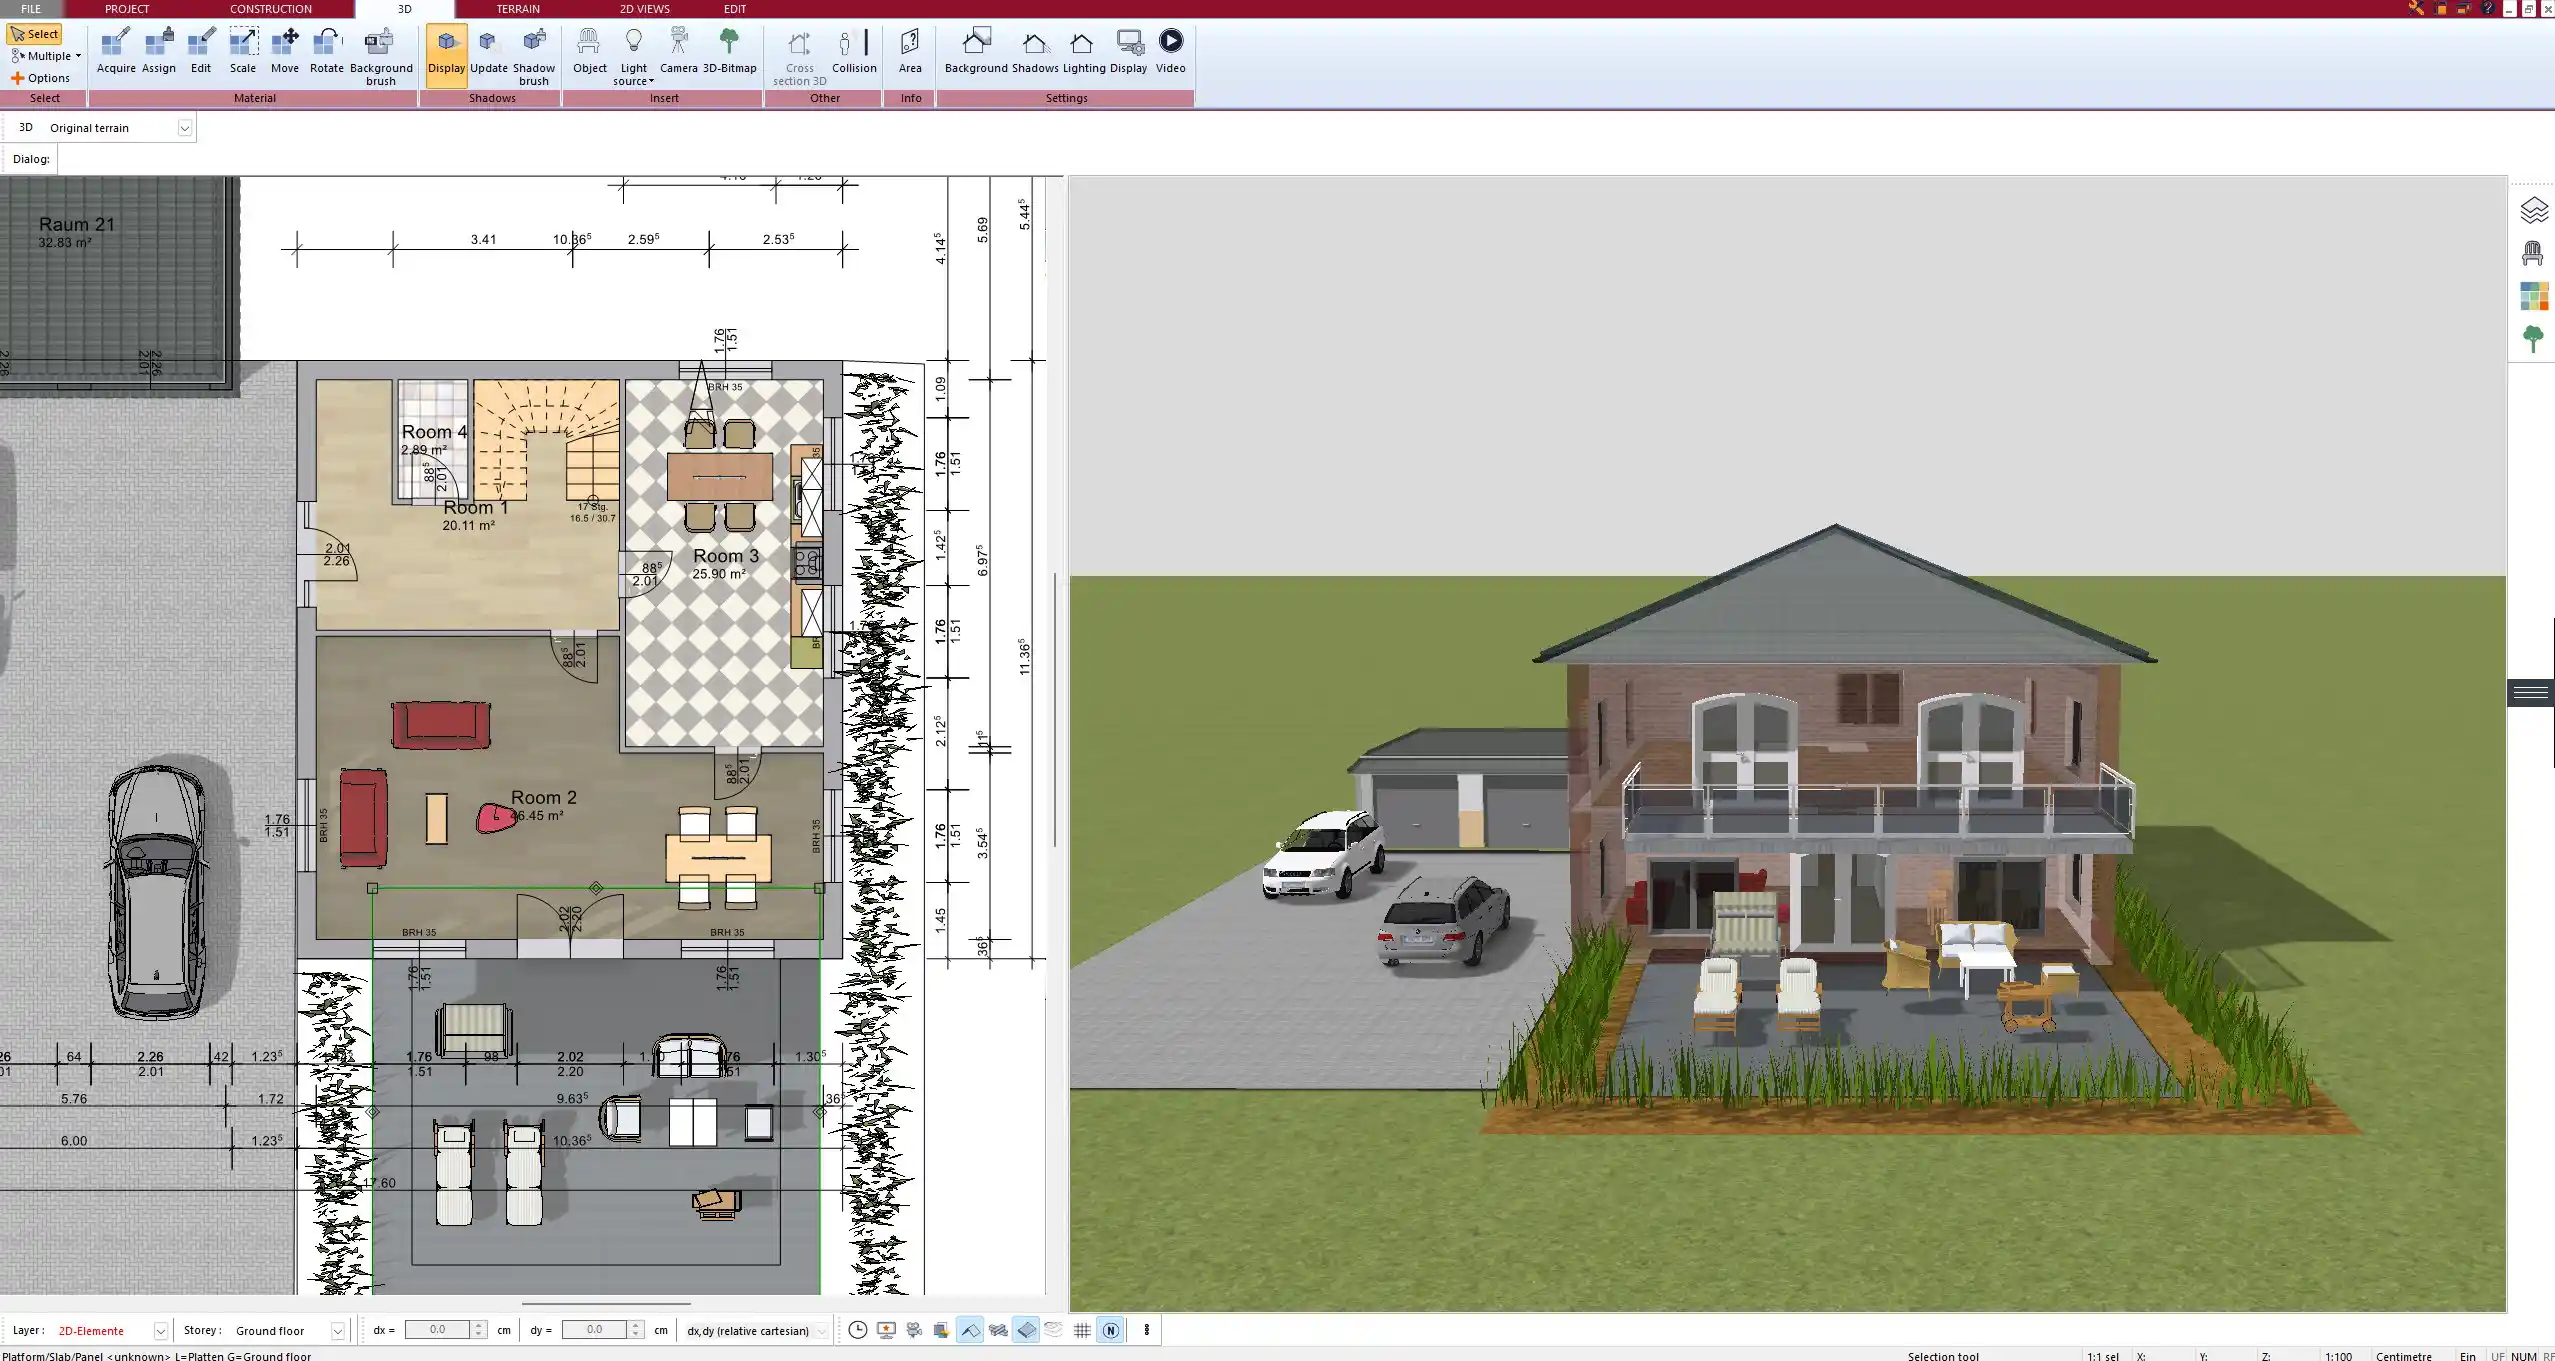
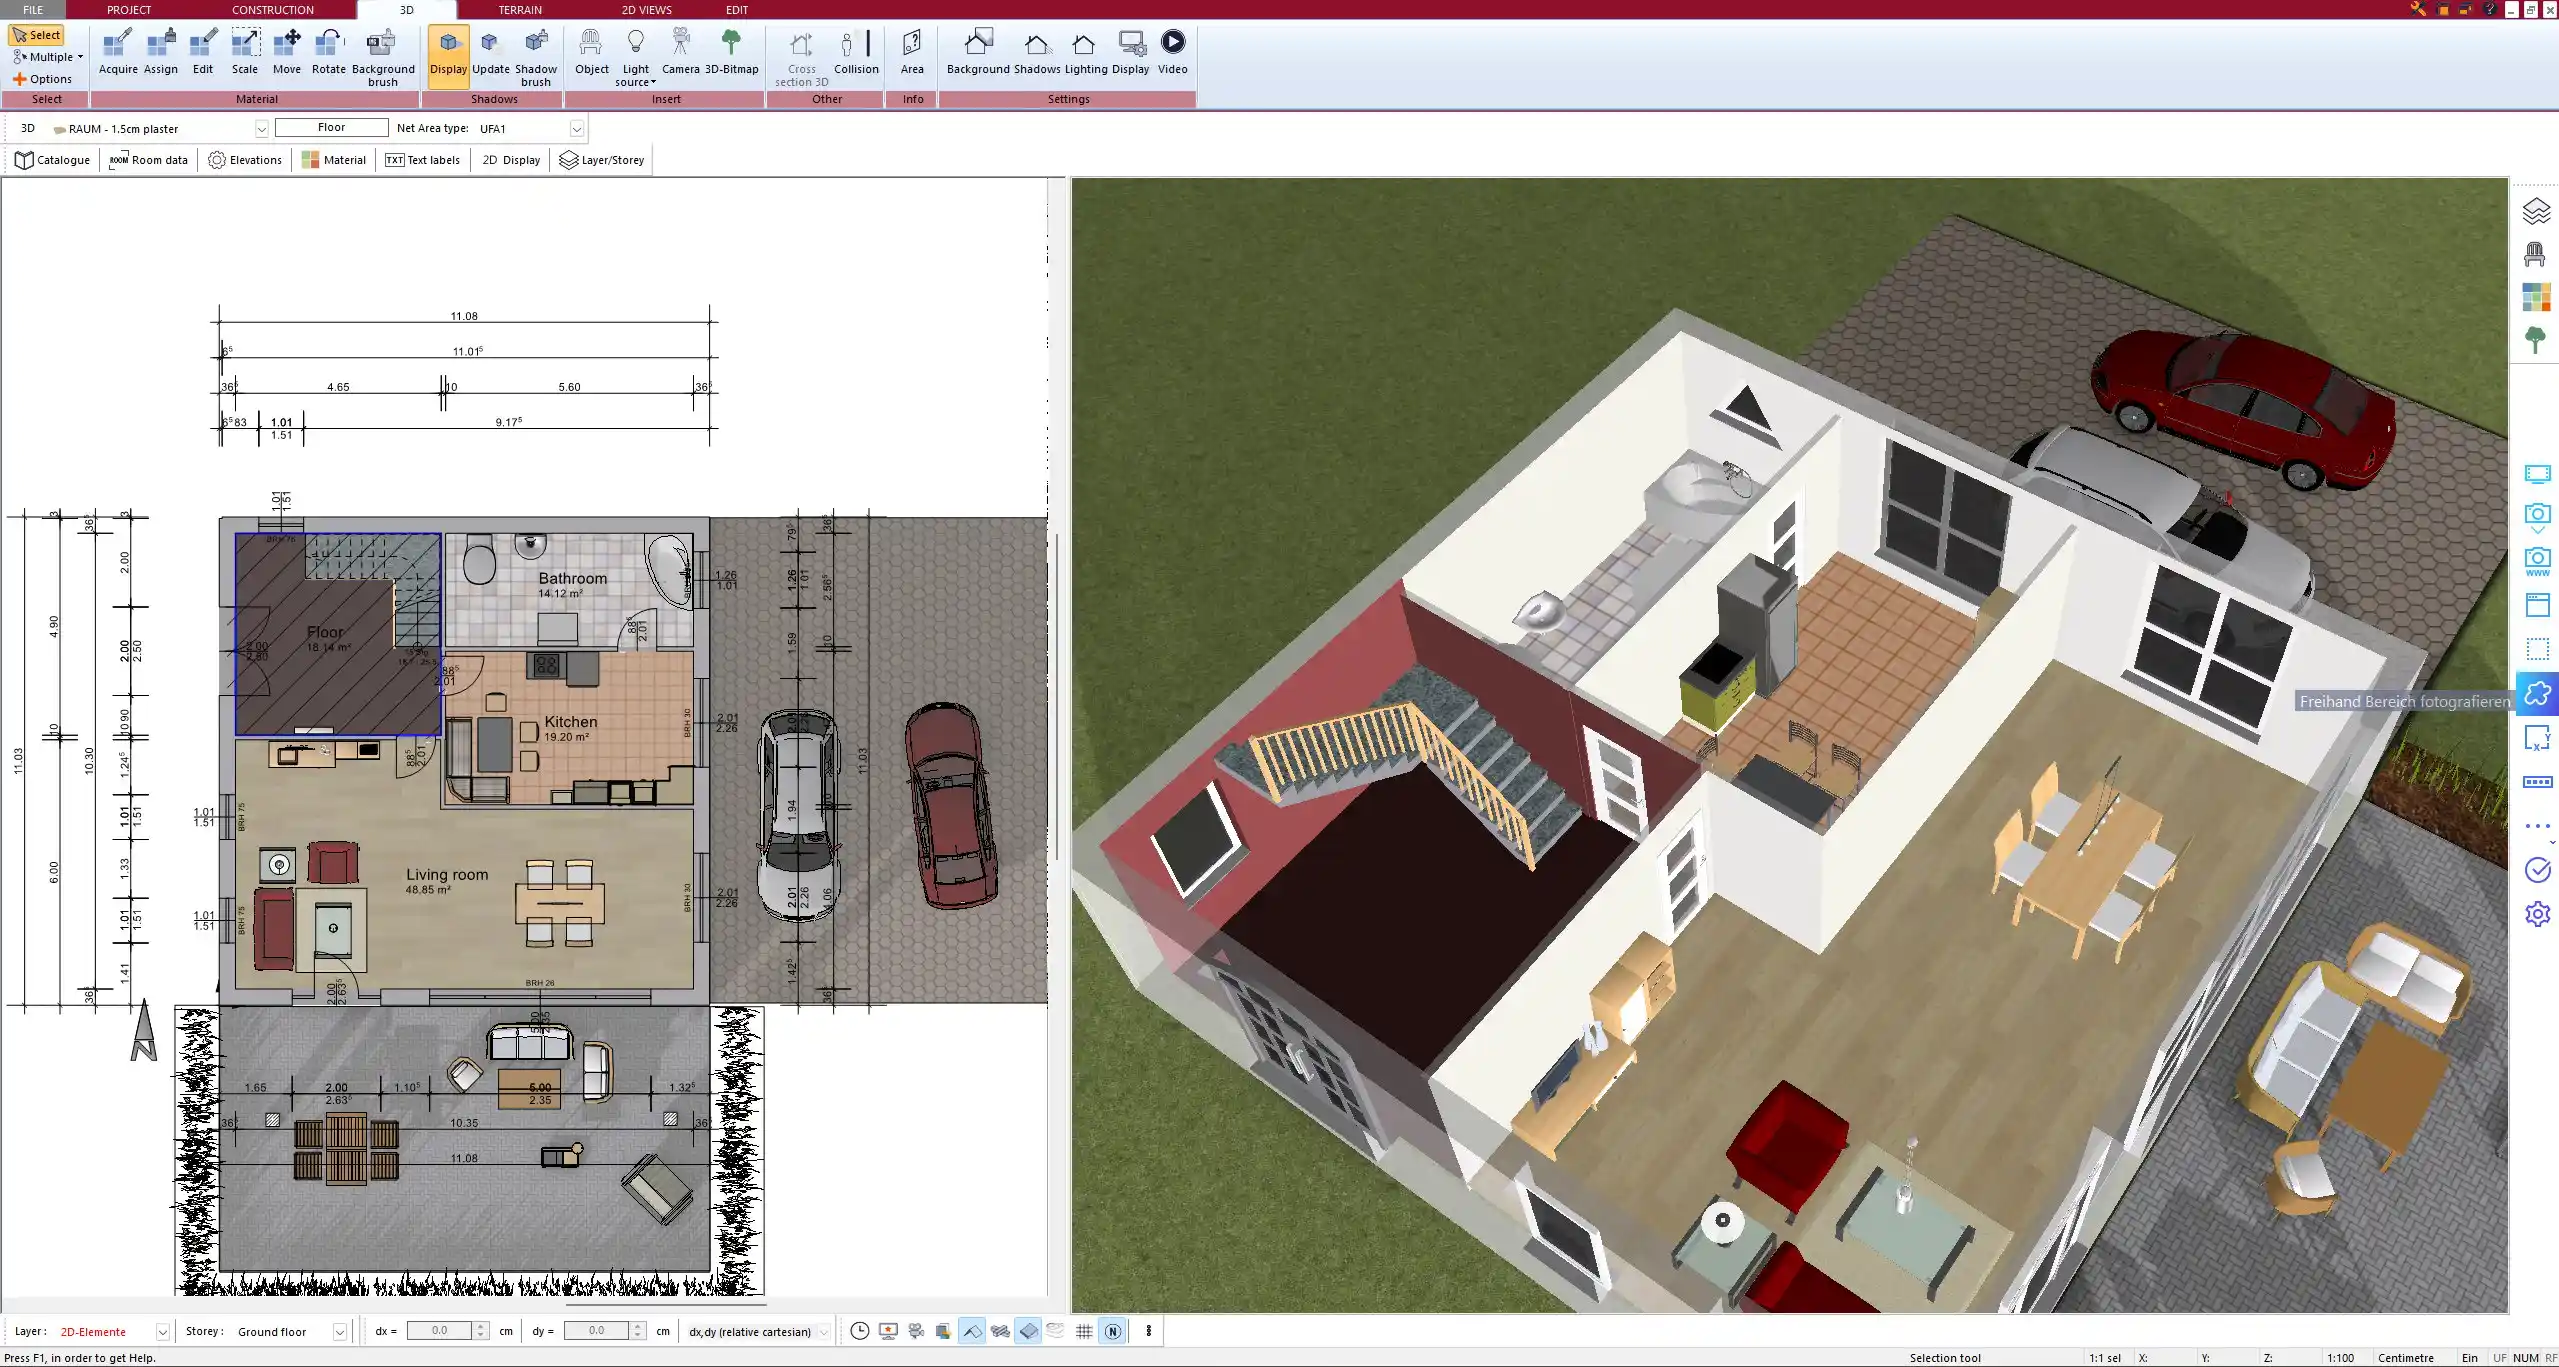
Visualizing and Refining the Roof Design in 3D
Switching to 3D mode in Plan7Architect provides a clear visualization of the roof in relation to the rest of the house.
Why Use 3D Roof Planning?
- Adjusting angles, overhangs, and pitch is easier with a real-time preview.
- Check how sunlight and shadows affect the building throughout the day.
- Identify potential design flaws before construction begins.
Exporting and Using Your Roof Plan
Once your design is finalized, you can export your plan for further use.
| Export Option | Purpose |
|---|---|
| Printable version for contractors and permits | |
| DWG/DXF | Compatible with CAD software for professional use |
| 3D Models | Used for rendering, presentations, or VR visualization |
Why Use Plan7Architect for Roof Planning?
- No prior architectural experience required – The software is beginner-friendly.
- Supports all common roof types – From simple gable roofs to complex multi-level designs.
- Flexible measurement settings – Use metric or imperial units with automatic conversion.
- Realistic 3D visualization – Ensures accurate design evaluation before construction.
Plan your project with Plan7Architect

Plan7Architect Pro 5 for $99.99
You don’t need any prior experience because the software has been specifically designed for beginners. The planning process is carried out in 5 simple steps:
1. Draw Walls

2. Windows & Doors

3. Floors & Roof

4. Textures & 3D Objects

5. Plan for the Building Permit

6. Export the Floor Plan as a 3D Model for Twinmotion

- – Compliant with international construction standards
- – Usable on 3 PCs simultaneously
- – Option for consultation with an architect
- – Comprehensive user manual
- – Regular updates
- – Video tutorials
- – Millions of 3D objects available


