How to Create Professional Construction Drawings with Plan7Architect
Creating professional construction drawings is now easier than ever with Plan7Architect. Whether you are a homeowner, designer, or small construction firm, this software enables you to design high-quality blueprints without requiring expert CAD knowledge. Follow these steps to get started:
- Open Plan7Architect and create a new project.
- Set project parameters, including scale and measurement units (metric or imperial).
- Draw walls, doors, and windows using the drag-and-drop interface.
- Add dimensions and annotations to ensure accuracy.
- Generate professional blueprints in standard formats like PDF or DWG.
- Export, print, or share your plans with architects, engineers, or contractors.
Plan7Architect simplifies the entire process while delivering results that meet professional standards.
Getting Started: Software Installation and Setup
System Requirements
Before installing Plan7Architect, ensure that your system meets these minimum requirements:
| Component | Minimum Requirement | Recommended |
|---|---|---|
| Operating System | Windows 10/11, macOS | Windows 11, macOS latest |
| Processor | Intel i5 or equivalent | Intel i7 or higher |
| RAM | 8GB | 16GB or more |
| Graphics Card | Integrated GPU | Dedicated GPU (e.g., NVIDIA GTX 1660) |
Initial Setup
- Download and install the software from the official website.
- Choose the measurement unit: Metric (meters, centimeters) or Imperial (feet, inches).
- Adjust display settings for optimal visibility and precision.
- Familiarize yourself with the interface, including drawing tools, object library, and layers.
Creating the Basic Floor Plan
Setting Up Scale and Dimensions
In Plan7Architect, you can choose between metric and imperial units. For global compatibility:
- Metric: Common in Europe and most parts of the world (e.g., walls measured in centimeters or meters).
- Imperial: Used mainly in the U.S. (e.g., walls measured in feet and inches).
Drawing Walls with Precision
- Select the wall tool from the toolbar.
- Click to set start and end points.
- Adjust wall thickness, material, and height.
- Use the snap-to-grid feature for precision.
Adding Doors and Windows
- Open the object library and choose a door/window type.
- Drag and drop the item onto the wall.
- Adjust the size and opening direction.
- Duplicate elements for consistency.
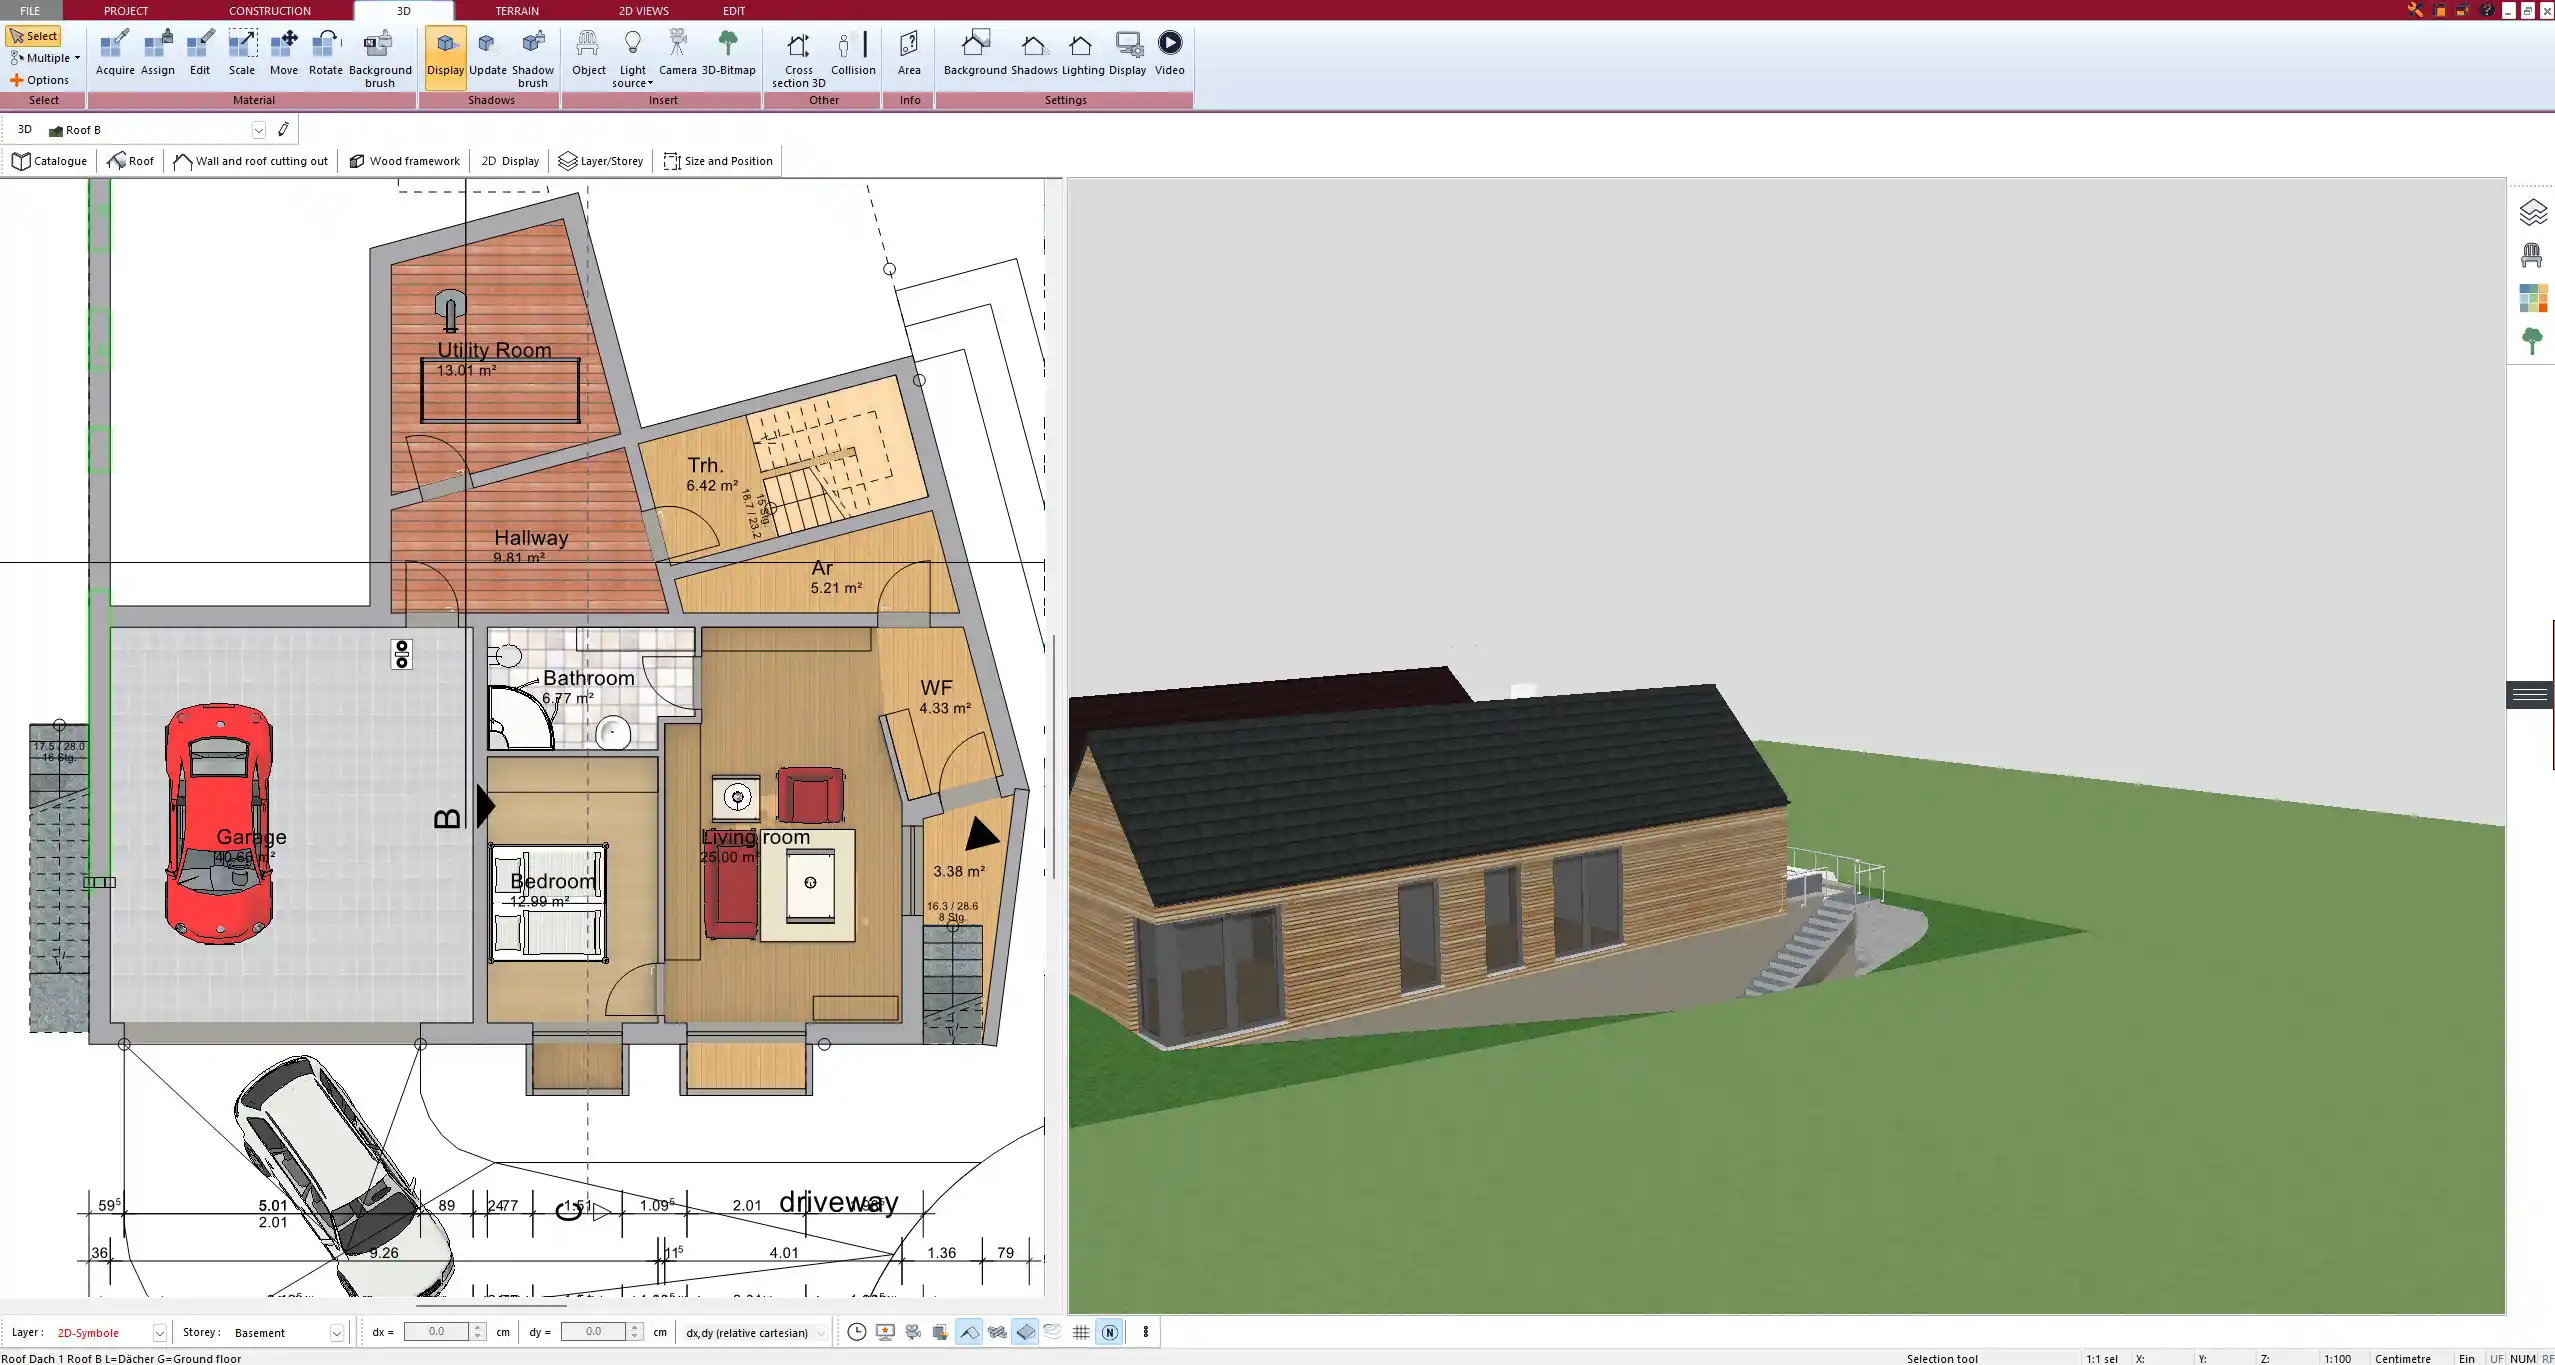
Floor Levels and Multi-Story Buildings
Plan7Architect allows multi-level design. To add a new floor:
- Click “Add Floor” and adjust the height.
- Copy elements from the ground floor to ensure alignment.
- Design staircases with the stair tool.
Advanced Design Features for Professional Drawings
Using Grid & Snap Tools for Accuracy
- Enable grid lines to maintain alignment.
- Use the snap tool to attach objects precisely.
- Adjust the grid size for better control.
Layer Management
Layers help separate different elements:
- Structural elements: Walls, foundations, floors.
- Electrical plans: Outlets, wiring, lighting.
- Plumbing and HVAC: Pipes, ventilation, drainage.
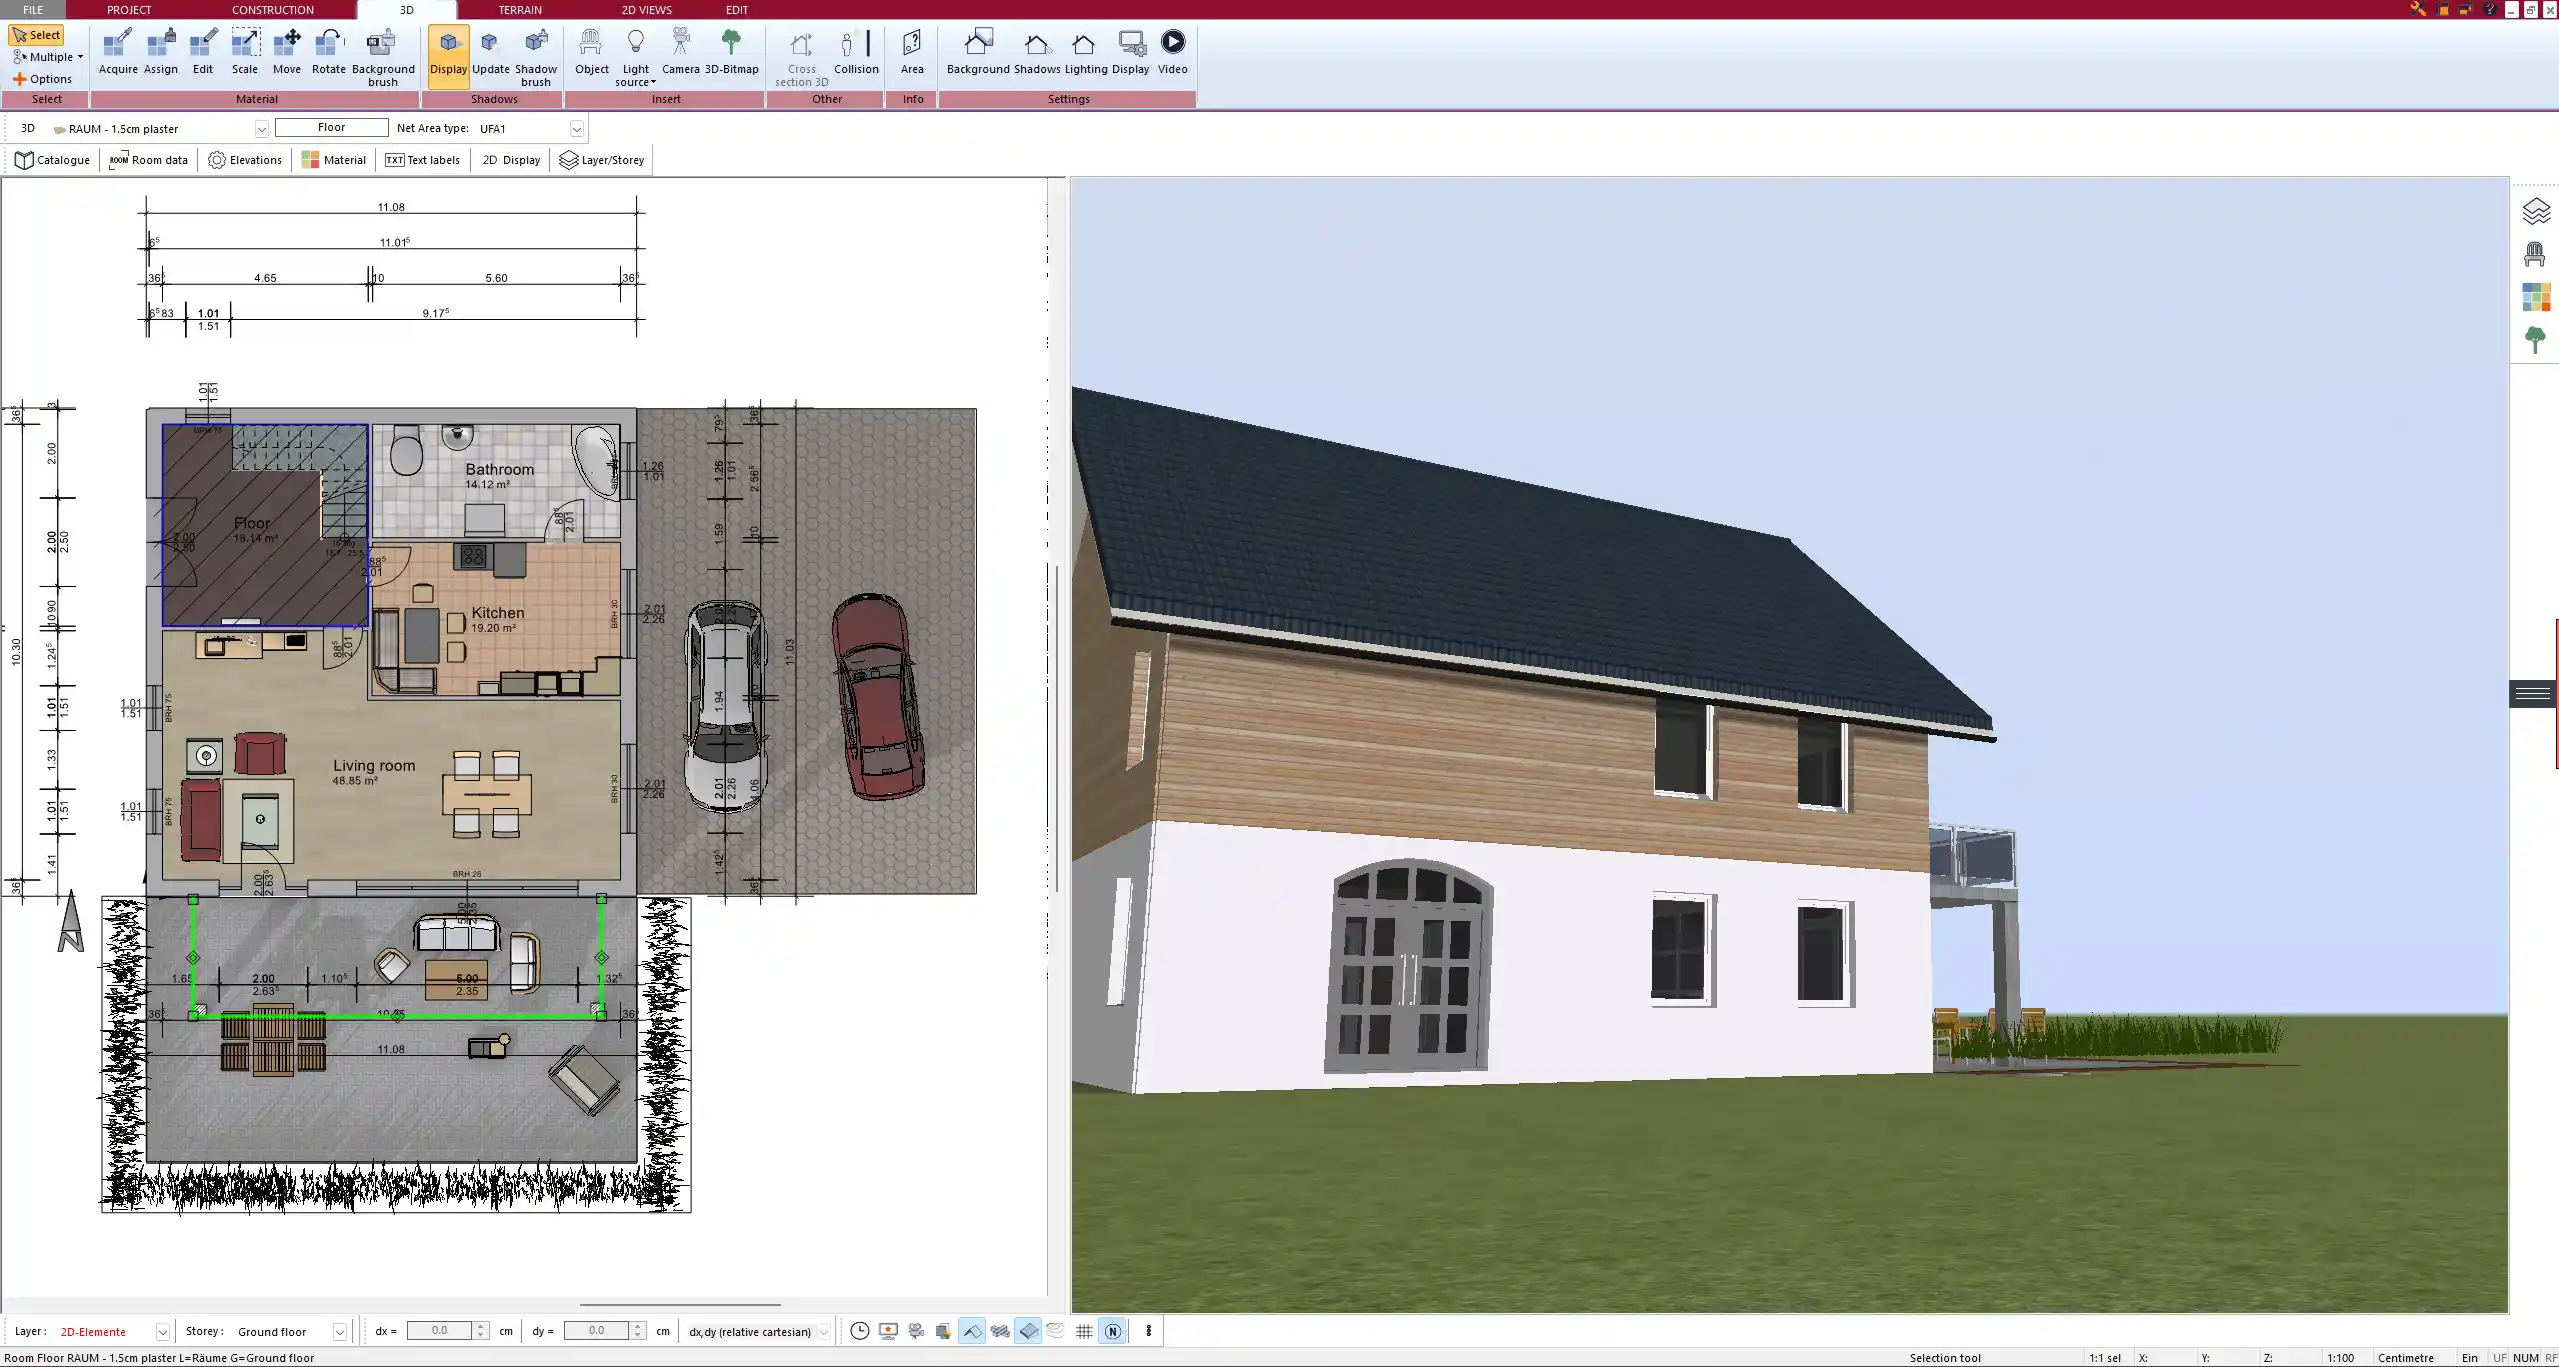
3D Visualization & Real-Time Editing
- Switch to 3D mode to preview the final structure.
- Make adjustments in real time and see instant changes.
Essential Annotations for a Professional Blueprint
Adding Dimensions and Measurements
- Use the dimension tool to specify distances.
- Apply metric (cm, m) or imperial (ft, in) units.
- Ensure consistency across all drawings.
Including Symbols for Electricity, Plumbing, and HVAC
Common symbols include:
- Electricity: Power outlets, switches, light fixtures.
- Plumbing: Water supply, drainage points.
- HVAC: Vents, ducts, air conditioning units.
Creating Professional-Looking Labels and Notes
- Add room labels for clarity (e.g., “Kitchen,” “Bathroom”).
- Include annotations for material descriptions.
- Ensure text is readable by adjusting font size.
Exporting, Printing, and Sharing Your Construction Drawing
Export Formats
Plan7Architect supports multiple formats:
- PDF: For easy sharing and printing.
- DWG/DXF: Compatible with AutoCAD.
- Image files: JPEG/PNG for presentations.
Setting Up Print Layouts
- Adjust the paper size (A4, A3, Letter, etc.).
- Use scale settings to fit content properly.
- Add a title block with project details.
Sharing with Architects, Engineers, or Contractors
- Send digital copies via email.
- Export editable files for professional revisions.
- Print hard copies for on-site use.
Tips & Best Practices for High-Quality Construction Drawings
Avoiding Common Beginner Mistakes
- Double-check wall alignments and dimensions.
- Avoid overlapping objects that could cause confusion.
- Ensure clear labeling of rooms and sections.
Ensuring Code Compliance
Plan7Architect includes settings for different building standards:
- European norms (DIN, ISO).
- American codes (IBC, IRC).
Using Templates to Speed Up the Process
- Choose from pre-designed layouts.
- Modify existing plans to save time.
- Use room presets for kitchens, bathrooms, and living spaces.
Plan Professional Floor Plans with Plan7Architect
With Plan7Architect, you can create professional construction drawings with ease. Whether designing a residential home, commercial building, or renovation project, the software provides all the tools needed for precision planning. You can work with both metric and imperial measurements, ensuring global compatibility.
The software allows you to generate high-quality blueprints, including structural, electrical, and plumbing plans, all in a user-friendly interface. You can export your designs in PDF, DWG, and other professional formats, making collaboration with architects and builders seamless.
Take advantage of our 14-day cancellation policy, giving you peace of mind with every purchase. If you’re not satisfied, you can cancel your order easily via email. Get started with Plan7Architect today and turn your construction ideas into reality!
Plan your project with Plan7Architect

Plan7Architect Pro 5 for $99.99
You don’t need any prior experience because the software has been specifically designed for beginners. The planning process is carried out in 5 simple steps:
1. Draw Walls

2. Windows & Doors

3. Floors & Roof

4. Textures & 3D Objects

5. Plan for the Building Permit

- – Compliant with international construction standards
- – Usable on 3 PCs simultaneously
- – Option for consultation with an architect
- – Comprehensive user manual
- – Regular updates
- – Video tutorials
- – Millions of 3D objects available


