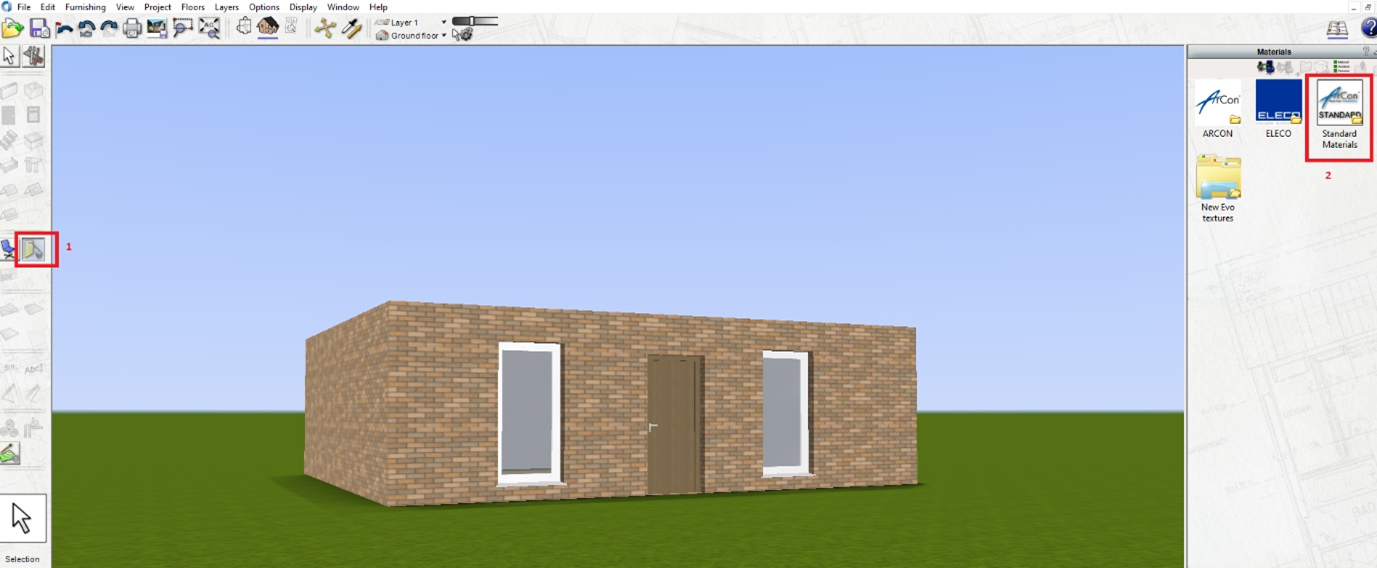
1. The quickest method for applying a texture/material to a wall or floor surface is in 3D. In 3D , left-click the ‘Material’ icon (1, circled below)
2. After left-clicking the ‘Material’ icon, the catalog on the right will display a selection of folders that you can open and choose a texture/material item from
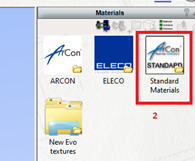
3. In this example, from the catalog double left-click the ‘Standard Materials’ folder
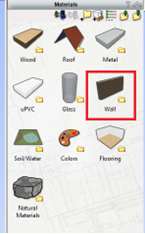
4. Then double left-click the ‘Wall’ folder
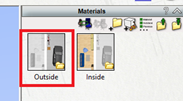
5. Followed by the ‘Outside’ folder and then the ‘Plaster’ folder
 >
> 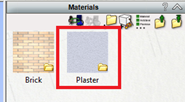
6. Now left-click an item e.g. ‘Plaster – White’
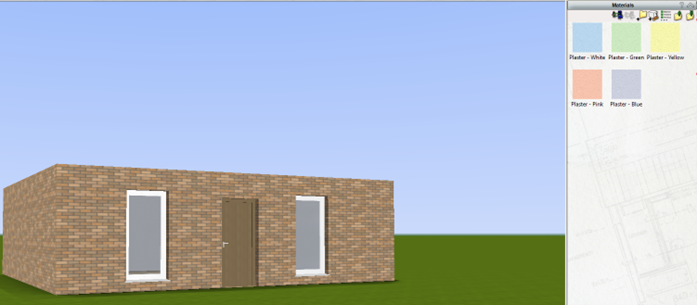
7. You will notice that the cursor will change to a ‘bucket’ symbol. Hover your cursor over the wall/floor surface you would like to apply texture/material to, and left-click your mouse button
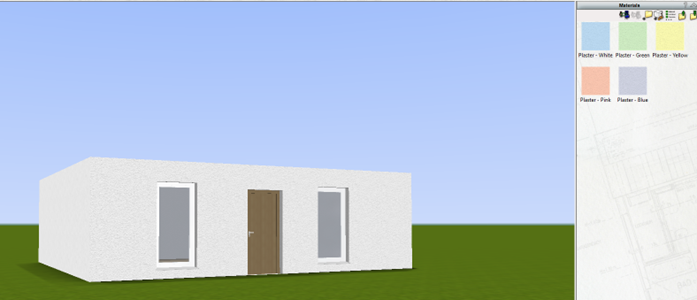
8. You will notice that all walls on that floor will change
9. To change 1 wall at a time, repeat step 7, but before you apply texture/material, hold down the ‘SHIFT’ key and then left-click your mouse button over wall surface.
10. The texture/material item will be applied to that one wall under your cursor and not all walls on same floor. See example below using ‘Plaster – Blue’
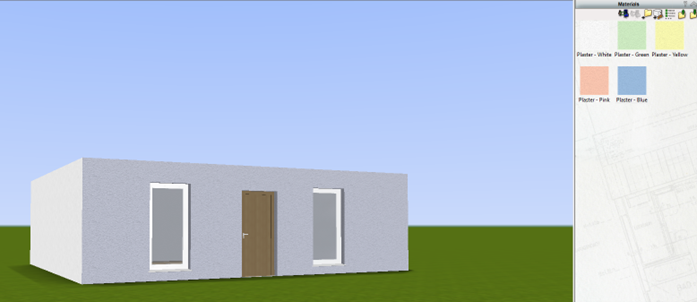
11. You can use the ‘SHIFT’ key method for on both internal and external walls.
12. To navigate through the folders use the icons below
