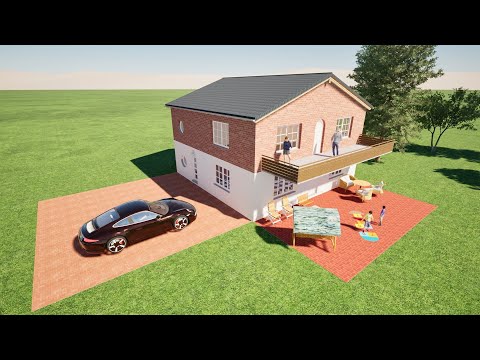
Before you can create an accurate floor plan, you need accurate measurements of your house. A good floor plan is not based on guessing. It is based on real wall lengths, room sizes, door positions, window positions, ceiling heights, and fixed elements such as stairs, fireplaces, built-in cabinets, plumbing fixtures, and columns.
Measuring your house may sound simple, but small mistakes can create big problems later. A wall that is measured a few inches too short can make a kitchen layout unrealistic. A door in the wrong position can affect furniture placement. A missing window can change the entire room design.
The good news is that you do not need to be an architect to measure your house for a floor plan. With the right method, a tape measure or laser measure, and planning software such as Plan7Architect Pro, homeowners can create a reliable existing floor plan before starting a renovation, remodel, addition, or redesign.
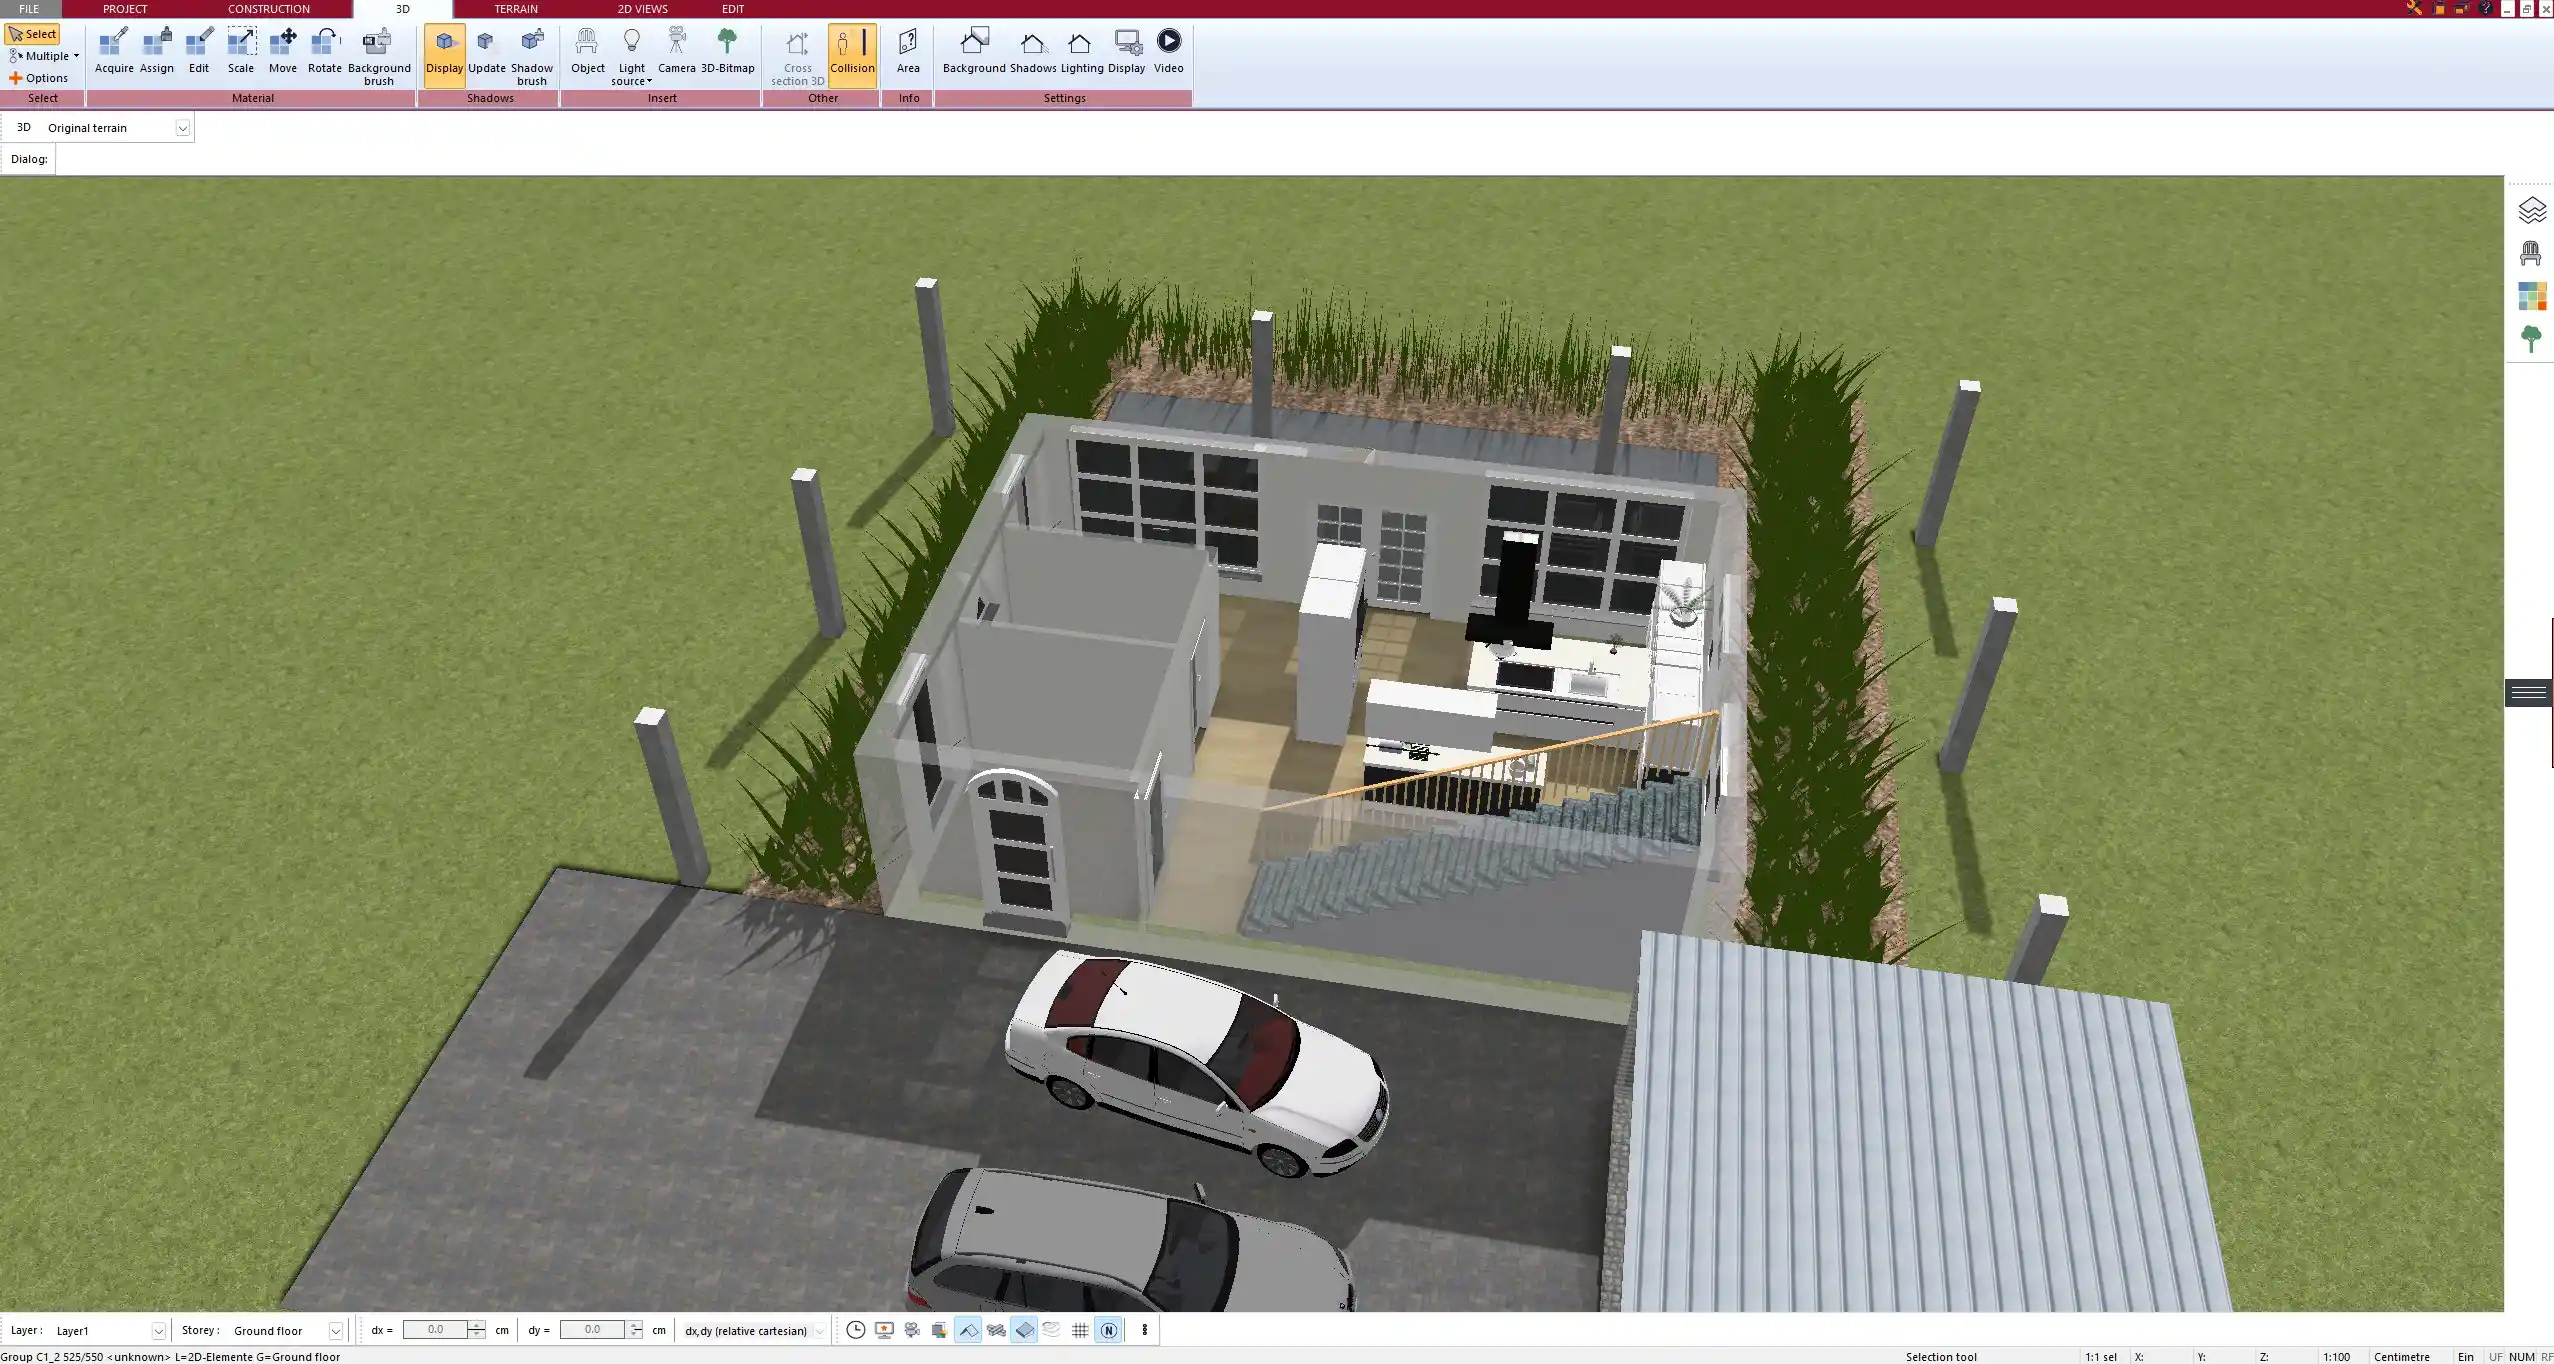
What You Need Before Measuring
Before you start, prepare a few basic tools:
- Tape measure or laser distance measurer
- Pencil and paper
- Clipboard or notebook
- Smartphone or camera
- Existing house plans if available
- A helper, if possible
- Floor plan software for the digital version
A laser measure is very useful for longer rooms because it is faster and usually more accurate than a tape measure. A tape measure is still helpful for smaller details such as door widths, wall thicknesses, window openings, and furniture clearances.
If you already have an old drawing of your home, use it as a starting point, but do not trust it blindly. Older plans may be incomplete, outdated, or different from the actual built condition. If you do not have any existing drawings, this guide on where to get a floor plan of your house can help.
Start with a Rough Sketch
Do not start by measuring every detail immediately. First, make a rough sketch of the floor layout.
The sketch does not need to be beautiful. It only needs to show the basic room arrangement. Draw the outside shape of the house, then add the rooms, doors, windows, stairs, and important fixed elements.
Label each room clearly:
- Living room
- Kitchen
- Bedroom
- Bathroom
- Hallway
- Entry
- Utility room
- Garage
- Basement
- Storage room
This rough sketch becomes your measuring sheet. You will write the measurements directly onto it.
If you are new to floor plans, it may help to first read this basic guide on how to draw a floor plan.
Measure the Outside Walls First
If possible, start with the exterior dimensions of the house. These measurements define the overall building footprint.
Measure:
- Total width of the house
- Total length of the house
- Any projections or setbacks
- Porches, bay windows, garages, or extensions
- Exterior wall segments if the shape is not rectangular
Exterior measurements are useful because they help you check whether your interior room measurements make sense. If the inside measurements do not match the outside dimensions, you may have missed wall thickness, a closet, a shaft, or another space.
For detached houses, exterior measurement is usually easier. For apartments, townhouses, or attached homes, you may not be able to measure all outside walls. In that case, focus on accurate interior measurements.
Measure Each Room Wall by Wall
Now measure every room individually.
For each room, measure:
- Wall length
- Wall-to-wall room size
- Door location
- Window location
- Built-in elements
- Ceiling height
- Any unusual corners or niches
Always measure along the wall, not diagonally across the room. Write each measurement on your rough sketch immediately.
For rectangular rooms, measure length and width. For irregular rooms, split the space into smaller straight wall segments and measure each one separately.
Do not assume opposite walls are exactly the same length. Older houses are often not perfectly square.
Measure Doors and Openings
Doors affect the floor plan more than many homeowners expect. They influence traffic flow, furniture placement, and room usability.
Measure:
- Door width
- Door position from the nearest wall
- Door swing direction
- Opening width if there is no door
- Sliding door width if present
- Exterior door locations
Mark the swing direction on your sketch. This helps you avoid layouts where doors hit furniture, cabinets, vanities, or other doors.

Measure Windows
Windows should also be measured carefully.
Measure:
- Window width
- Position from the nearest wall
- Height from the floor to the window sill
- Total window height if needed
- Direction the window faces, if relevant
Window positions are important for furniture, kitchen cabinets, bathroom layouts, natural light, and exterior appearance.
For example, a kitchen design may not work if a window is lower or wider than expected. A bedroom layout may change if the bed cannot be placed under or beside a window.
Measure Wall Thickness Where Possible
Wall thickness is often forgotten, but it matters for accurate floor plans.
Interior walls, exterior walls, and load-bearing walls may have different thicknesses. If you only measure room interiors, you may still need to estimate or check wall thickness to create a realistic digital plan.
Measure wall thickness at door openings if possible. This is usually the easiest place to see the thickness of an interior wall.
Wall thickness is especially important for renovations, additions, and layouts where every inch matters. You can learn more in this guide about wall thickness for interior, exterior, and load-bearing walls.
Measure Stairs and Fixed Elements
Fixed elements are anything that cannot easily move.
These may include:
- Stairs
- Fireplaces
- Chimneys
- Columns
- Built-in cabinets
- Kitchen plumbing
- Bathroom fixtures
- Utility areas
- Radiators
- Electrical panels
- Structural posts
Measure their location and size. These elements often affect what is possible in a renovation.
Stairs are especially important because they connect floors and affect openings, circulation, and room layouts. Do not just mark “stairs” on the plan. Measure the stair width, length, direction, and landing if present.
Measure Ceiling Heights
A basic floor plan mainly shows the layout from above, but ceiling height is still useful information.
Measure ceiling heights in:
- Main rooms
- Basement
- Attic
- Converted spaces
- Rooms with sloped ceilings
- Split-level areas
- Stair areas
Ceiling height becomes especially important when planning attic conversions, basement renovations, extensions, stairs, or 3D visualization.
Take Photos While Measuring
Photos help you remember details later. Take pictures of each room from several angles.
Also photograph:
- Doors
- Windows
- Stairs
- Corners
- Built-in elements
- Utility areas
- Wall openings
- Unusual details
Photos are useful when you create the digital floor plan later. They also help if you need to discuss the project with a contractor or architect.
Check Your Measurements
After measuring the rooms, check whether the numbers make sense.
Compare:
- Total room widths with the overall building width
- Interior measurements with exterior measurements
- Opposite walls in rectangular rooms
- Door and window positions
- Hallway widths
- Wall thicknesses
- Stair position between floors
If something does not match, measure again. It is normal to find small differences, especially in older homes. But large differences usually mean that something was missed or measured incorrectly.
Create the Digital Floor Plan
Once the measurements are complete, transfer them into floor plan software.
With Plan7Architect Pro, you can enter the measured dimensions, draw walls, add doors and windows, set wall thicknesses, place stairs, add room labels, and create a clean 2D floor plan. You can also view the result in 3D, which makes it easier to see whether the layout matches the real house.
This is helpful because a handwritten sketch is only a working document. A digital floor plan is much easier to edit, share, print, and use for renovation planning.
If you want your drawing to be accurate, make sure the plan is created to scale. This guide explains how to create a floor plan to scale.
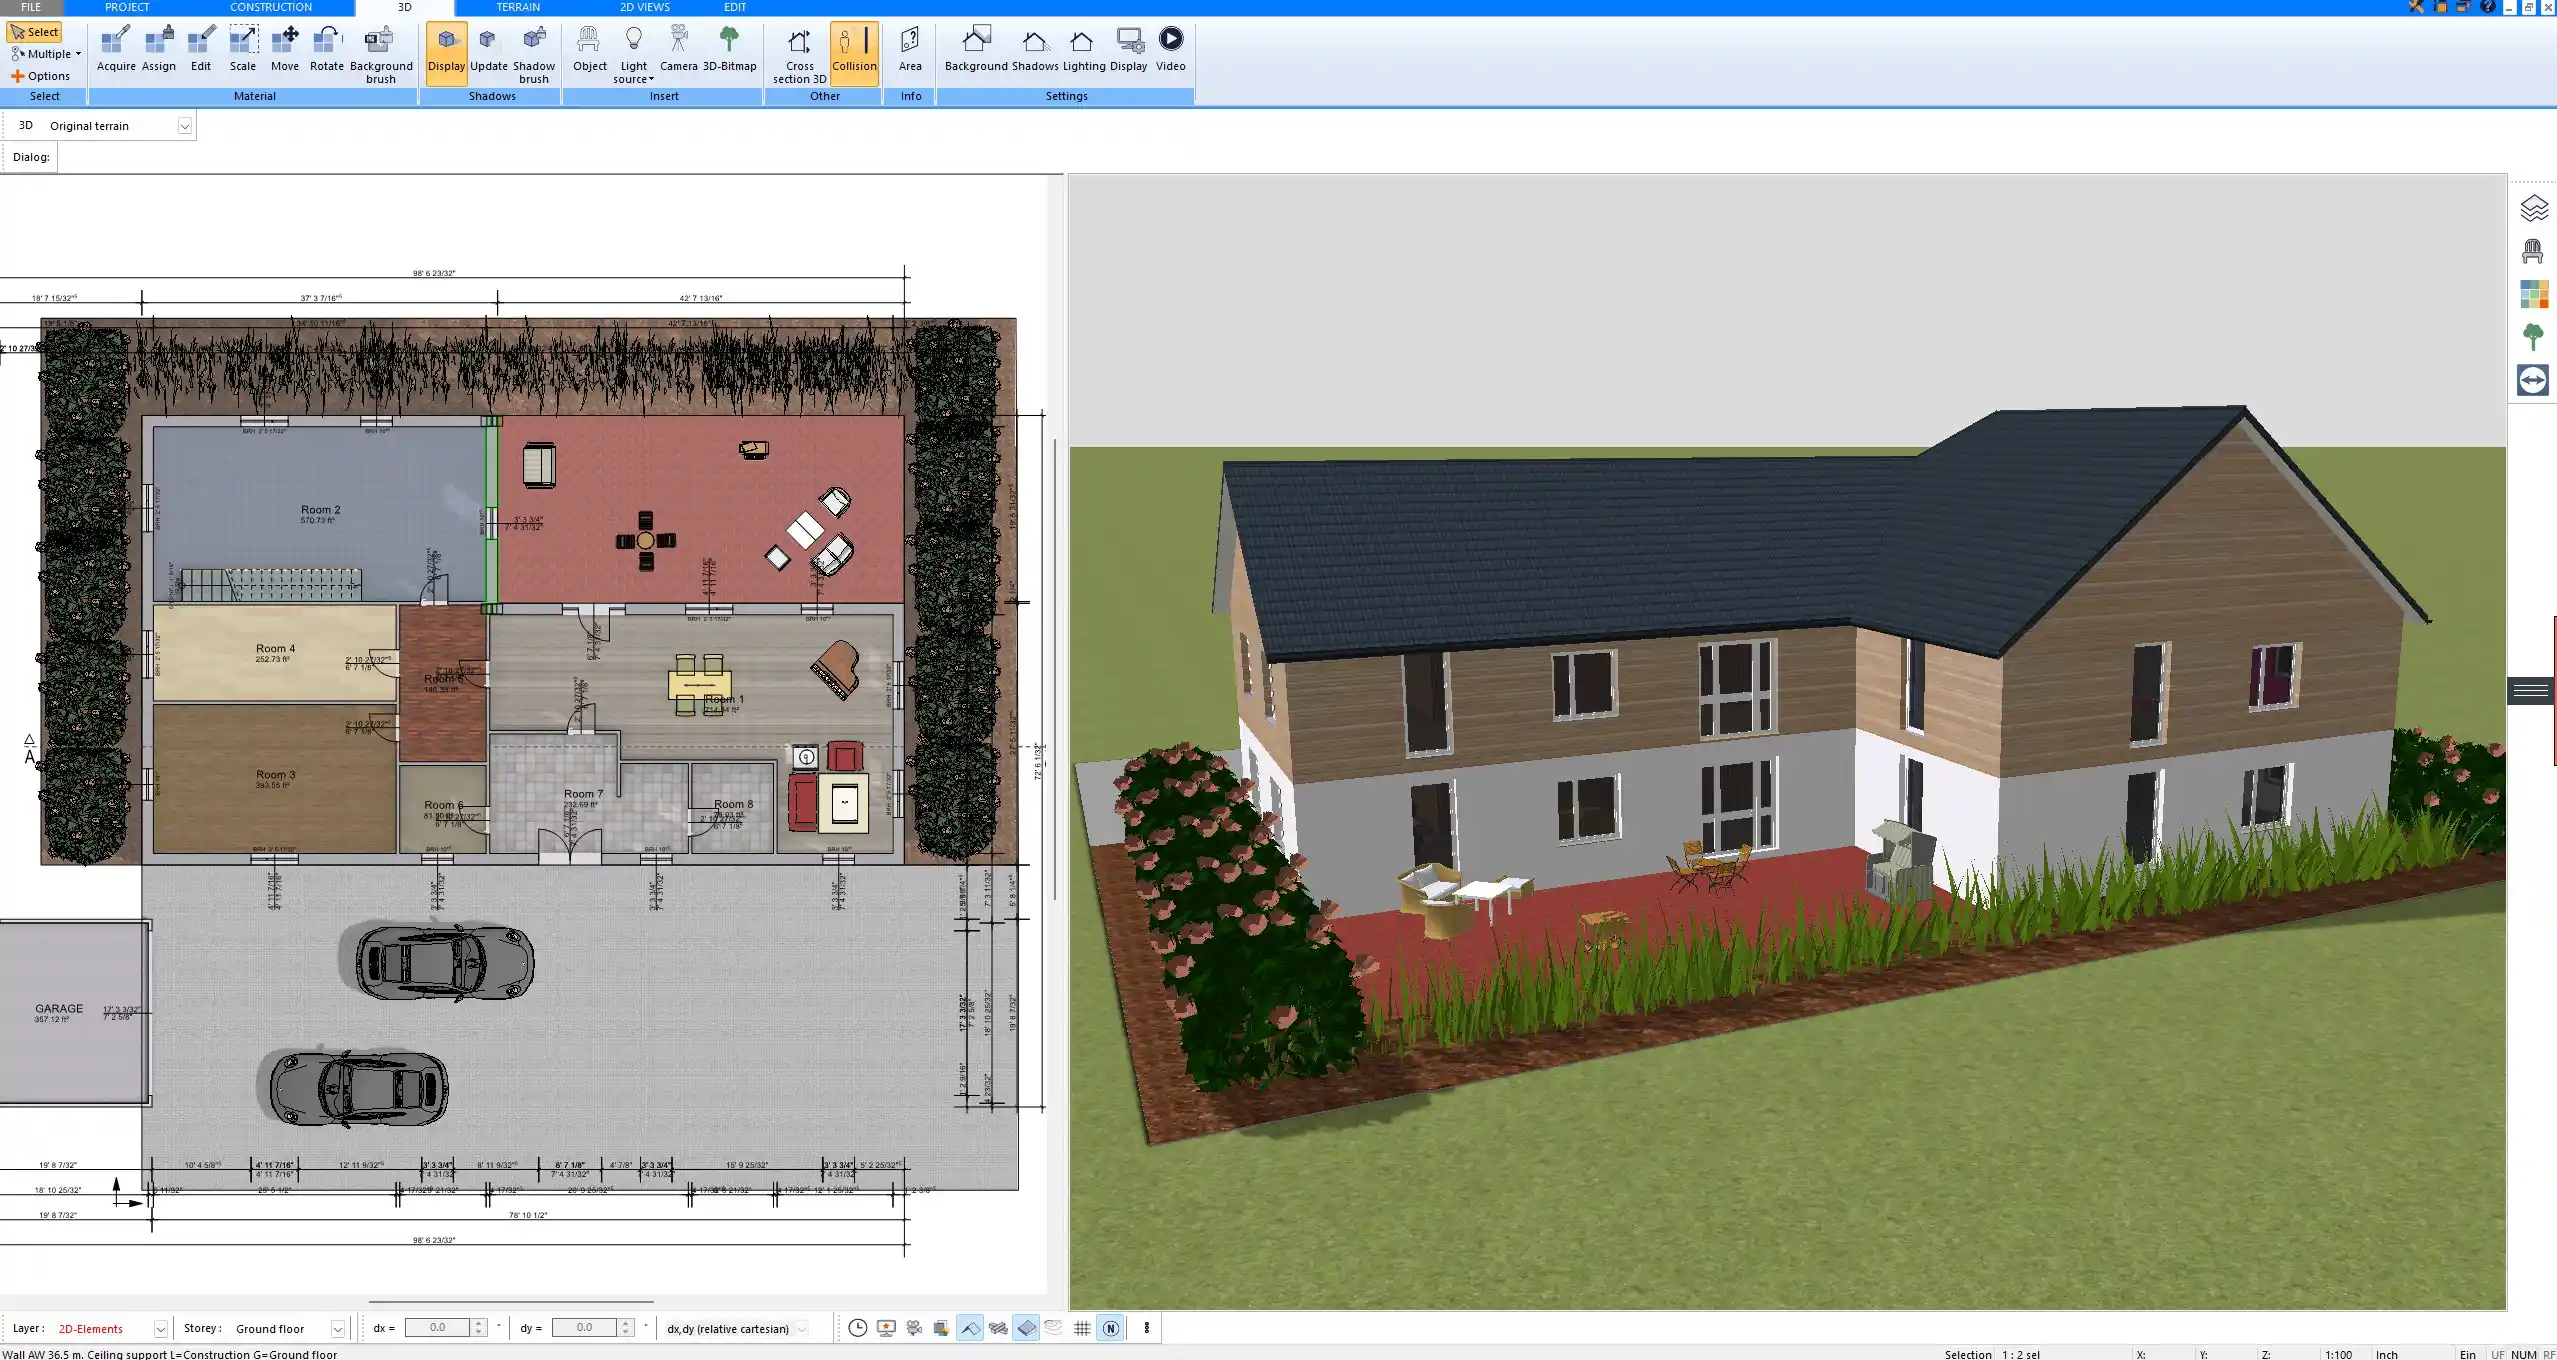
Add Dimensions to the Floor Plan
A measured floor plan should include dimension lines. These make the plan much easier to understand.
Useful dimensions include:
- Overall building length and width
- Room dimensions
- Wall lengths
- Door and window positions
- Hallway widths
- Stair dimensions
- Important fixed elements
Plan7Architect Pro allows you to create dimensioned floor plans that are much clearer than rough sketches. For more detail, this guide explains how to create floor plans with dimensions.
Use an Existing Plan or Image as a Starting Point
If you already have an old floor plan, scanned drawing, PDF, or image, you may be able to use it as a reference. You can import the image and trace over it to recreate the layout digitally.
This can save time, especially if the old plan is mostly correct but not editable.
Plan7Architect allows you to import a floor plan image and trace over it. After tracing, you can adjust the walls, add accurate dimensions, and update the plan based on your real measurements.
Common Measuring Mistakes
Avoid these common mistakes:
- Measuring only one wall and assuming the opposite wall is identical
- Forgetting wall thickness
- Forgetting door swing direction
- Measuring windows but not their position
- Not measuring ceiling heights
- Ignoring stairs and fixed elements
- Not checking measurements against the total building size
- Relying completely on old plans without verifying them
- Forgetting to mark which measurements are uncertain
The goal is not perfection down to the last millimeter. The goal is a reliable plan that reflects the real house closely enough for planning, renovation discussions, and design decisions.
Simple House Measuring Checklist
Before you finish, make sure you have measured:
- Exterior house dimensions if possible
- Every room length and width
- Wall thicknesses where visible
- Door widths and positions
- Door swing directions
- Window widths and positions
- Ceiling heights
- Stairs
- Hallways
- Bathrooms and kitchen fixtures
- Built-in elements
- Utility areas
- Unusual corners, niches, or offsets
Once this information is collected, you have a strong base for creating a useful floor plan.
Final Answer: How Do You Measure Your House for a Floor Plan?
To measure your house for a floor plan, start with a rough sketch, measure the exterior dimensions if possible, then measure each room wall by wall. Add doors, windows, stairs, ceiling heights, wall thicknesses, and fixed elements. Take photos, check the measurements, and then transfer everything into floor plan software.
With Plan7Architect Pro, you can turn your measurements into a clean 2D floor plan, add dimensions, view the house in 3D, and use the plan for renovation, remodeling, contractor discussions, or future design work.
Accurate measuring is the foundation of a good floor plan. The better the measurements, the more useful the plan will be.
Plan your project with Plan7Architect

Plan7Architect Pro 5 for $169.99
You don’t need any prior experience because the software has been specifically designed for beginners. The planning process is carried out in 5 simple steps:
1. Draw Walls

2. Windows & Doors

3. Floors & Roof

4. Textures & 3D Objects

5. Plan for the Building Permit

6. Export the Floor Plan as a 3D Model for Twinmotion

- – Compliant with international construction standards
- – Usable on 3 PCs simultaneously
- – Option for consultation with an architect
- – Comprehensive user manual
- – Regular updates
- – Video tutorials
- – Millions of 3D objects available
Why Thousands of Builders Prefer Plan7Architect
Why choose Plan7Architect over other home design tools?