3D CAD interior design software allows users to plan and visualize rooms in both 2D and 3D, making it an essential tool for homeowners, designers, and architects. With such software, you can create precise room layouts, add furniture and fixtures, and apply realistic materials to see exactly how a space will look before making any physical changes. The advantage of using a 3D CAD solution is that it eliminates guesswork and provides a clear, detailed representation of your design.
Key Features of a Good 3D CAD Interior Design Software
A reliable 3D CAD interior design software should include the following essential features:
- User-Friendly Interface – The software should have intuitive controls, allowing users to easily draw walls, place furniture, and apply materials without extensive training.
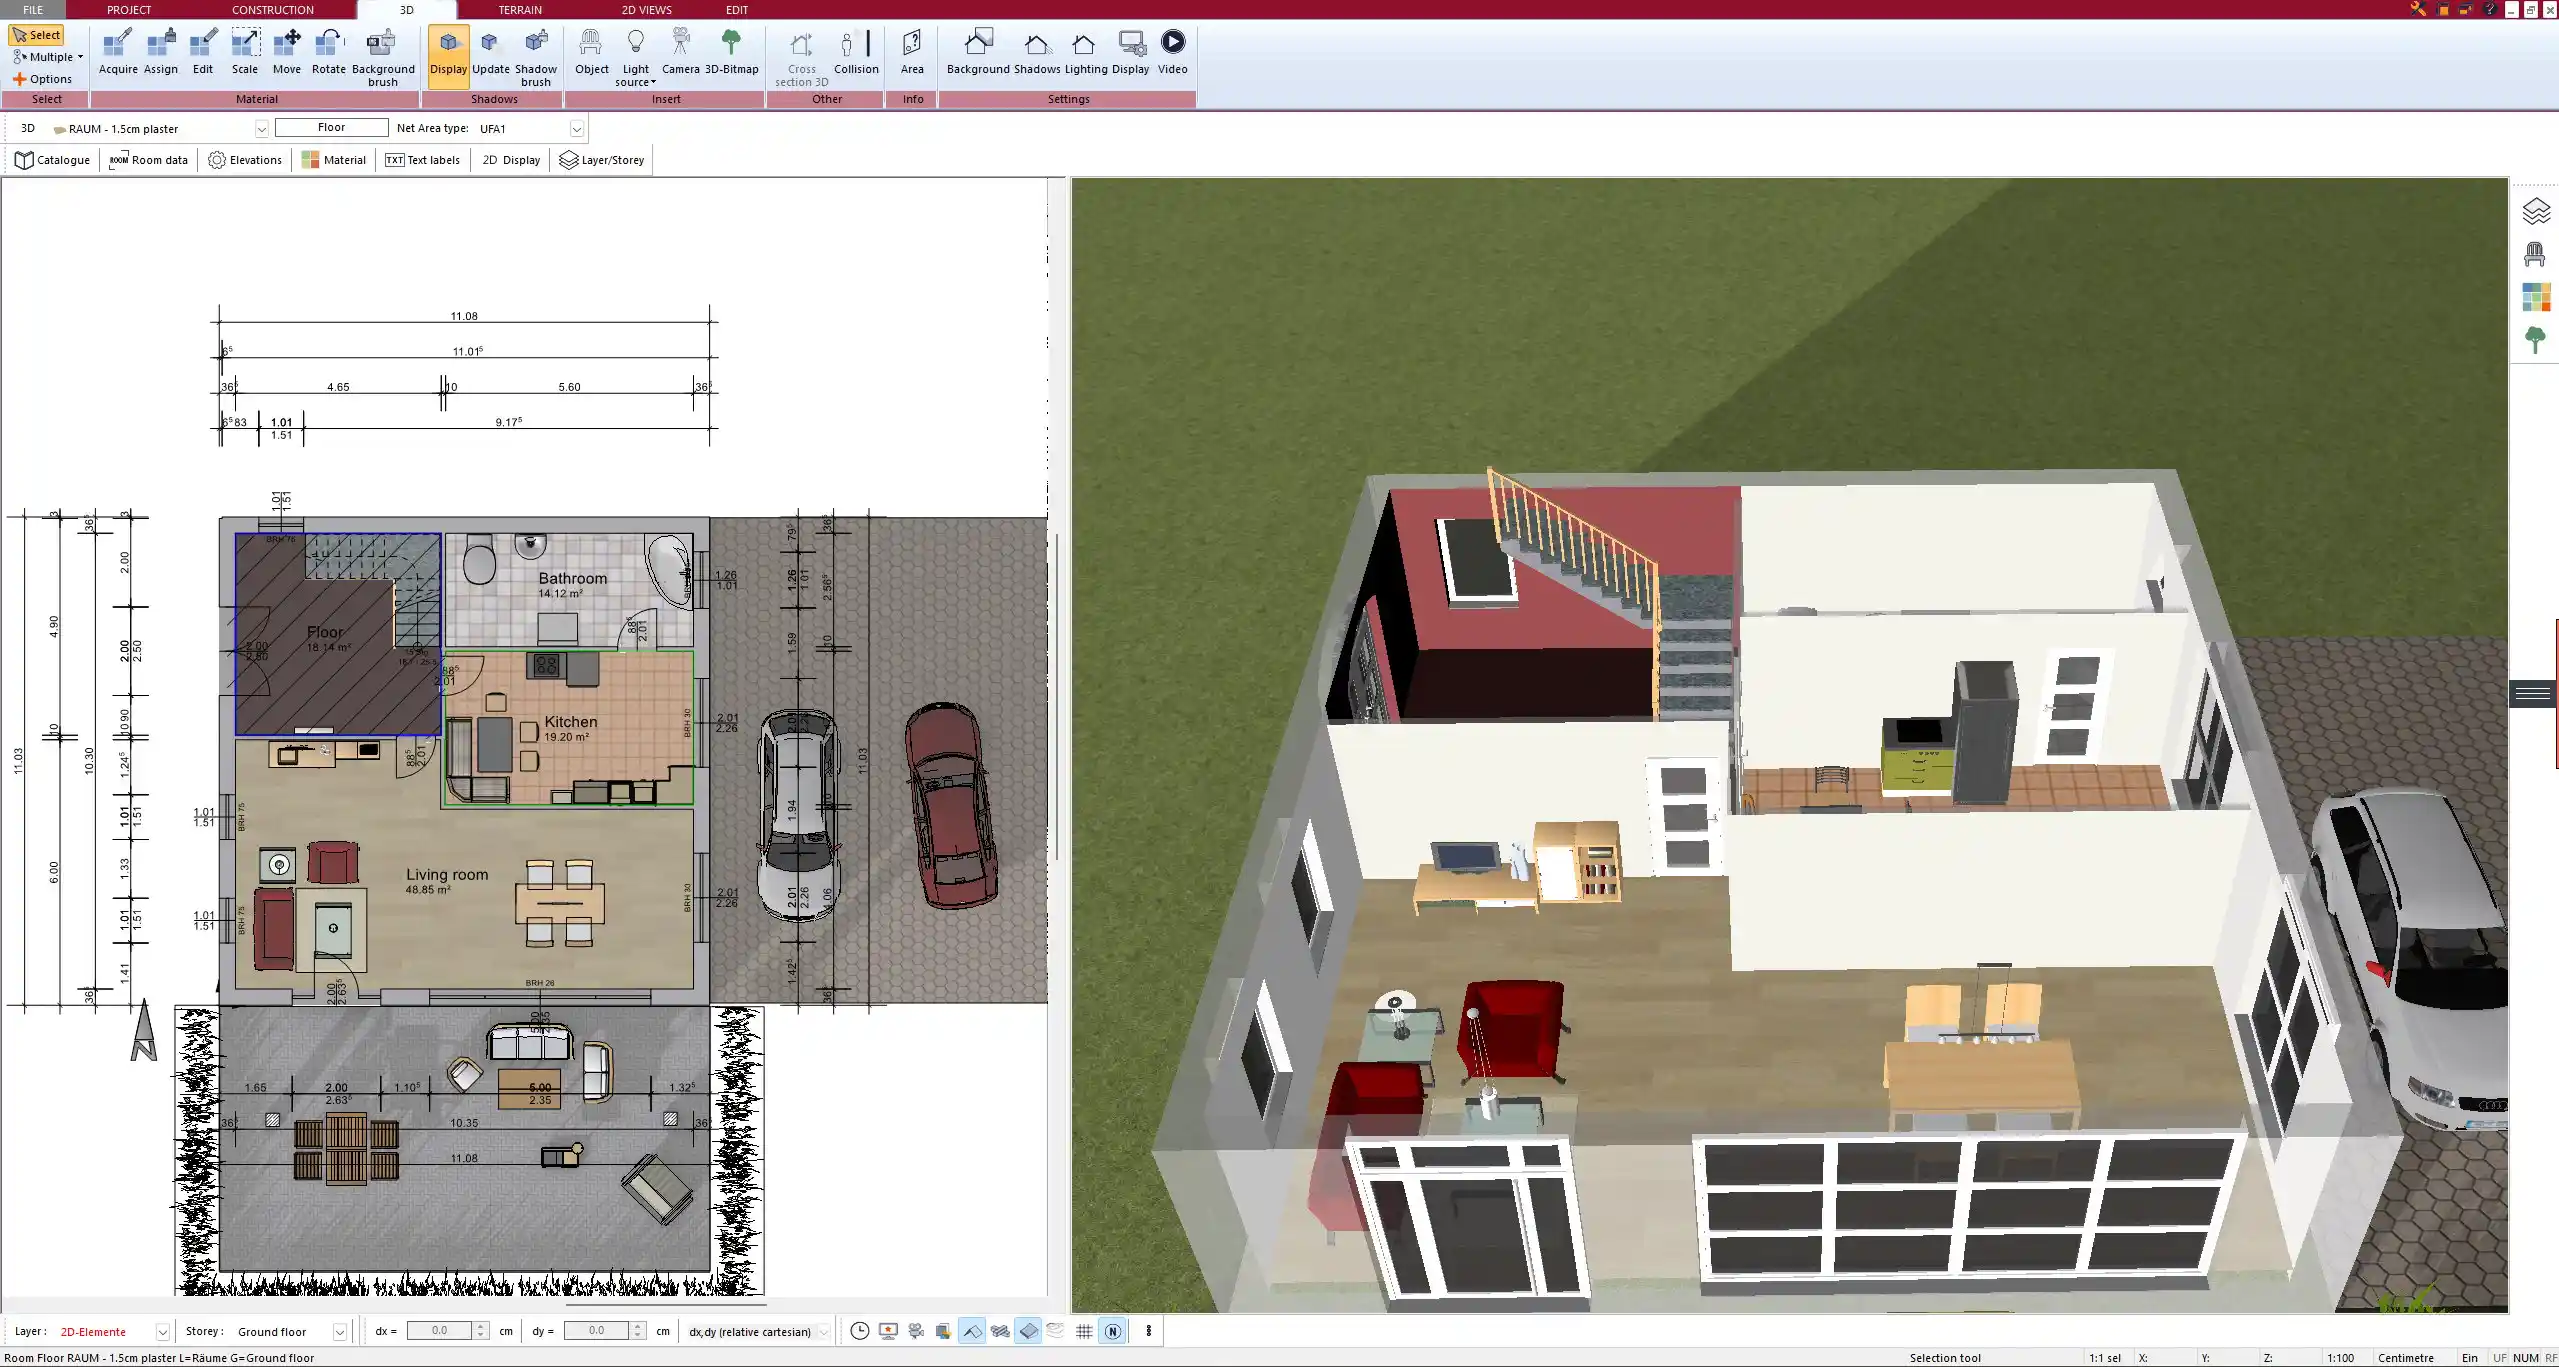
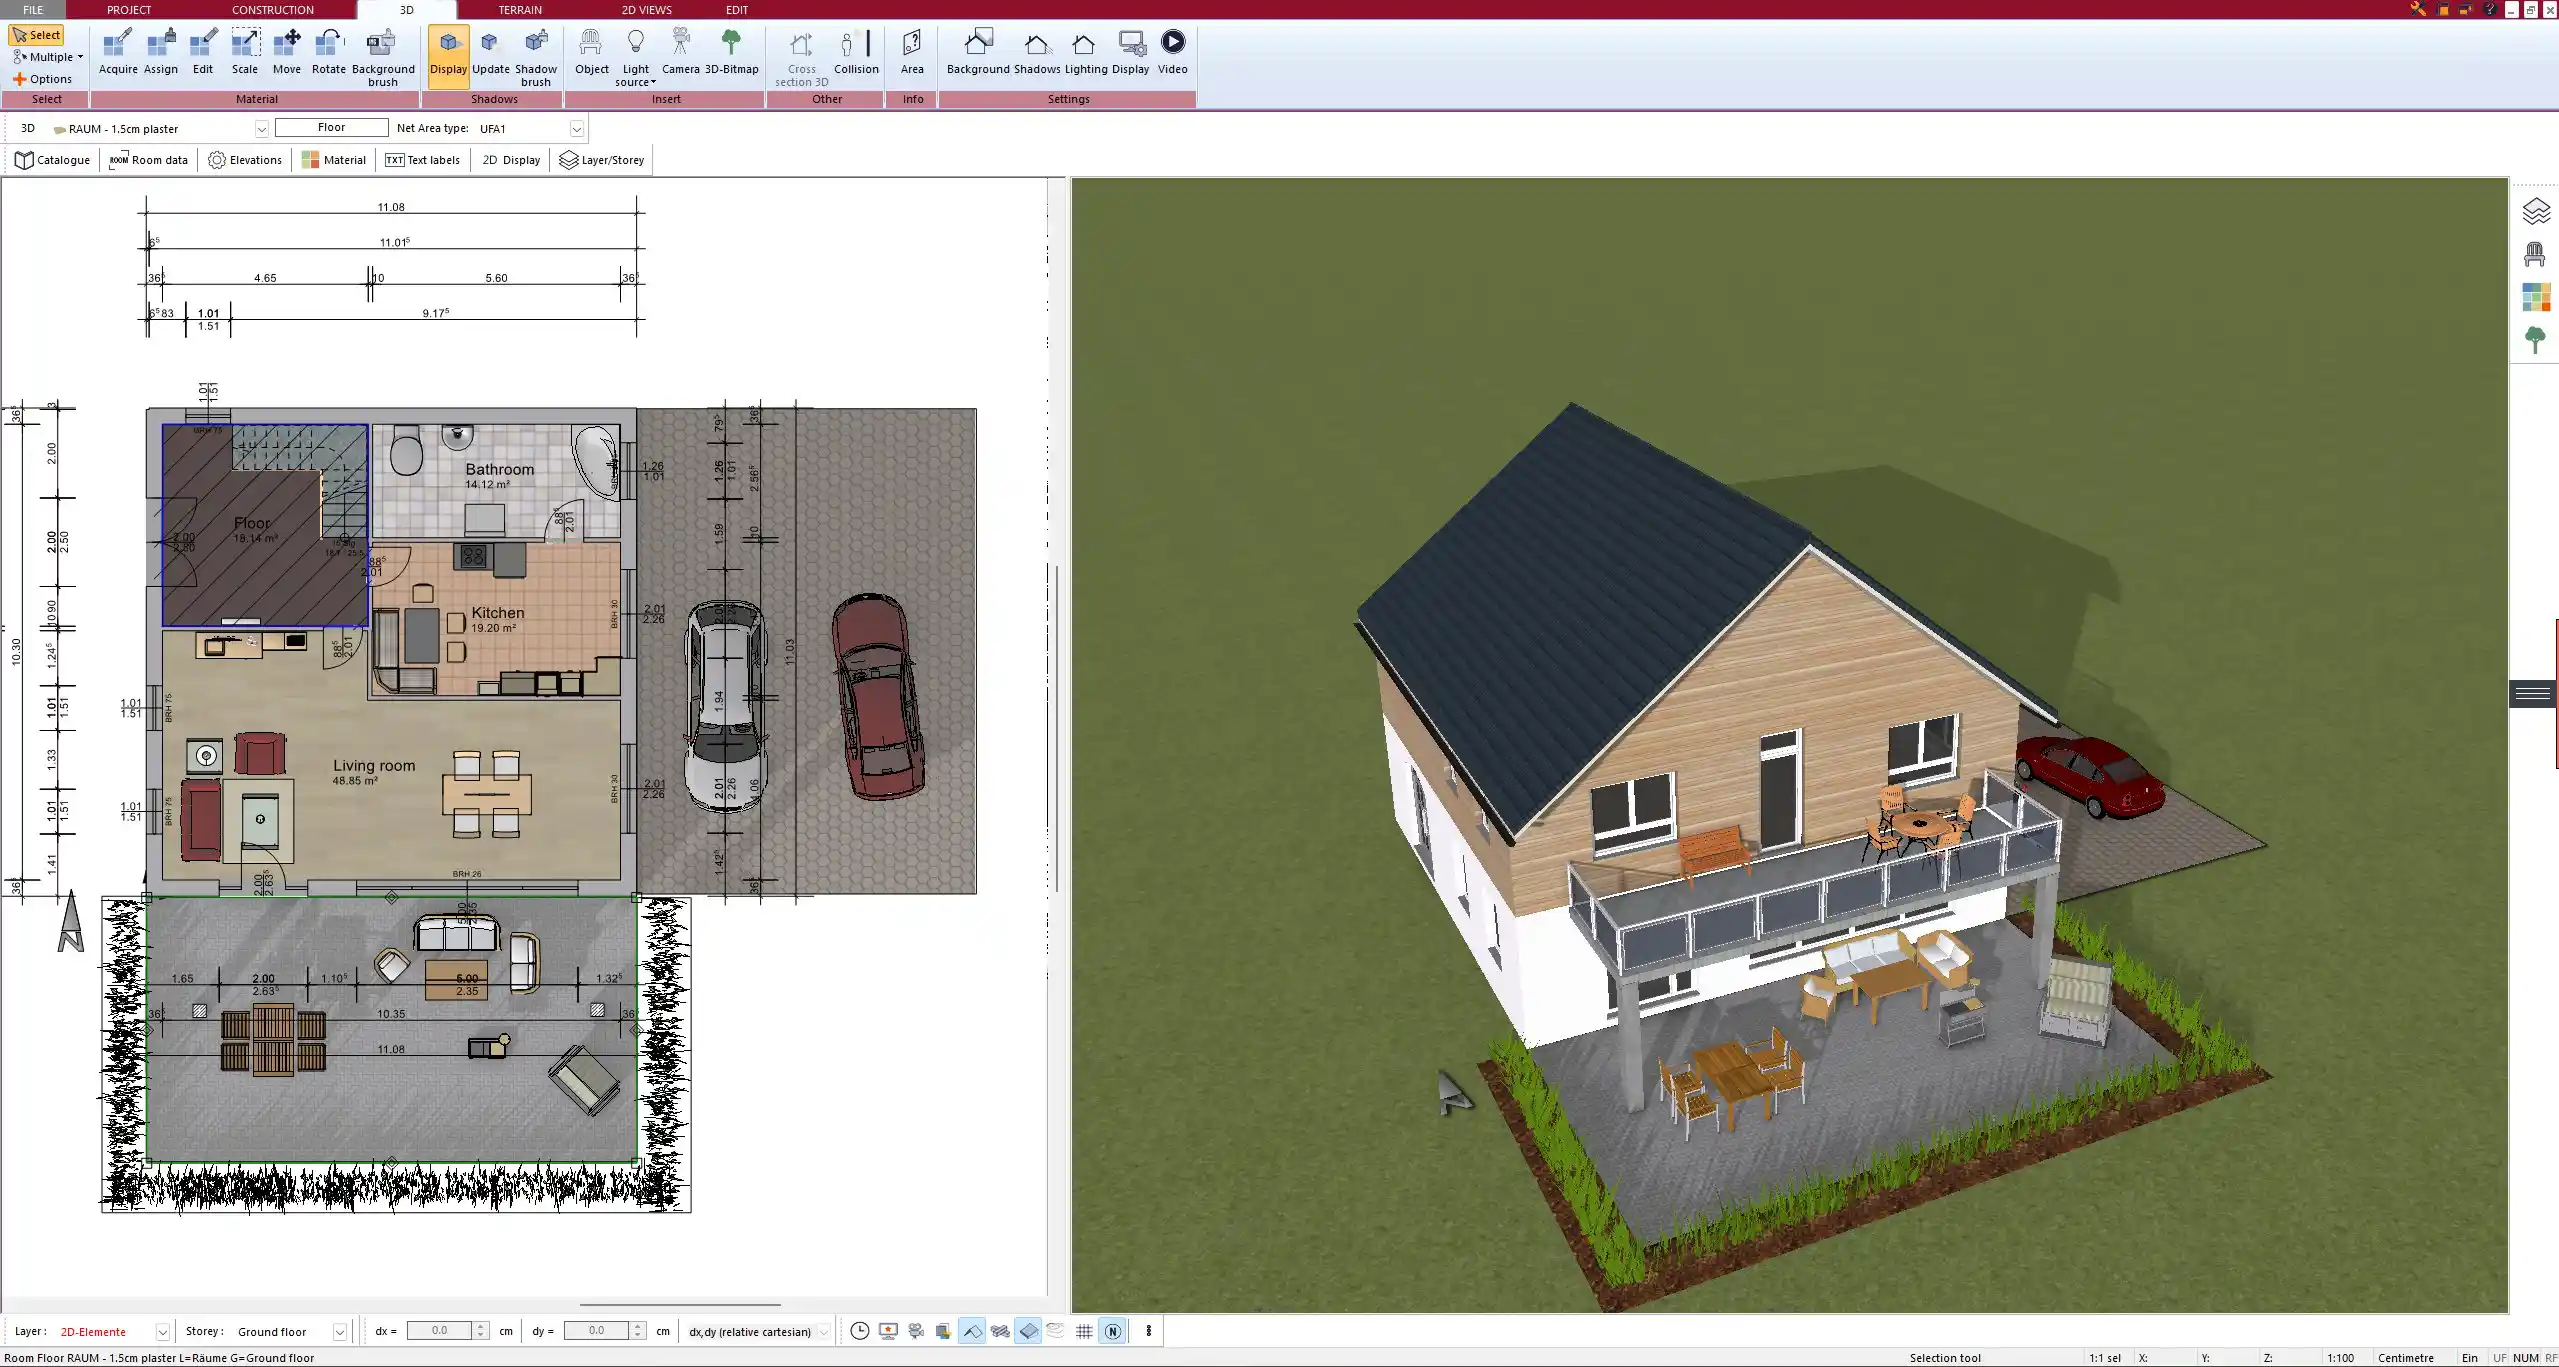
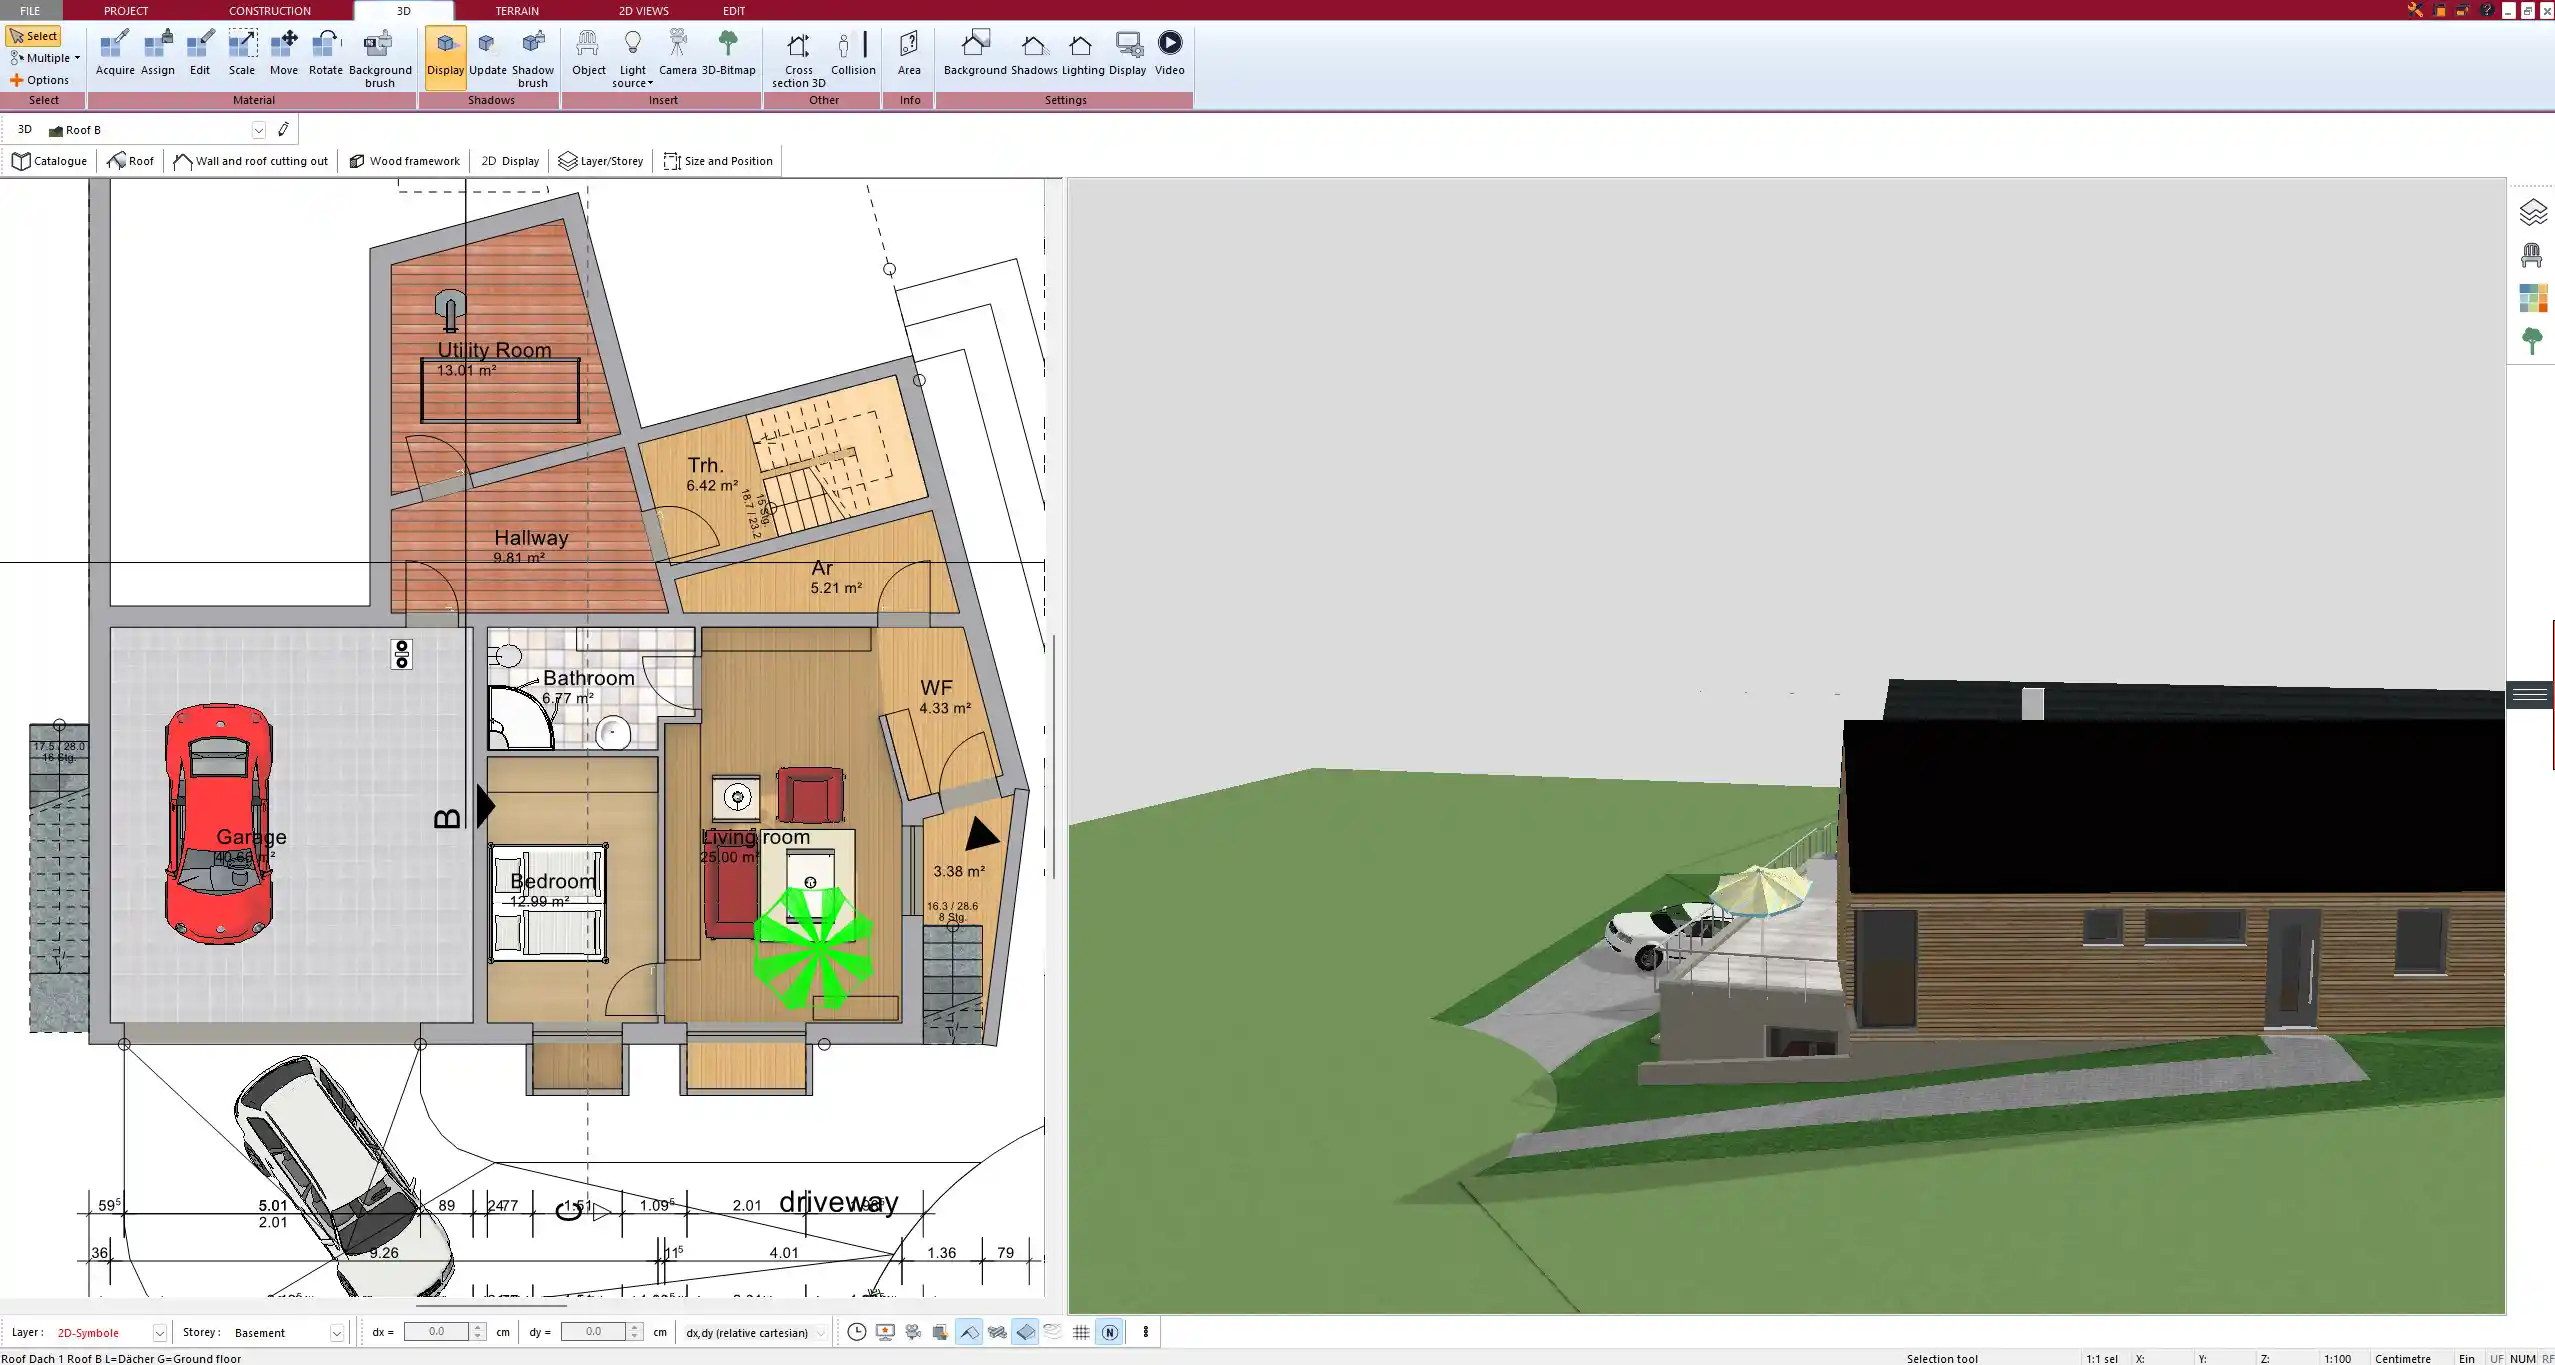
- 2D & 3D Visualization – A good program lets users switch between 2D blueprint mode and realistic 3D views to get a full perspective of the design.
- Measurement Units – The ability to toggle between metric (square meters) and imperial (square feet) measurements ensures international usability.
- Extensive Object Library – A well-equipped software includes a broad selection of furniture, doors, windows, and decorative items to create a complete room layout.
- Customization Options – Walls, floors, colors, and materials should be easily adjustable to match personal or client preferences.
- Real-Time Rendering – Advanced rendering features allow for high-quality previews with accurate lighting and material textures.
- Import & Export Features – Compatibility with file formats like DWG, DXF, and 3D models allows for smooth integration with other design tools.
- Multi-Platform Availability – Some software options provide both desktop and cloud-based versions for added flexibility.
How to Plan a Room Using 3D CAD Software
Step 1: Define the Room Layout
Start with an empty workspace or import an existing blueprint. Set the dimensions of your room in either metric or imperial units. Many 3D CAD software solutions allow switching between measurement systems with a single setting change.
Step 2: Add Walls, Doors, and Windows
Use drag-and-drop tools to create walls, adjust their thickness, and add openings for doors and windows. Some software provides automatic wall snapping and alignment tools to ensure precision.
Step 3: Furnish the Space
Select from a library of furniture, cabinets, and appliances to place in the room. Many software options offer resizing and repositioning features to fine-tune the layout.
Common Furniture Categories in 3D CAD Software:
| Category | Examples |
|---|---|
| Seating | Sofas, armchairs |
| Storage | Wardrobes, shelves |
| Tables | Dining, coffee tables |
| Appliances | Ovens, refrigerators |
| Decorations | Rugs, paintings |
Step 4: Customize Colors, Materials, and Textures
Apply realistic materials to surfaces such as wood, marble, or fabric. Some software includes customizable lighting to test different illumination setups.
Step 5: Switch Between 2D and 3D Views
Check both the technical 2D blueprint and the immersive 3D model to ensure accuracy and aesthetics.
Step 6: Export and Share the Design
Save your design in various formats or generate high-resolution images for presentations. Many programs also offer 3D walkthrough features.
Best Use Cases for 3D CAD Interior Design Software
Homeowners & DIY Enthusiasts
For those planning a renovation, 3D CAD software offers a risk-free way to visualize changes before committing to a design.
Interior Designers
Professional designers can create and present multiple layout options to clients, making collaboration easier.
Architects & Builders
Architects use 3D CAD tools to integrate interior designs into larger projects, ensuring functional and aesthetic consistency.
Real Estate Professionals
Real estate agents and developers can create 3D models of rooms and homes, offering potential buyers virtual walkthroughs.
Why Choose Plan7Architect for Interior Design?
- Supports both metric and imperial units, making it adaptable for global users.
- Offers high-quality 3D rendering for a realistic preview of interior spaces.
- Provides an extensive library of furniture, materials, and decor items.
- Intuitive interface for both beginners and experienced designers.
- Allows seamless import and export of design files for professional use.
Plan your project with Plan7Architect

Plan7Architect Pro 5 for $99.99
You don’t need any prior experience because the software has been specifically designed for beginners. The planning process is carried out in 5 simple steps:
1. Draw Walls

2. Windows & Doors

3. Floors & Roof

4. Textures & 3D Objects

5. Plan for the Building Permit

6. Export the Floor Plan as a 3D Model for Twinmotion

- – Compliant with international construction standards
- – Usable on 3 PCs simultaneously
- – Option for consultation with an architect
- – Comprehensive user manual
- – Regular updates
- – Video tutorials
- – Millions of 3D objects available


