How to Plan a Garden with 3D CAD Software
With Plan7Architect, you can create a professional 2D and 3D garden design with ease. Whether you are planning a private garden, a landscaped park, or a commercial outdoor area, this software provides everything needed for precise layout, object placement, and terrain modeling.
Instead of relying on rough sketches, 3D CAD planning allows for exact measurements, realistic 3D visualization, and accurate positioning of elements like trees, patios, and water features. You can switch between European and American measurement units, ensuring flexibility no matter where you are designing.
Key Features of Plan7Architect for Garden Planning
2D Layout & 3D Visualization
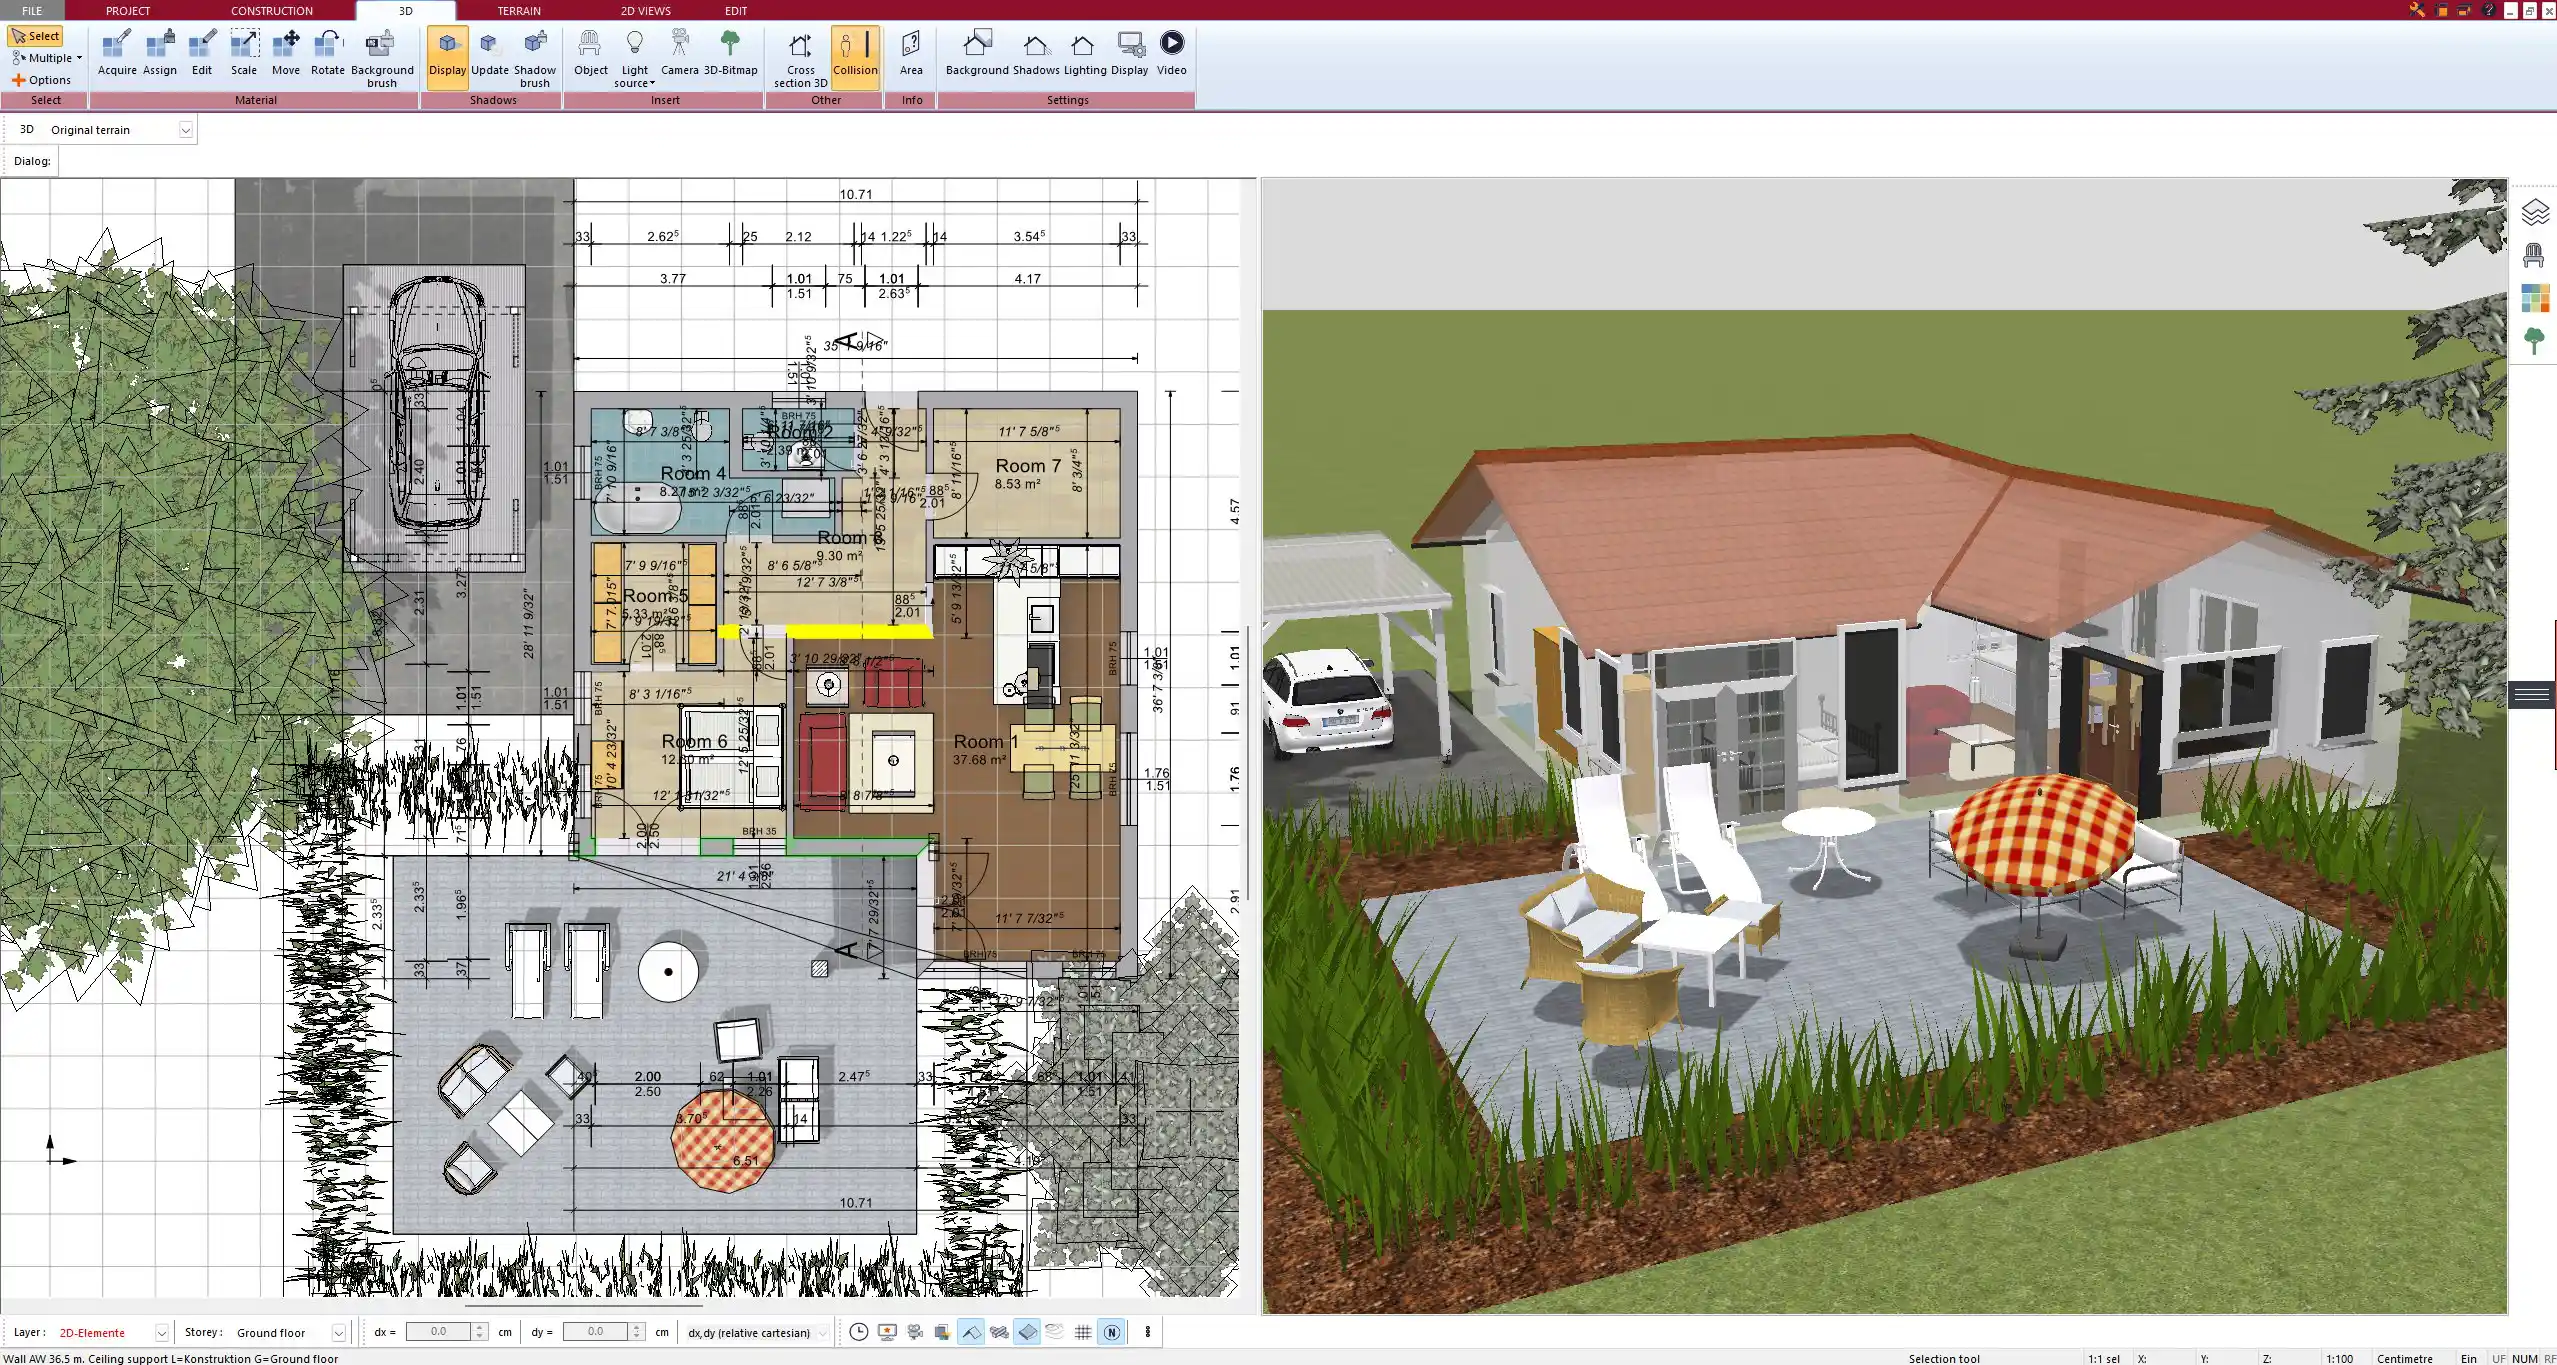
Plan7Architect enables you to design in 2D for precise planning and then instantly switch to 3D mode to see how your garden will look in reality. This allows for better spatial understanding, making it easy to adjust paths, planting areas, and structures before implementation.
Extensive Object Library
The software includes a wide range of outdoor elements, such as:
- Plants and Trees (various species with different growth stages)
- Lawn, Flower Beds & Hedges
- Ponds, Fountains & Water Features
- Outdoor Furniture & Lighting
- Pathways, Paving Stones & Driveways
- Fences, Walls & Gates
Topography & Terrain Modeling
Not all gardens are on flat ground. Plan7Architect allows for adjustments in terrain levels, making it possible to simulate slopes, raised beds, and different elevation changes. This is particularly useful for:
- Sloped gardens that require retaining walls or terraces
- Hills and valleys in large landscape projects
- Artificial ponds that require depth modeling
Automatic Sunlight Simulation
Lighting is an essential part of garden design. Plan7Architect offers a real-time sunlight simulation, allowing you to see how shadows fall at different times of the day. This is helpful when positioning:
- Trees for natural shading
- Pergolas and seating areas
- Solar-powered lighting systems
Water & Irrigation Planning
To create a functional and sustainable garden, the software allows for the integration of:
- Irrigation systems, including drip lines and sprinklers
- Drainage systems to prevent waterlogging
- Water features like ponds and fountains with realistic flow simulation
Import & Export Options
You can import existing property maps for reference or export completed designs as:
- PDF files for printing
- DWG files for further CAD processing
- Image files for sharing with clients or contractors
Step-by-Step Guide: Designing a Garden in Plan7Architect
Step 1: Start with a Base Layout
- Open Plan7Architect and select the garden planning mode.
- Import an existing site plan or draw the property boundaries manually.
- Define the overall dimensions of the garden area, ensuring measurements are in the preferred unit (metric or imperial).
Step 2: Define Zones & Features
- Allocate specific areas for:
- Lawn and greenery
- Flower beds and hedges
- Patios and terraces
- Driveways and parking spaces
- Use grid snapping to align pathways and seating areas symmetrically.
Step 3: Add Trees, Plants & Landscaping Elements
- Choose from a wide selection of trees and plants available in the object library.
- Place bushes, hedges, and seasonal flowers in different areas.
- Adjust plant size and density based on expected growth.
Step 4: Place Outdoor Structures
- Design gazebos, pergolas, greenhouses, and garden sheds.
- Add benches, tables, fire pits, and barbecues.
- Modify materials and colors for customization.
Step 5: Adjust Terrain & Elevation
- Raise or lower the ground level for a more dynamic landscape.
- Create small hills, terraces, and retaining walls for structured design.
- Plan ponds and artificial water bodies with realistic depth settings.
Step 6: Visualize in 3D & Adjust Lighting
- Switch to 3D mode to check proportions and placements.
- Activate sunlight simulation to see natural light effects.
- Add lamps and outdoor lighting for nighttime views.
Step 7: Finalize & Export the Plan
- Perform a final check of all elements.
- Export the plan as a printable PDF or CAD file.
- Share the project with landscapers or construction teams.
Advantages of Using Plan7Architect for Garden Planning
| Feature | Benefit |
|---|---|
| User-Friendly Interface | Intuitive tools for easy navigation |
| High-Level Accuracy | Ensures exact placement of elements |
| Customizable Objects | Modify trees, furniture, and pathways |
| Realistic 3D Rendering | Get a clear preview before construction |
| Multi-Unit Support | Works with both metric and imperial systems |
Additional Tips for Effective Garden Planning
Consider Climate & Plant Compatibility
Not all plants thrive in every climate. When selecting trees and flowers, make sure they are suited to the local weather conditions.
Use Zoning for Functionality
A well-structured garden should include different zones, such as:
- Relaxation areas with benches and lounges
- Active spaces for kids’ play areas
- Vegetable and herb gardens for self-sufficient gardening
Plan for Future Growth
Trees and plants grow over time. Leave sufficient space between elements to prevent overcrowding as plants mature.
Check Local Building Codes
Before installing fences, gazebos, or large garden structures, check local regulations to ensure compliance.
Conclusion & Software Recommendation
If you want to design a professional and visually appealing garden, Plan7Architect provides the perfect tools for both beginners and experts. The ability to plan in 2D and visualize in 3D, combined with accurate terrain adjustments, makes it an ideal choice for outdoor planning.
With Plan7Architect, you can create a complete garden layout, adjust measurements for European or American standards, and generate realistic renderings before making any physical changes.
The software offers a 14-day cancellation policy, allowing you to test its features without risk. If you’re looking for an intuitive yet powerful 3D CAD garden planning solution, Plan7Architect is the best choice.
Plan your project with Plan7Architect

Plan7Architect Pro 5 for $99.99
You don’t need any prior experience because the software has been specifically designed for beginners. The planning process is carried out in 5 simple steps:
1. Draw Walls

2. Windows & Doors

3. Floors & Roof

4. Textures & 3D Objects

5. Plan for the Building Permit

6. Export the Floor Plan as a 3D Model for Twinmotion

- – Compliant with international construction standards
- – Usable on 3 PCs simultaneously
- – Option for consultation with an architect
- – Comprehensive user manual
- – Regular updates
- – Video tutorials
- – Millions of 3D objects available


