Creating a building plan yourself is entirely possible with the Plan7Architect software. Whether you are planning a new home, an extension, or a renovation, this professional tool allows you to design a complete floor plan from scratch. The software provides precise drawing tools, predefined templates, and an intuitive interface, making it accessible to both beginners and experienced users.
One of the biggest advantages of Plan7Architect is its flexibility in measurement systems. You can freely switch between metric (meters) and imperial (feet and inches) units, ensuring that your plan meets local standards. No need to manually convert dimensions—the software handles this for you.
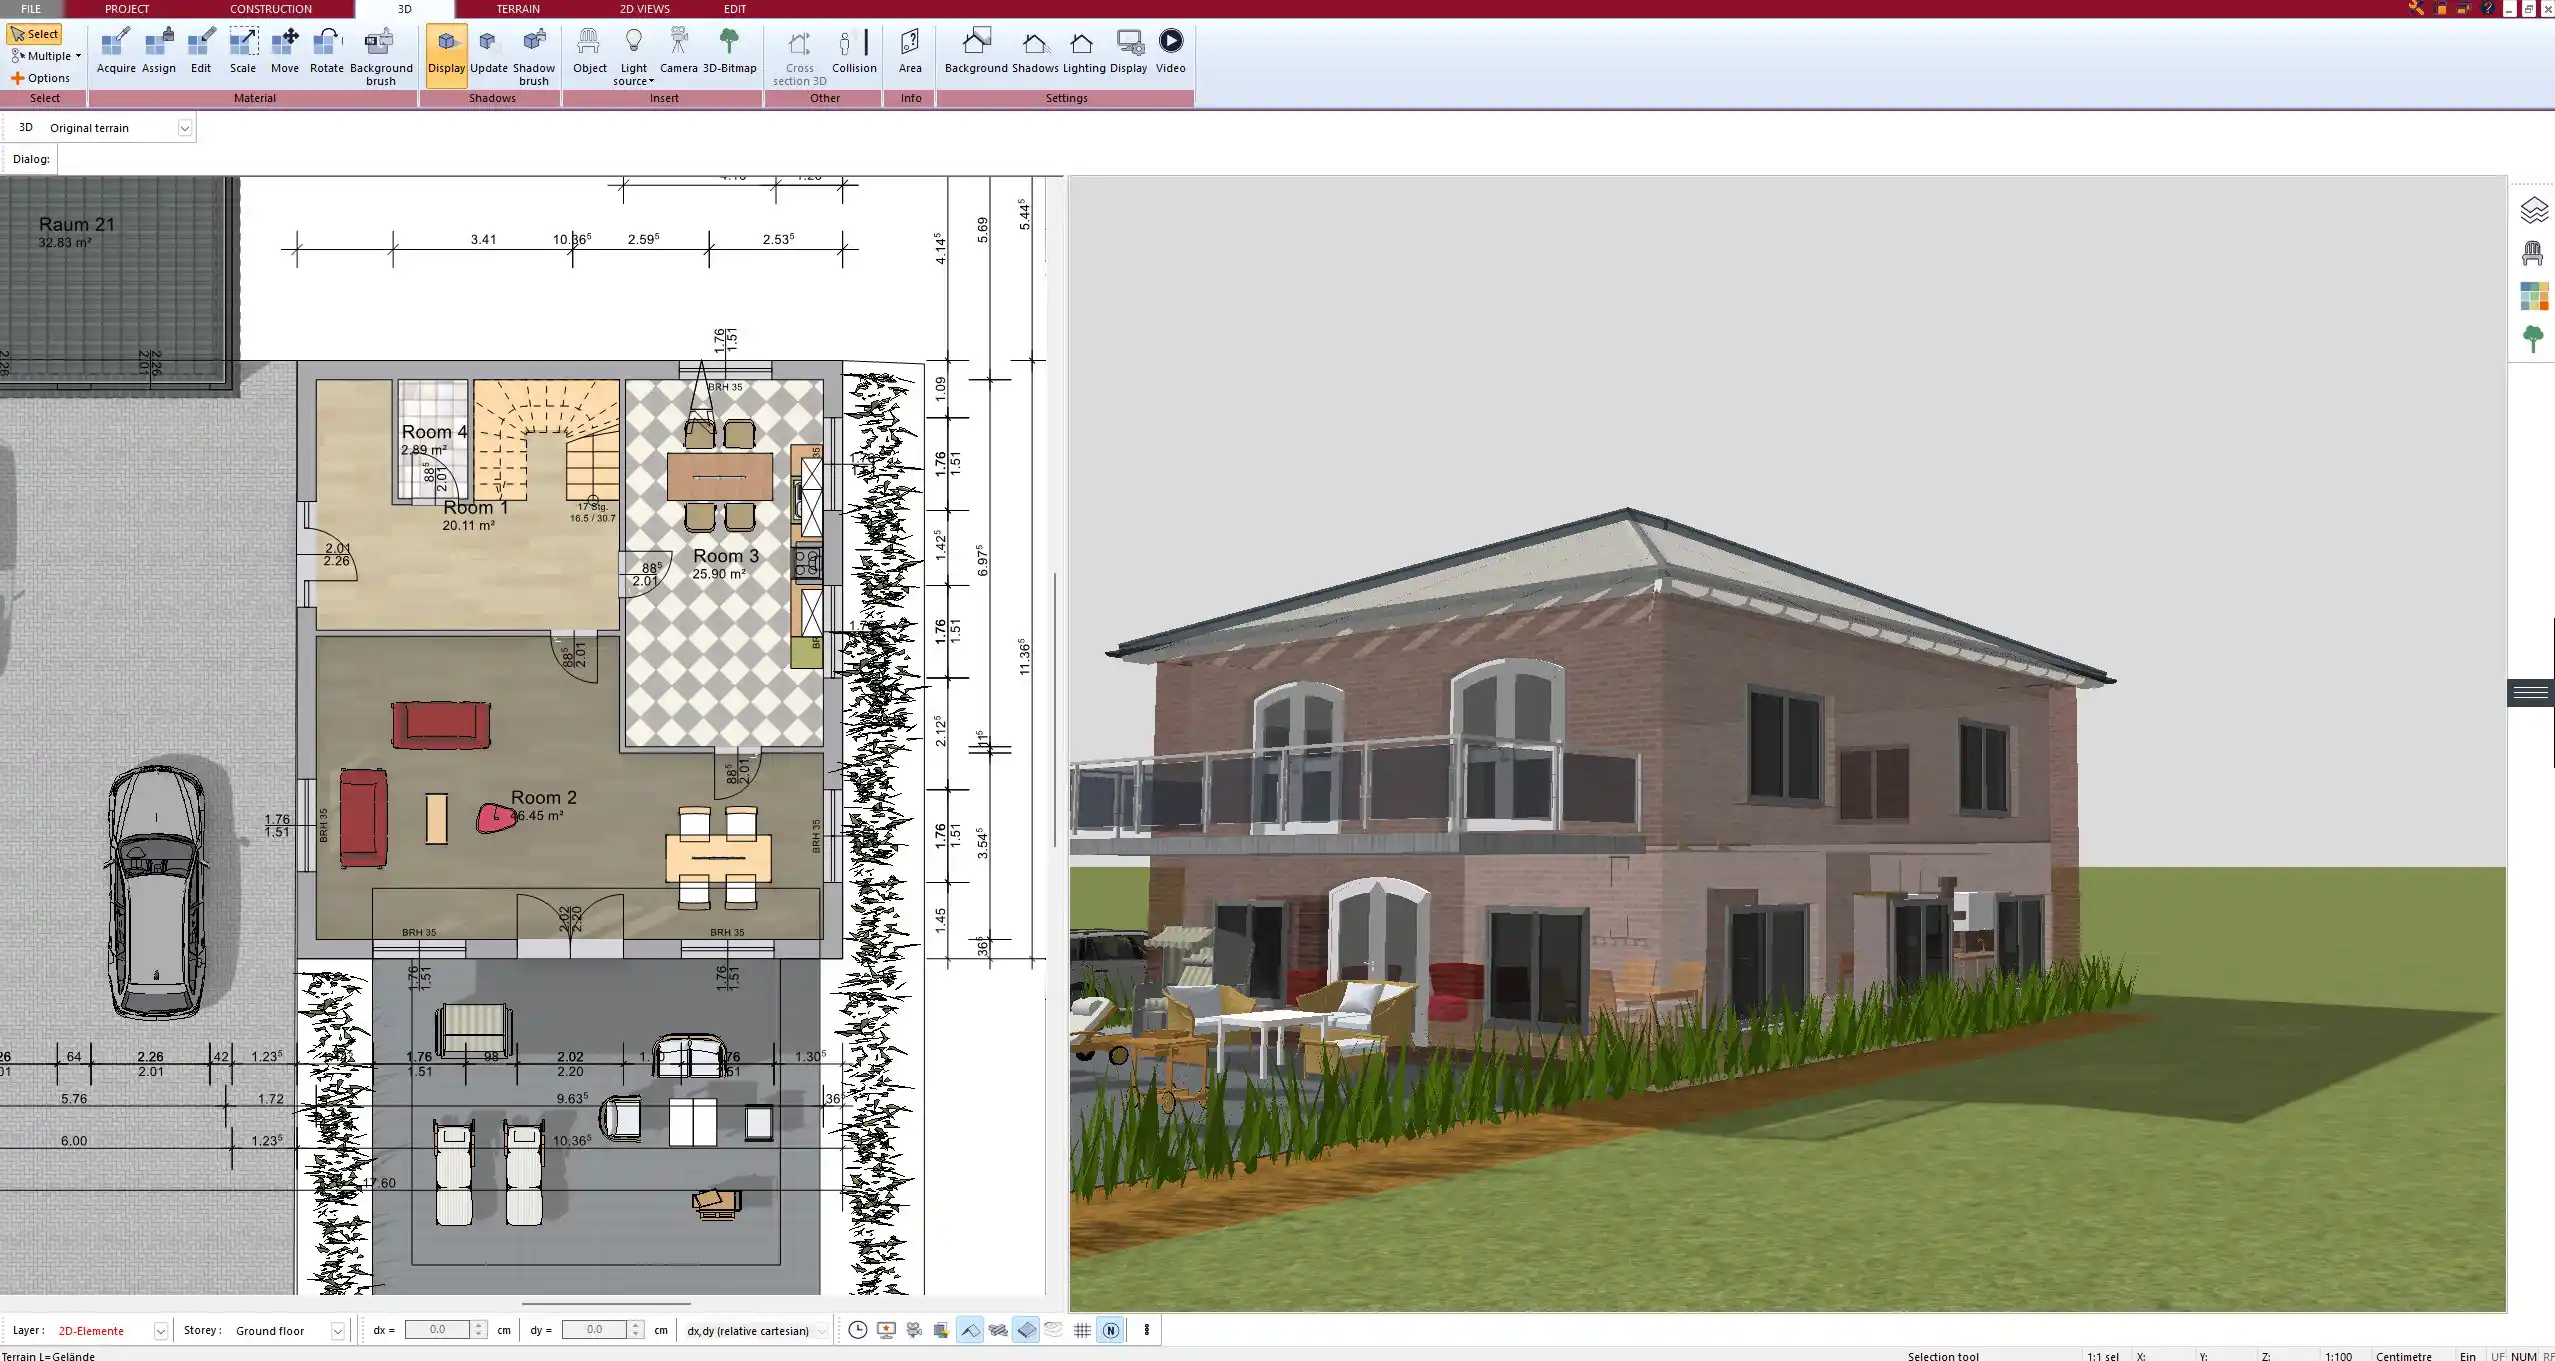
With 2D and 3D visualization, you can create detailed wall structures, room layouts, and furniture arrangements, ensuring that your plan is not only functional but also visually realistic.
Step-by-Step Guide to Drawing a Building Plan
Setting Up Your Project
Before you start drawing, you need to define the key parameters of your project:
- Choose a template: The software offers predefined layouts or allows you to start from scratch.
- Set the measurement system: Select either metric or imperial units. This setting can be changed at any time.
- Define the building’s dimensions: Enter the width, length, and height of your structure.
- Select layers and floors: If your building has multiple levels, you can manage them separately.
Creating the Floor Plan
A good floor plan starts with precise wall placement. Plan7Architect offers a snap-to-grid function, ensuring straight walls and proper alignments.
Steps to create a floor plan:
- Draw exterior walls: Define the outer structure of your building.
- Add interior walls: Divide the space into functional rooms.
- Place doors and windows: Drag and drop elements, then adjust their width and height.
- Modify wall thickness: Depending on whether you need load-bearing or partition walls.
- Ensure proper clearances: Keep enough space for door swings and furniture placement.
Tip: Consider structural integrity and local building codes when designing your walls and openings.
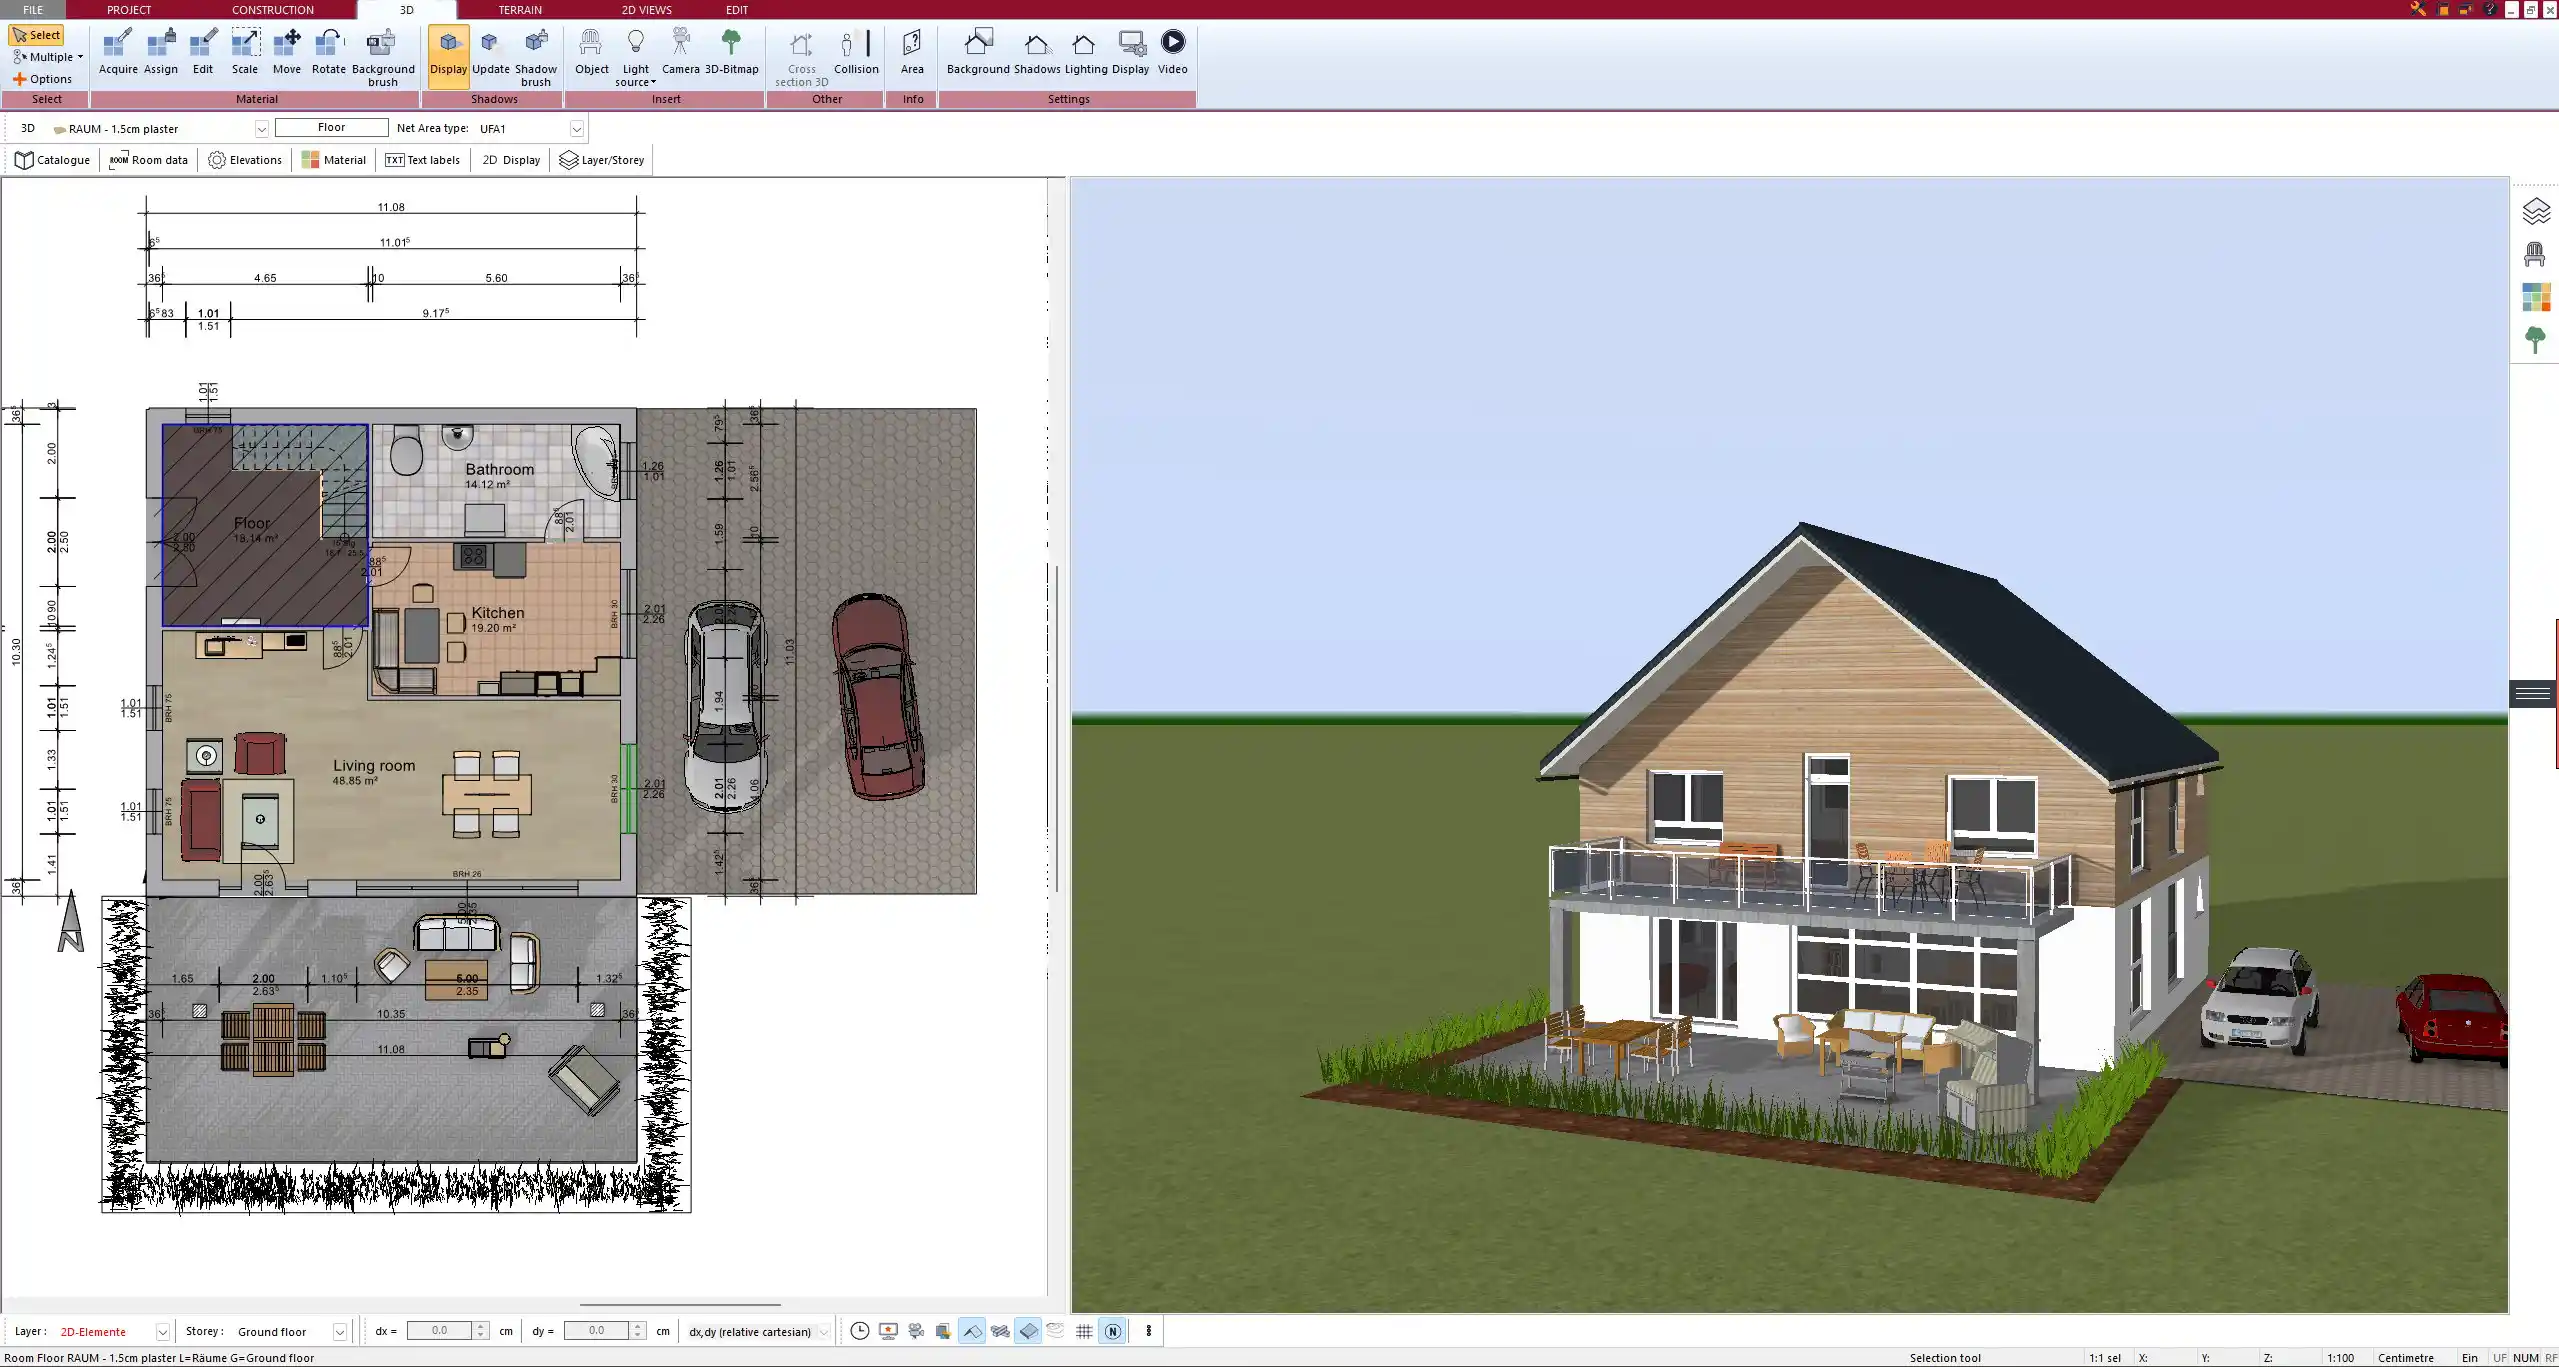
Defining Rooms and Functional Areas
Once your walls are set, the next step is to assign specific functions to each space. The software allows you to label rooms and set custom dimensions.
Standard Room Sizes (Example Guidelines)
| Room Type | Minimum Size (m² / sq ft) | Recommended Size (m² / sq ft) |
|---|---|---|
| Living Room | 15 m² / 160 sq ft | 25–40 m² / 270–430 sq ft |
| Kitchen | 8 m² / 85 sq ft | 12–20 m² / 130–215 sq ft |
| Bedroom | 10 m² / 110 sq ft | 15–25 m² / 160–270 sq ft |
| Bathroom | 4 m² / 45 sq ft | 6–12 m² / 65–130 sq ft |
You can adjust room shapes, proportions, and orientations to optimize the use of space.
Tip: Think about natural light and ventilation when positioning rooms and windows.
Adding Structural & Design Elements
To make your plan functional, you need to include essential architectural elements such as:
- Stairs: If designing a multi-story house, choose between straight, spiral, or U-shaped stairs.
- Columns and beams: Ensure structural support, especially in open-plan designs.
- Ceilings and roof shapes: Customize heights and materials for aesthetic appeal.
- Wall finishes: Set material types, from brick to drywall.
The software allows real-time modifications and material previews, making it easy to adjust details before finalizing the design.

Planning Electrical, Plumbing, and HVAC
A well-designed building plan includes utility placements. Plan7Architect offers tools for integrating electrical outlets, plumbing lines, and heating/cooling systems.
Key Elements to Plan for:
- Electrical: Power outlets, switches, ceiling lights, and smart home integrations.
- Plumbing: Water supply and drainage for bathrooms, kitchens, and utility rooms.
- HVAC: Heating, ventilation, and air conditioning systems.
You can use color-coded layers to keep each system organized within your blueprint.
Furniture & Interior Layout
Once the structural details are set, you can begin placing furniture, appliances, and decor elements. The software includes a library of predefined furniture models that can be resized and repositioned.
Best Practices for Interior Layout
- Leave enough clearance for movement (at least 80–100 cm / 30–40 inches).
- Ensure kitchen workspaces have a logical flow (fridge, sink, stove).
- Position furniture according to room function and size.
Tip: Use 3D visualization to get a realistic preview of the furnished space before finalizing.
Essential Tips for a Functional Building Plan
- Plan for natural light & ventilation: Large windows can improve comfort and reduce energy costs.
- Follow standard room dimensions: This ensures usability and ease of furnishing.
- Leave room for future modifications: Flexible layouts accommodate changing needs.
- Check local building codes: Ensure compliance with construction regulations in your region.
Exporting & Using Your Building Plan
Once your plan is finalized, you can export it in various formats for further use.
Available Export Options:
| Format | Usage |
|---|---|
| Printable documents for reference and approvals | |
| DWG/DXF | Compatible with AutoCAD and professional drafting tools |
| 3D Model | Visualization and virtual walkthroughs |
You can also print your plan to scale or share it digitally with architects and contractors.
Why Choose Plan7Architect?
- User-friendly and professional-grade: Designed for both beginners and experts.
- Supports both metric and imperial measurements: Seamless unit switching.
- 2D and 3D visualization: Instant design previews.
- No subscription fees: One-time purchase with a 14-day refund policy.
Plan your project with Plan7Architect

Plan7Architect Pro 5 for $119.99
You don’t need any prior experience because the software has been specifically designed for beginners. The planning process is carried out in 5 simple steps:
1. Draw Walls

2. Windows & Doors

3. Floors & Roof

4. Textures & 3D Objects

5. Plan for the Building Permit

6. Export the Floor Plan as a 3D Model for Twinmotion

- – Compliant with international construction standards
- – Usable on 3 PCs simultaneously
- – Option for consultation with an architect
- – Comprehensive user manual
- – Regular updates
- – Video tutorials
- – Millions of 3D objects available


