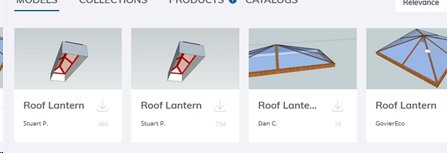
It is possible to create lantern roof but you can also search for this object in 3d Warehouse eg below. You can then cut a hole in flat roof to place lantern roof over.
https://3dwarehouse.sketchup.com/search/?q=roof%20lantern
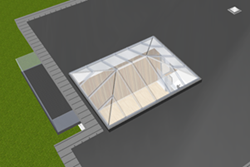
You can download these objects and place them in to your project (see https://plan7architect.com/wp-content/uploads/2025/pdf/Importing_3D_Warehouse_objects.pdf)
Example below
- How to cut hole in roof for the lantern
Place a skylight on roof eg
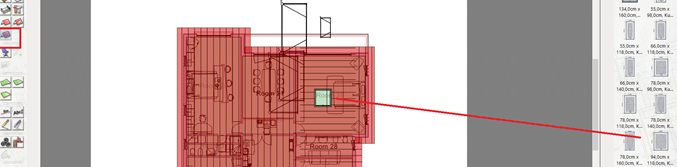
Select Skylight and open editor (2d or 3d mode) – resize etc
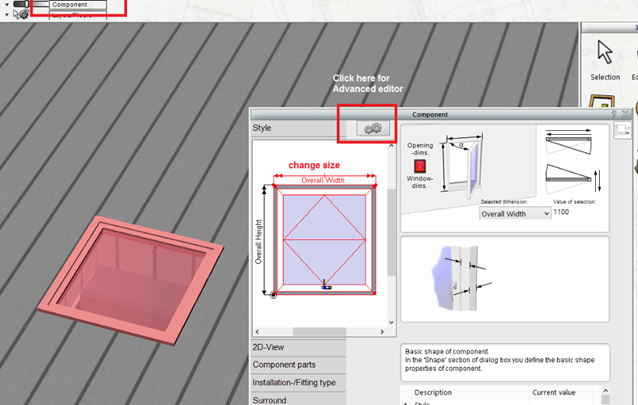
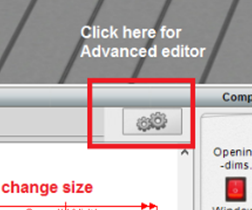
Open Advanced editor below
Click window pane and untick ‘With frame’ and change type of fill to ‘No Panel’

Next, select ‘Window frame’ tab below and select ‘Without’ to hide window frame. You can accept changes (Tick icon) or you can accept and save this item to your skylight catalog (icon next to tick icon).

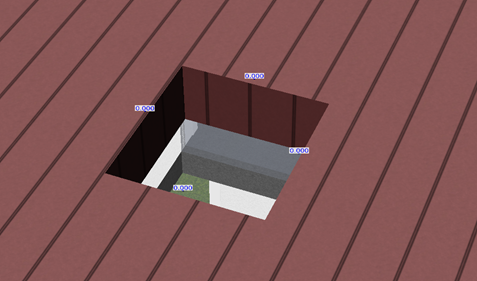
You have now created a hole in roof to place lantern over top
- Placing roof lantern object
Using steps here (https://plan7architect.com/wp-content/uploads/2025/pdf/Importing_3D_Warehouse_objects.pdf) on how to import your object in to your project, place lantern in to position. I would recommend importing and positioning object in 2D.
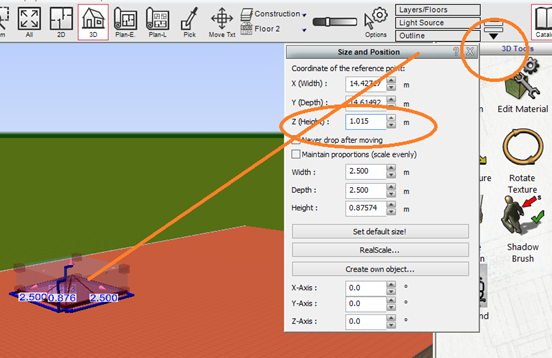
Once the object is in place, you can select roof lantern object (2d or 3d) and select ‘Size and Position’ tab from top toolbar to resize object. Change ‘Z (Height)’ circled below to get right height. In 3d you can change this value in dialog box and see change on screen to make it easier to get right height etc